Ah, ah, ah, ah. Stayin’ Alive, Stayin’ Alive.

3 Apr

Our herbs, that is!

Class is tonight, and I’m very excited! I think we’ll have a good size class. It’s not just about planting herbs to use in cooking, but part of the activity will be decorating the planters. Yes, full grown adults will be using paint markers, hot glue, giant rhinestones, and I don’t even know what other art and craft supplies are waiting for us. There’s something soothing about each aspect of tomorrow evening: the plants, the markers, the conversation, the wine…. 🍷

But bringing a bit of green into an apartment is always nice. Keeping it alive and healthy is an ongoing chore/battle/challenge/task, depending on the level of obligation you feel. Regardless of your love for your little pot of herbs, they’ll all need light, water, and food. Here’s a brief primmer on each. I’m going to include a few links here and there. I’ll grab them from a few places online, but I don’t have any relationship with any of these place and don’t make any money from any links. That would be super, but I don’t.

Light

A sunny window probably won’t be enough light for most herbs. Even a bright south facing window would only work for part of the year. Most glass will block out some of the sun’s rays. If you’ve ever tried to grow basil inside and you wound up with loooong stems and just a few leaves facing the outside, it was searching for more light! For the most control and flexibility in where you place your herbs, I’d highly recommend grow lights. 12 hours a day is fine for year-round growth, but even 8 hours is ok. Then they’ll need some time to sleep. Lights that offer a full spectrum of light that mimics the sun are your best bet for your indoor adult herb garden.

Many lights now have built in timers that will automatically cycle on and off, but you can also pick up traditional timers that you plug in to the socket and then plug your light in. I really like using bluetooth timers. They connect to my wifi and then I control them with my phone. I have several sets around my home and can control each one precisely.

You don’t have to get too complicated here. There are many inexpensive options, including clip on lamps, long strip bulbs that will fit under a shelf, hanging fixtures for tall structures, and floor lamps.

Water

Drainage is key. The pots we have selected for our herbs have good drainage at the bottom, but in general you don’t want to overwater. Root rot means death! Water every three to four days, depending on how dry your room is, but wait until the top inch or so is dry before watering again. If your soil feels like a wrung out sponge, that’s perfect! If your soil still feels a little damp at day 4, check it again in 12 hours, and then 12 hours after that. Be slow and consistent in watering. Too much at once will immediately flow through your pot and make it seem like you’ve over watered, when in fact your soil just isn’t able to absorb it all. Too little won’t soak through to your roots. You can divide your watering into two “sips” with a few minutes apart to help absorption. If you see droopy leaves, your little guys are thirsty. Water in several sips over about 30 minutes and then wait a few hours. They should start to perk up.

Food

Plants need not just water, but some food, too. You should feed your guys every 2-4 weeks or so. You can use an all purpose liquid plant food during a regular watering time, diluted to about half of the recommended strength. Liquids are immediately available to plants, instead of a slow release pelleted food that will have to slowly break down in your soil over time. You can buy a little bottle and it will last a long time! Here are some options. Again, I have no connections to any of these links, they’re just examples of the brands.

  • I used this organic fish fertilizer to grow our herbs. It’s amazing, but extra stinky. It’ll be fine if you’re not growing 6 flats, though! Great for other houseplants, too. Again, I dilute it to about half the recommended strength.
  • I haven’t use this particular type of Espoma food, but I really like their other products, so I’d probably give this tomato and vegetable food a try . I use many of their foods and fertilizers for outdoor gardening, and used their seed starting mix for our herbs.
  • Here is a pump food. Apply right to the soil, then water over it. No separate measuring.
  • I haven’t used this brand myself, but I know people like it a lot.

Next post…how to harvest!

Deliciously Stinky Fishy Fertilizer

13 Mar

I knew this stuff was going to smell, but wow. At the advice of one of my garden wizard friends, I fed my babies. I should have thought of it, but I did not. I’m glad I have her to coach me. So, two weeks ago I mixed up some organic liquid fish fertilizer at 1/2 strength and then soaked the cell flats for about an hour at a time in the solid trays to bottom water before putting them back in their mesh trays for proper air flow.

We’ve had two feedings so far, and all of the herbs have responded very well. Everyone is perky and we’ve had significant growth since then, so I think we’ll be ready to go right on time. They’ve had a nice watering since then, as well. That will probably be all for feeding before they go to their new homes, but we’ll see. The ProMix soil I’m planning to use to pot them doesn’t have food, so I might wind up using something different.

Tickets are now on sale for my Herb Garden class at The Lillian and Albert Small Capital Jewish Museum on April 3! You can decorate a fun planter and take these babies home with you to grow and enjoy in your meals.

True Leaves!

7 Feb

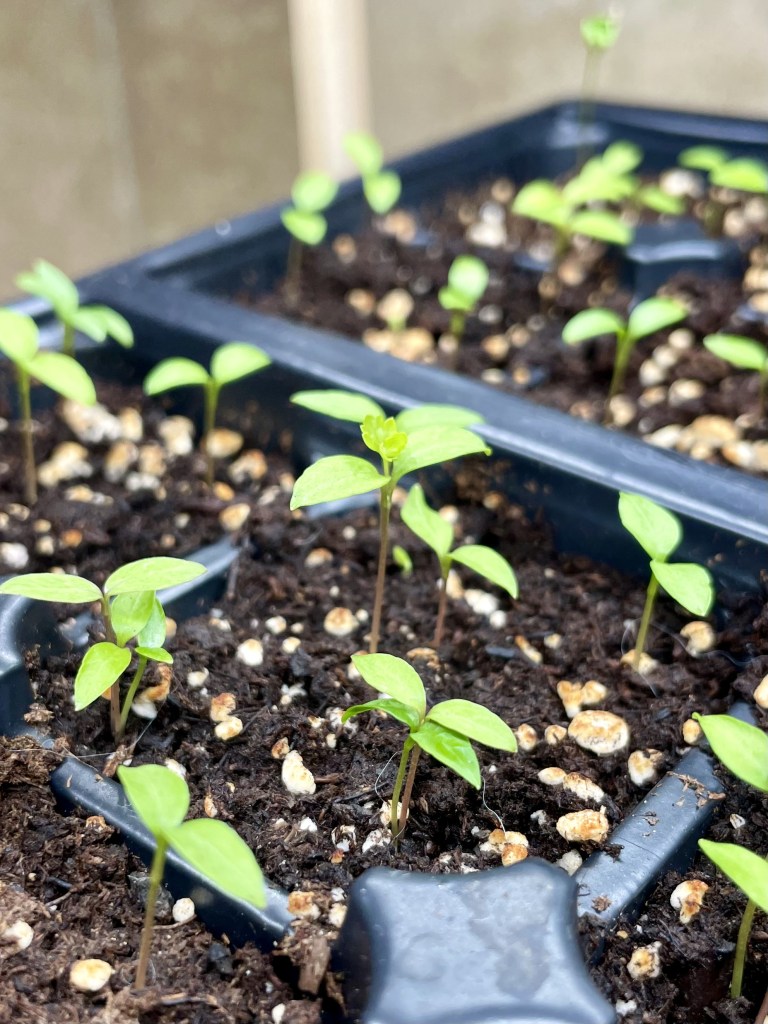
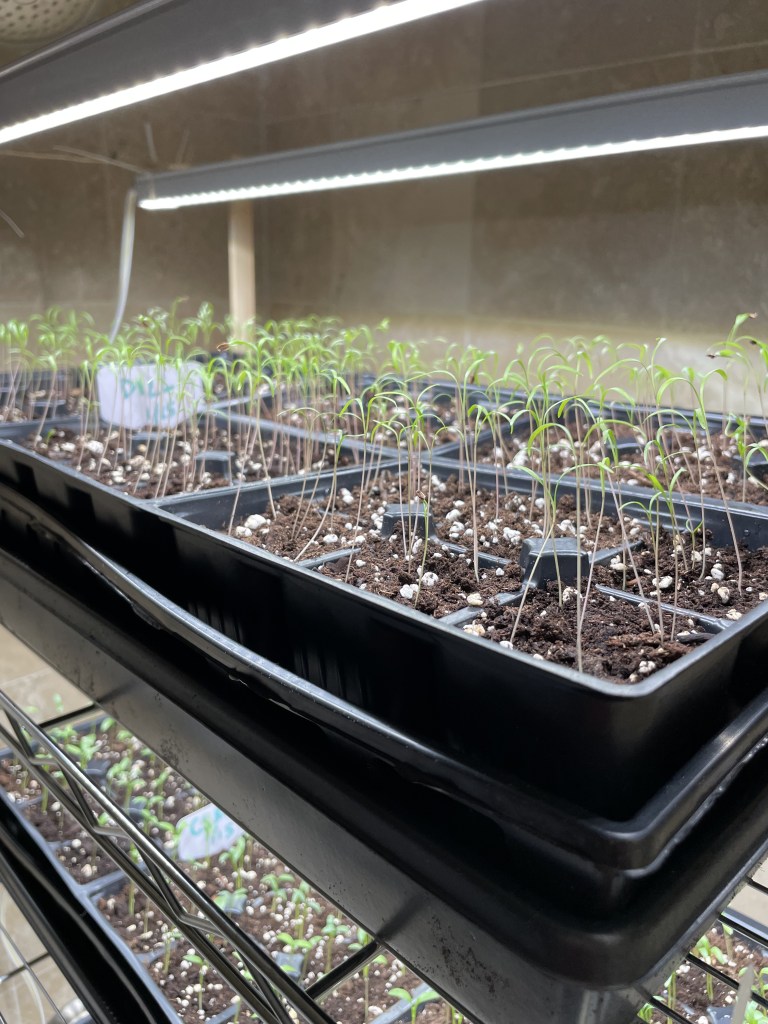
I feel like a proud parent. My little guys are starting to show their true leaves! When seedlings emerge, the first set of leaves is called the cotyledon. Those are basically the embryonic leaves that they start out with. True leaves are the first “real” leaves and will look like tiny versions of the adult plant. SO ADORBS! I only see one parsley, but they’re a bit slower anyway so I’m not worried.

I also added a fan to make sure the air moves around and I don’t have a moisture issue. It’s also important to keep the plants moving a little bit all the time so they get strong and don’t get super leggy. As the little guys grow I’ll start watering a little more frequently. Problem with this fan is it only goes back and forth horizontally, and it is also REALLY strong. I move it daily and rotate the trays, but I don’t think I’ll be able to keep it up. I tried keeping the shower curtain closed to create kind of a wind tunnel thing, but it wasn’t ideal. Also the fan tripped the GFCI outlet twice turning on and off. SO…I’m in the market for two smaller fans now.

Welcome new seedlings!

29 Jan

Lots of progress! We’ve sold several tickets for the April 3 herb garden class already, so everything seems to be moving along nicely.

On January 15, I planted a full flat each of cilantro, dill, and parsley. I started with these three because they’re usually slower to germinate than basil, which I wound up starting on January 19. A little tricky with everything on the bathroom floor, but it worked out. I filled the trays with seed starting mix right to the top, tapped to settle, and the topped them off. Heavy water and let extra drip through to the bottom solid tray. Then I made holes in the soil and planted 5-8 seeds in each cell and covered each tray with a piece of heavy plastic to keep in moisture. As soon as I saw little green popping up a few days later, I removed the plastic.

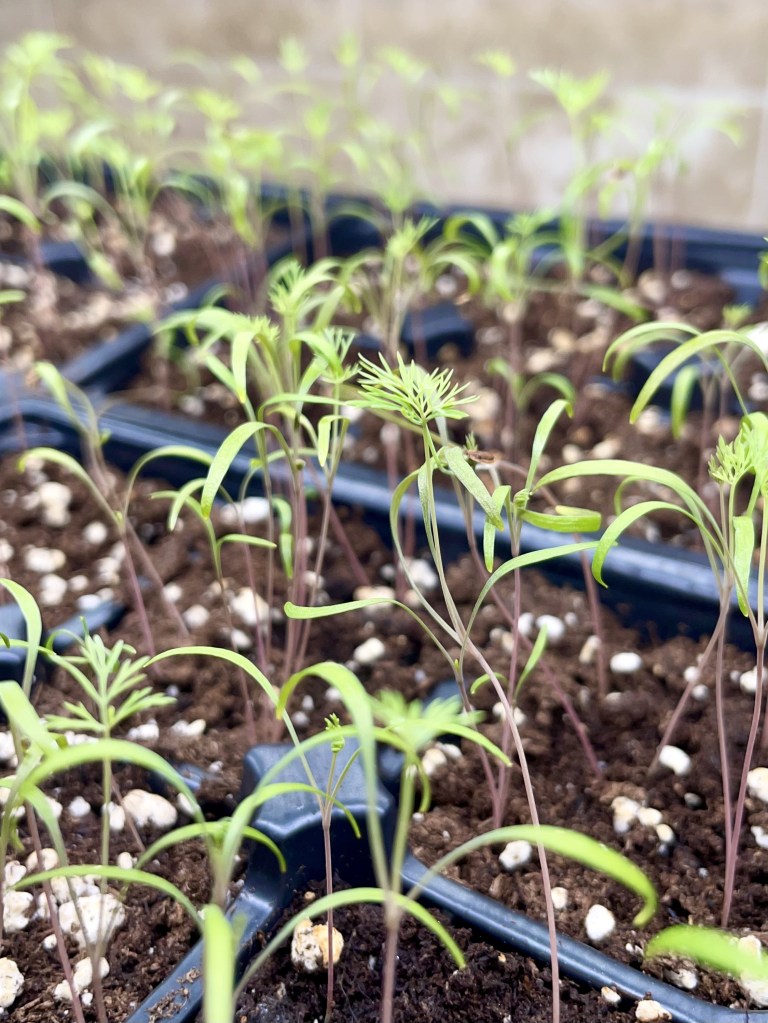
Two weeks later, everyone has sprouted and is looking great! I noticed right away that the dill seedlings were all leaning towards the one light I set up for them. I quickly go to work adding a second light to each shelf so they won’t have to strain as much to get to the light.
I’ve been spraying them with a spray bottle so I don’t overwater and kill the seedlings, but yesterday I gave everyone a good full water and they all seem to be happy. Without a full greenhouse type cover, I’m concerned about moisture levels. I will just keep an eye on everything.

Here’s a little “tour” from last night. Now I’m just waiting for those first real leaves to grow, hopefully this week.

Seed Starting Update: Lights!

9 Jan

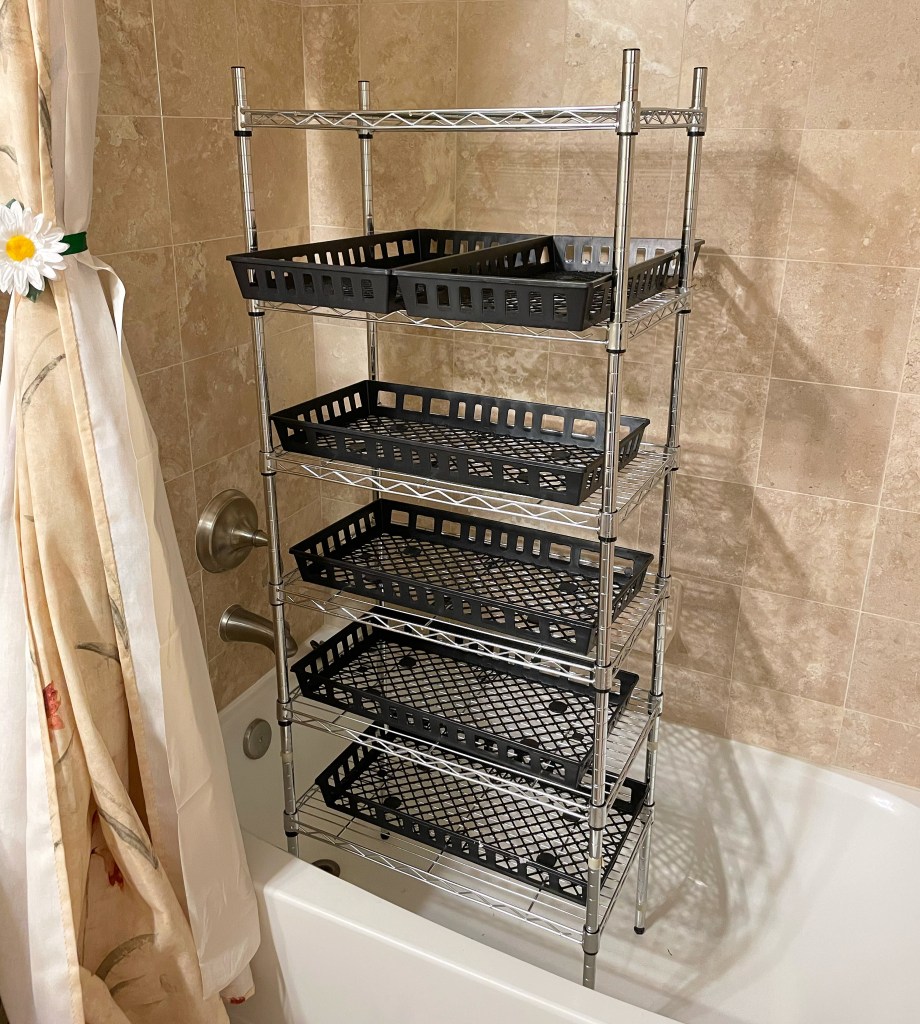
Lights are installed! Zip ties came with the lights. I used 6 of the 8 2′ long strips I bought, which will be one per flat. Connected them all together and installed the timer that I’ll control on my phone. The top shelf will be two flats of basil because I couldn’t fit enough shelves on for the six flats and I didn’t want to have anything on the floor of the tub. It’s fine. The curtain still closes without touching anything. (Yay curved shower curtain rod!)

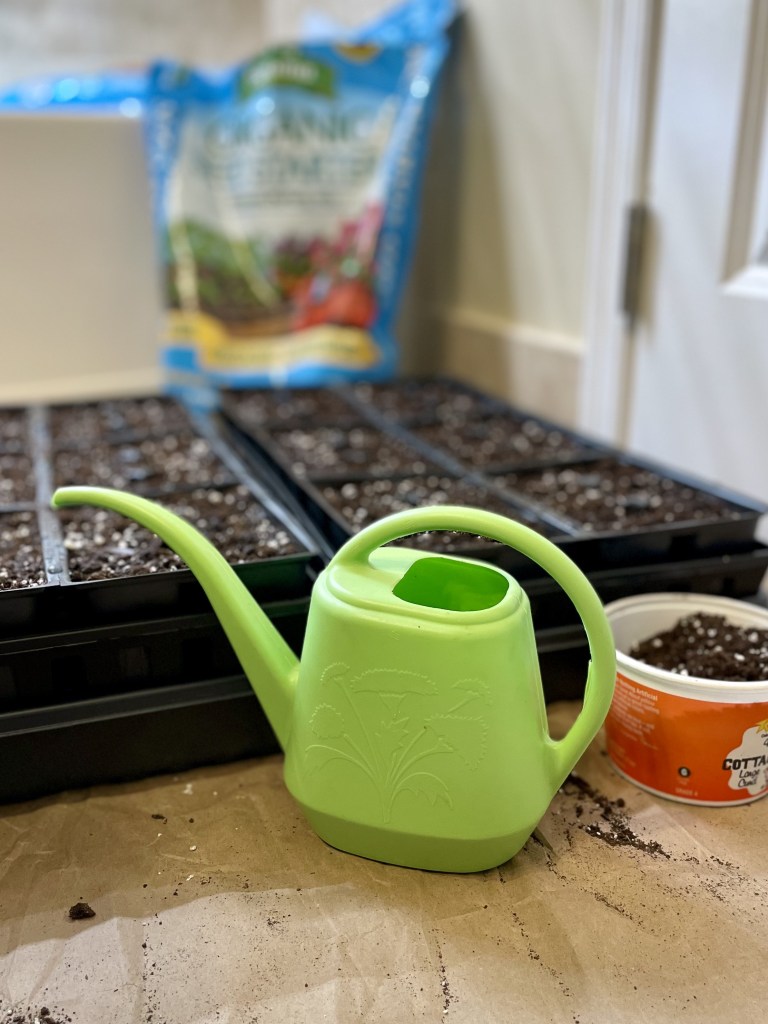
I got 5 bags of Espoma seed starting mix from Esbenshade’s Garden Center near Lancaster, PA. They had the best pricing, even with shipping. Arrived quickly. Looks like they have really good online reviews, too. At the volume I’ll need, I could have made my own, I suppose, but this will just be easier and cleaner. The flats of trays came from True Leaf Market. Pretty cool.

Just waiting for the solid drip trays to arrive today. Then I can get going! My goal is to have everything ready to go by Jan 17, but I’ll be at least a week earlier than that. Not sure if having an extra week is a good thing or not! Class is on April 3. Gotta think this through.

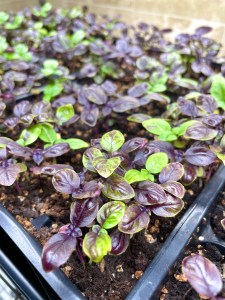
Seeds from Baker Creek. I’ll have one tray each of parlsey, dill, cilantro, basil, and purple basil. I started a few 3 year old packets about three weeks ago as something I could coo over while I waited for all of my supplies to arrive, and had a pretty good showing from the purple but meh from the Genovese. I’ll replant them into larger containers soon. But fresher seeds for this year should have better germination.

Here’s a little IG reel thingie. I’m not great a this, please bear with me!

Let’s Grow Some Herbs!

2 Jan

I’m going to be teaching an indoor herb garden class in April. Folks will decorate their own pots, pick their herbs, and learn how to harvest and care for their plants indoors!

Here’s my math. Everyone will get to pick three plants. Assuming all 40 class slots fill up, that’s 120 in total. I’m starting one flat of parlsey, dill, cilantro, basil, and purple basil. Each flat here will have 36 cells, plus I’ll do one extra 6 cell of each as insurance to make sure I have enough for everyone. That’s potentially 216 babies to care for! After the class, I will donate some of the remaining seedlings to Plot Against Hunger gardeners.

I’ll be growing in my guest bathroom using this wire rack. For weeks I couldn’t figure out how to set up this whole system, as I never grown on this scale before. Duh. Wire racks! Then ones I already had were juuuuust a smidge too big for the bathtub. So, I bought a small rack and planned to keep two flats on each shelf width-wise. Then I realized I had a tall rack in a closet. I took that out and added one shelf from the new small rack and voilà! They’re 8″ apart now, so I’ll see what the final distance winds up being. I will probably need to adjust the distance to the lights a few times. I decided not to use the bottom shelf/tub floor for the sixth tray or to build a little holder thing for lights on top, so I’ll keep the two basils together on one shelf. I’ll zip tie lights to the underside of the shelves and connect all of the lights in a chain.

This week I’m expecting delivery of the lights, seeds, Espoma seed starting mix, sheets of 2.25″ cells, and the solid trays these mesh trays will sit in. I’m not going to use heat mats, as the room should get pretty warm if I close the curtain and door. Humidity should be ok without covers, but just in case, I can wrap the whole rack in some plastic I’m holding on to from another project. My goal is to have it all set up and running by Jan 17, which will give me about 11 weeks before my class.

I’ll update each step, maybe with a video or two.

Year of The Bean

9 May

I am determined to grow beans for long term storage. You might remember a few years ago I had great success with black eyed peas. Those guys lasted for over a year in glass jars. Cooked up nicely every time I tried them out.

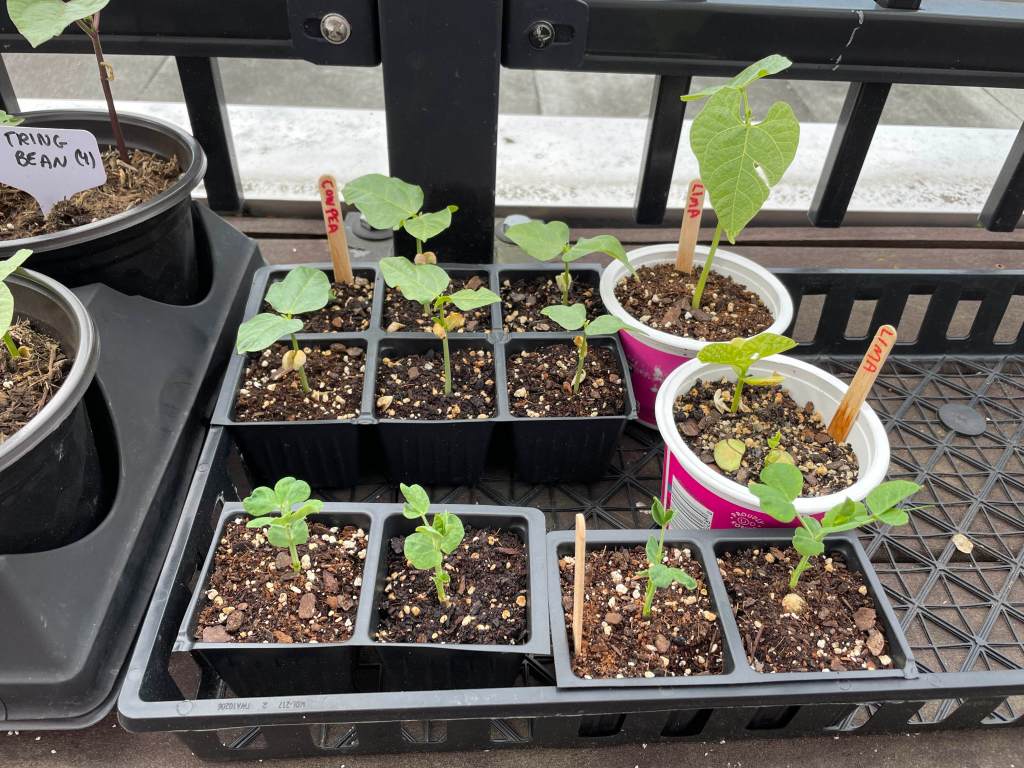
This year, I’ve already started snow peas, purple green beans, pink cowpeas (black eyed peas), lima beans (butter beans), and edamame. I plan to split them between the roof and the neighbor garden plot. My goal is long term storage, so I have several of each plant. I LOVE beans, and I’ve finally figured out how to cook them from dry. Argh. My years of canned beans might soon be over.

We’re trying to decide on a support system for the beans, but this past weekend we put in a “fluffy creature deterrent” to protect the smaller plants. Last year the rabbits ate all of our pepper and bean plants. They have lots of stuff to chose from, so this is just supposed to be a blocker. They likely won’t dig because they’ll just move on to the next plot. We still dug about 2″ down. Hopefully this will work, but we might also put some individual cages around the plants.

Neighbor garden development

27 Apr

After many, many hours of weeding and mulching, the garden is ready for planting!

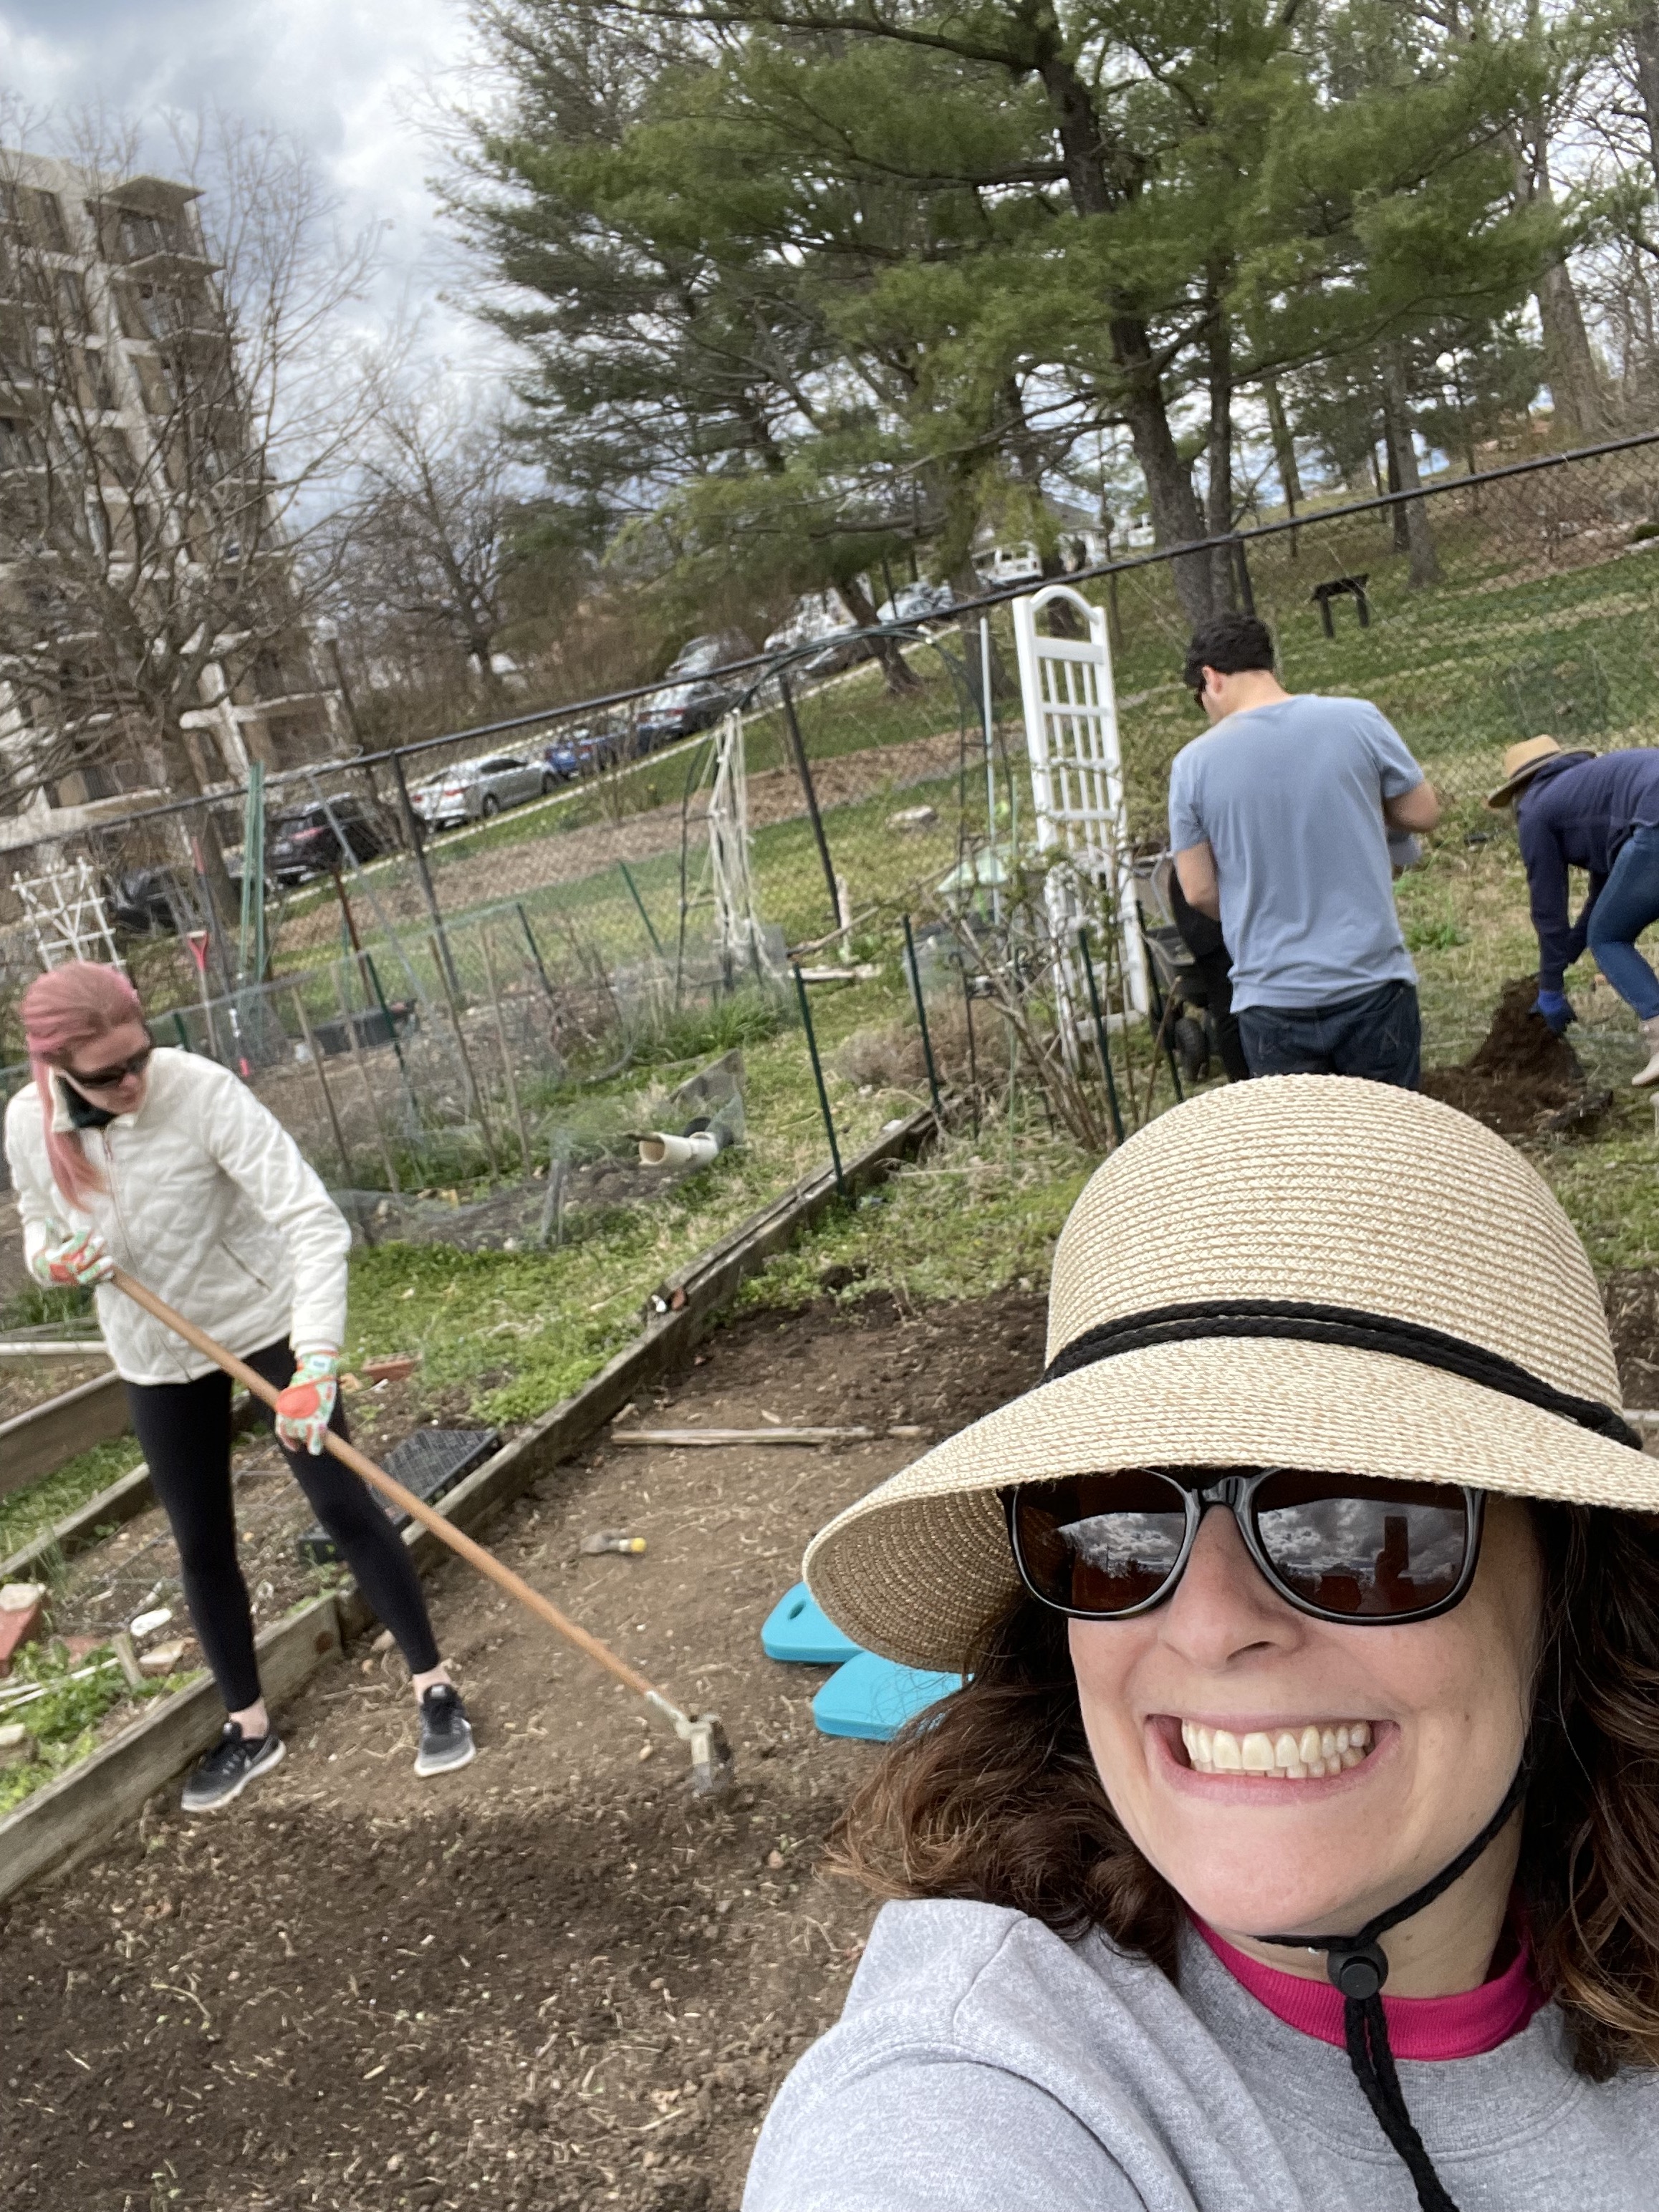
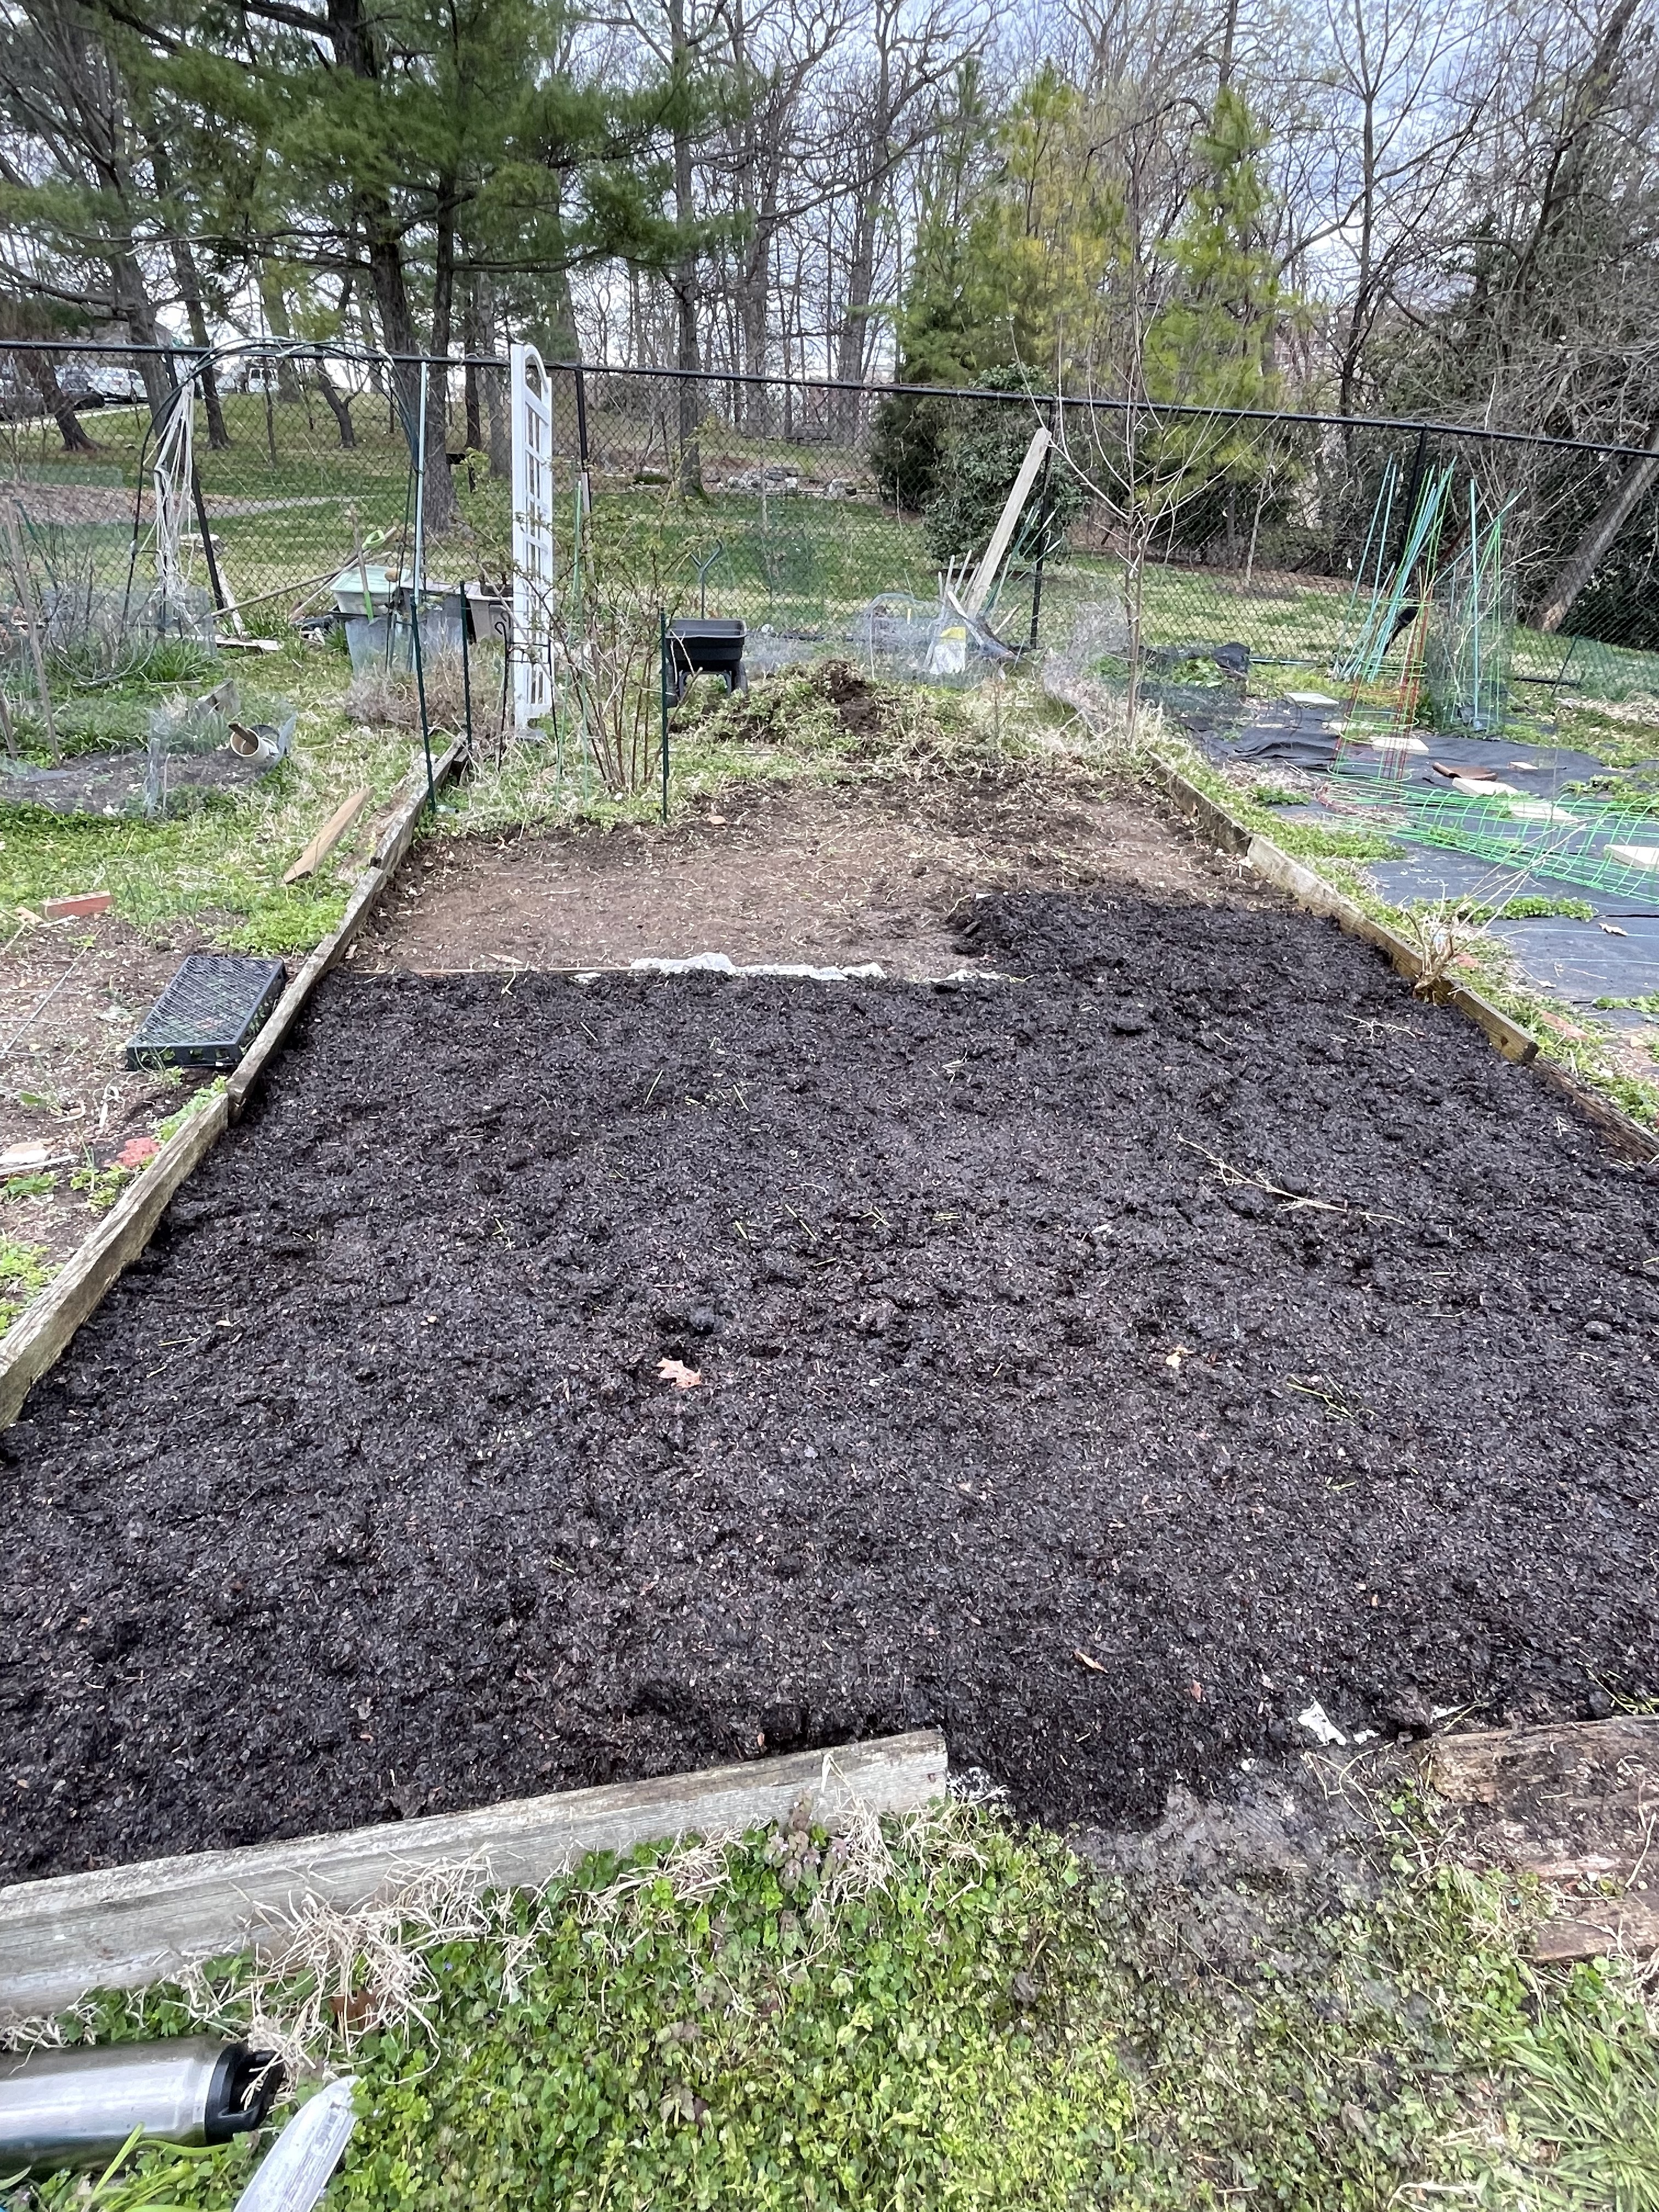
Some extra hands joined us two weeks ago to weed, paper, add rabbit litter, and then mulch the second third of the garden. We’ll plant the front section first, and then wait a few weeks before planting the second section. By that point, much of the paper will have broken down.

We had so many wormy friends, I just hope that pulling up all of the soil didn’t mean a smörgåsbord for the birds.

Then a quick mow in the back where the sitting area will be and we added a few wheel barrows of leaf mulch back there, too. Hopefully we’ll just have to mow/weed whack it to keep the grass and weeds down, but we’ll use the whole space as a border from the grass outside the fence. We’ll add some plastic edging between the back and middle sections to try to keep the grass and weeds out of the main area, but we’ll still have to keep an eye on that front part. Just before the back section, we have some strawberries, a blueberry bush and a raspberry bush. Yay fruit!


Monday evening we headed out to pick up some supplies. Siggy joined us to pick up 16″ pavers for the center path (HEAVY), some veggie and wildflower seeds, plastic edging, buckets and potting mix for potatoes, and a few other bits and pieces. He was very helpful.


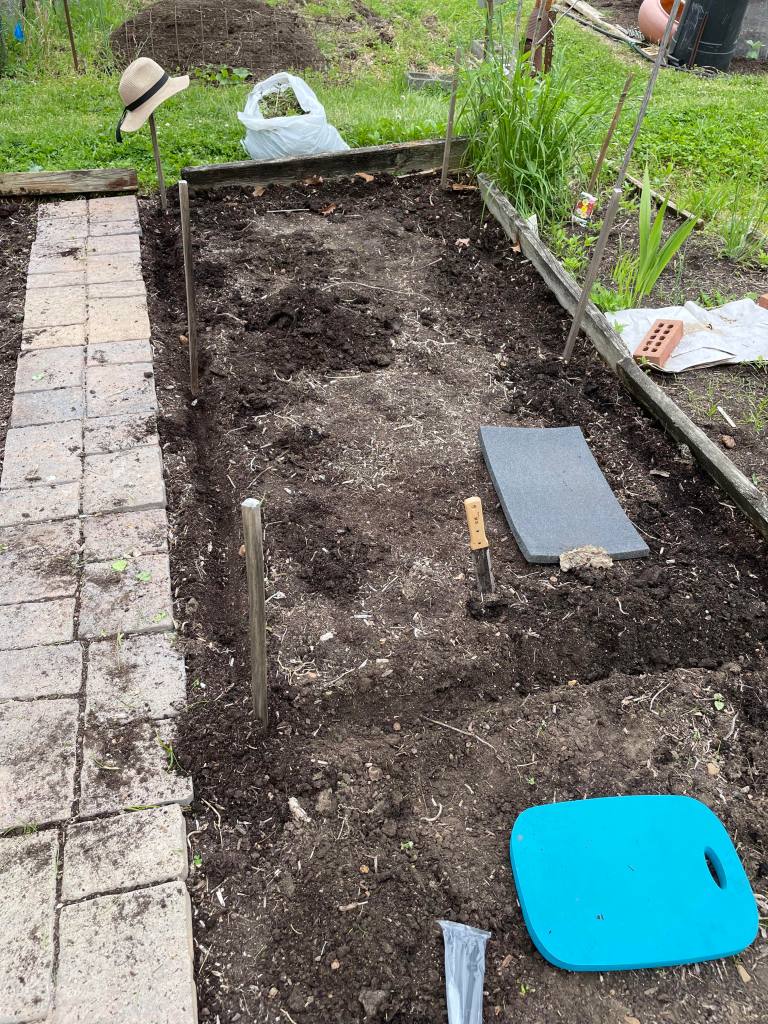
We raked out a bit of the mulch to level the ground and then laid the paving stones. They will hopefully eventually settle into the soil here so they’re flush with the ground, but I don’t think they’ll shift too much. The path creates a nice visual point for the garden and makes a safe walkway so we can avoid walking on the soil when not working in the beds. We’ll need to pick up a few more pavers to complete the path, as our initial measurements weren’t so exact…oops.

We also had a visit from my friend Becky, a VCE Master Gardener and fellow FOUA board member. She suggested we remove the white mulberry that is actually invasive in our area, so we got on that and hacked away at the roots. At the bottom of this photo is where the strawberries live. We were excited to discover them (they’re starting to bloom and have teeny berries right now) and also the blueberries in the bottom right corner.


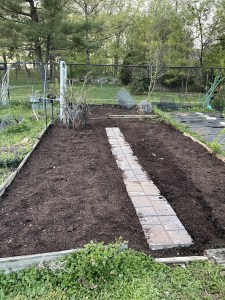
Here is the finished garden, ready for planting next weekend! We’ll use some of the seeds we picked up, and I started cucumbers, tomatoes, eggplant, and sunflowers that we’ll move in about 2-3 more weeks.

Later that evening, I did a little time traveling and had a look at our future garden. I’m quite pleased with our progress.

New garden and new friends!

4 Apr

Now, I’m not giving up my status as Roof Garden Gal, but when neighbors I didn’t know before messaged me asking if I really am “super gardener,” well, I couldn’t say no. Turns out, they had just been approved for one of the coveted garden plots in an Arlington County public community garden. Really….the list was long before the pandemic, and now it has grown to over 1,000 people! They got on the list in the before times.

Their new plot is in a great garden that’s about a 15 minute walk from home. They asked if I’d be willing to help them get started, as neither of them have gardened before. I’m not one to say no to dirt, so this weekend we jumped in. Based on what they have in mind for their plot, I created an action plan.

FYI… 20’x10′ is a HUGE plot, especially for new gardeners. That’s considered a half plot, too. My neighbors decided to work the front 2/3 and keep the back 1/3 as a little sitting spot. They’ll add chairs and a little table and make it a lovely spot to enjoy the nice weather.

I was really happy to run into some garden folks I know through FOUA and Plot, and I was even able to connect with a woman who’s new in town and looking for opportunities to help in a garden. This is why I always carry business cards with me! I gave her a FOUA card and she actually emailed me that night.

Back to the weeds. This particular plot hadn’t been worked in about two seasons, as the previous gardener had some medical issues and was unable to tend to it. It was packed with weeds. She apparently made some smart decisions that benefitted us, as she had put down some landscape fabric. I suggested we treat it like a newish raised bed and start from the bottom:

  • WEED (Get everything up, regardless of its actual identity.)
  • LEVEL (Level out the existing soil.)
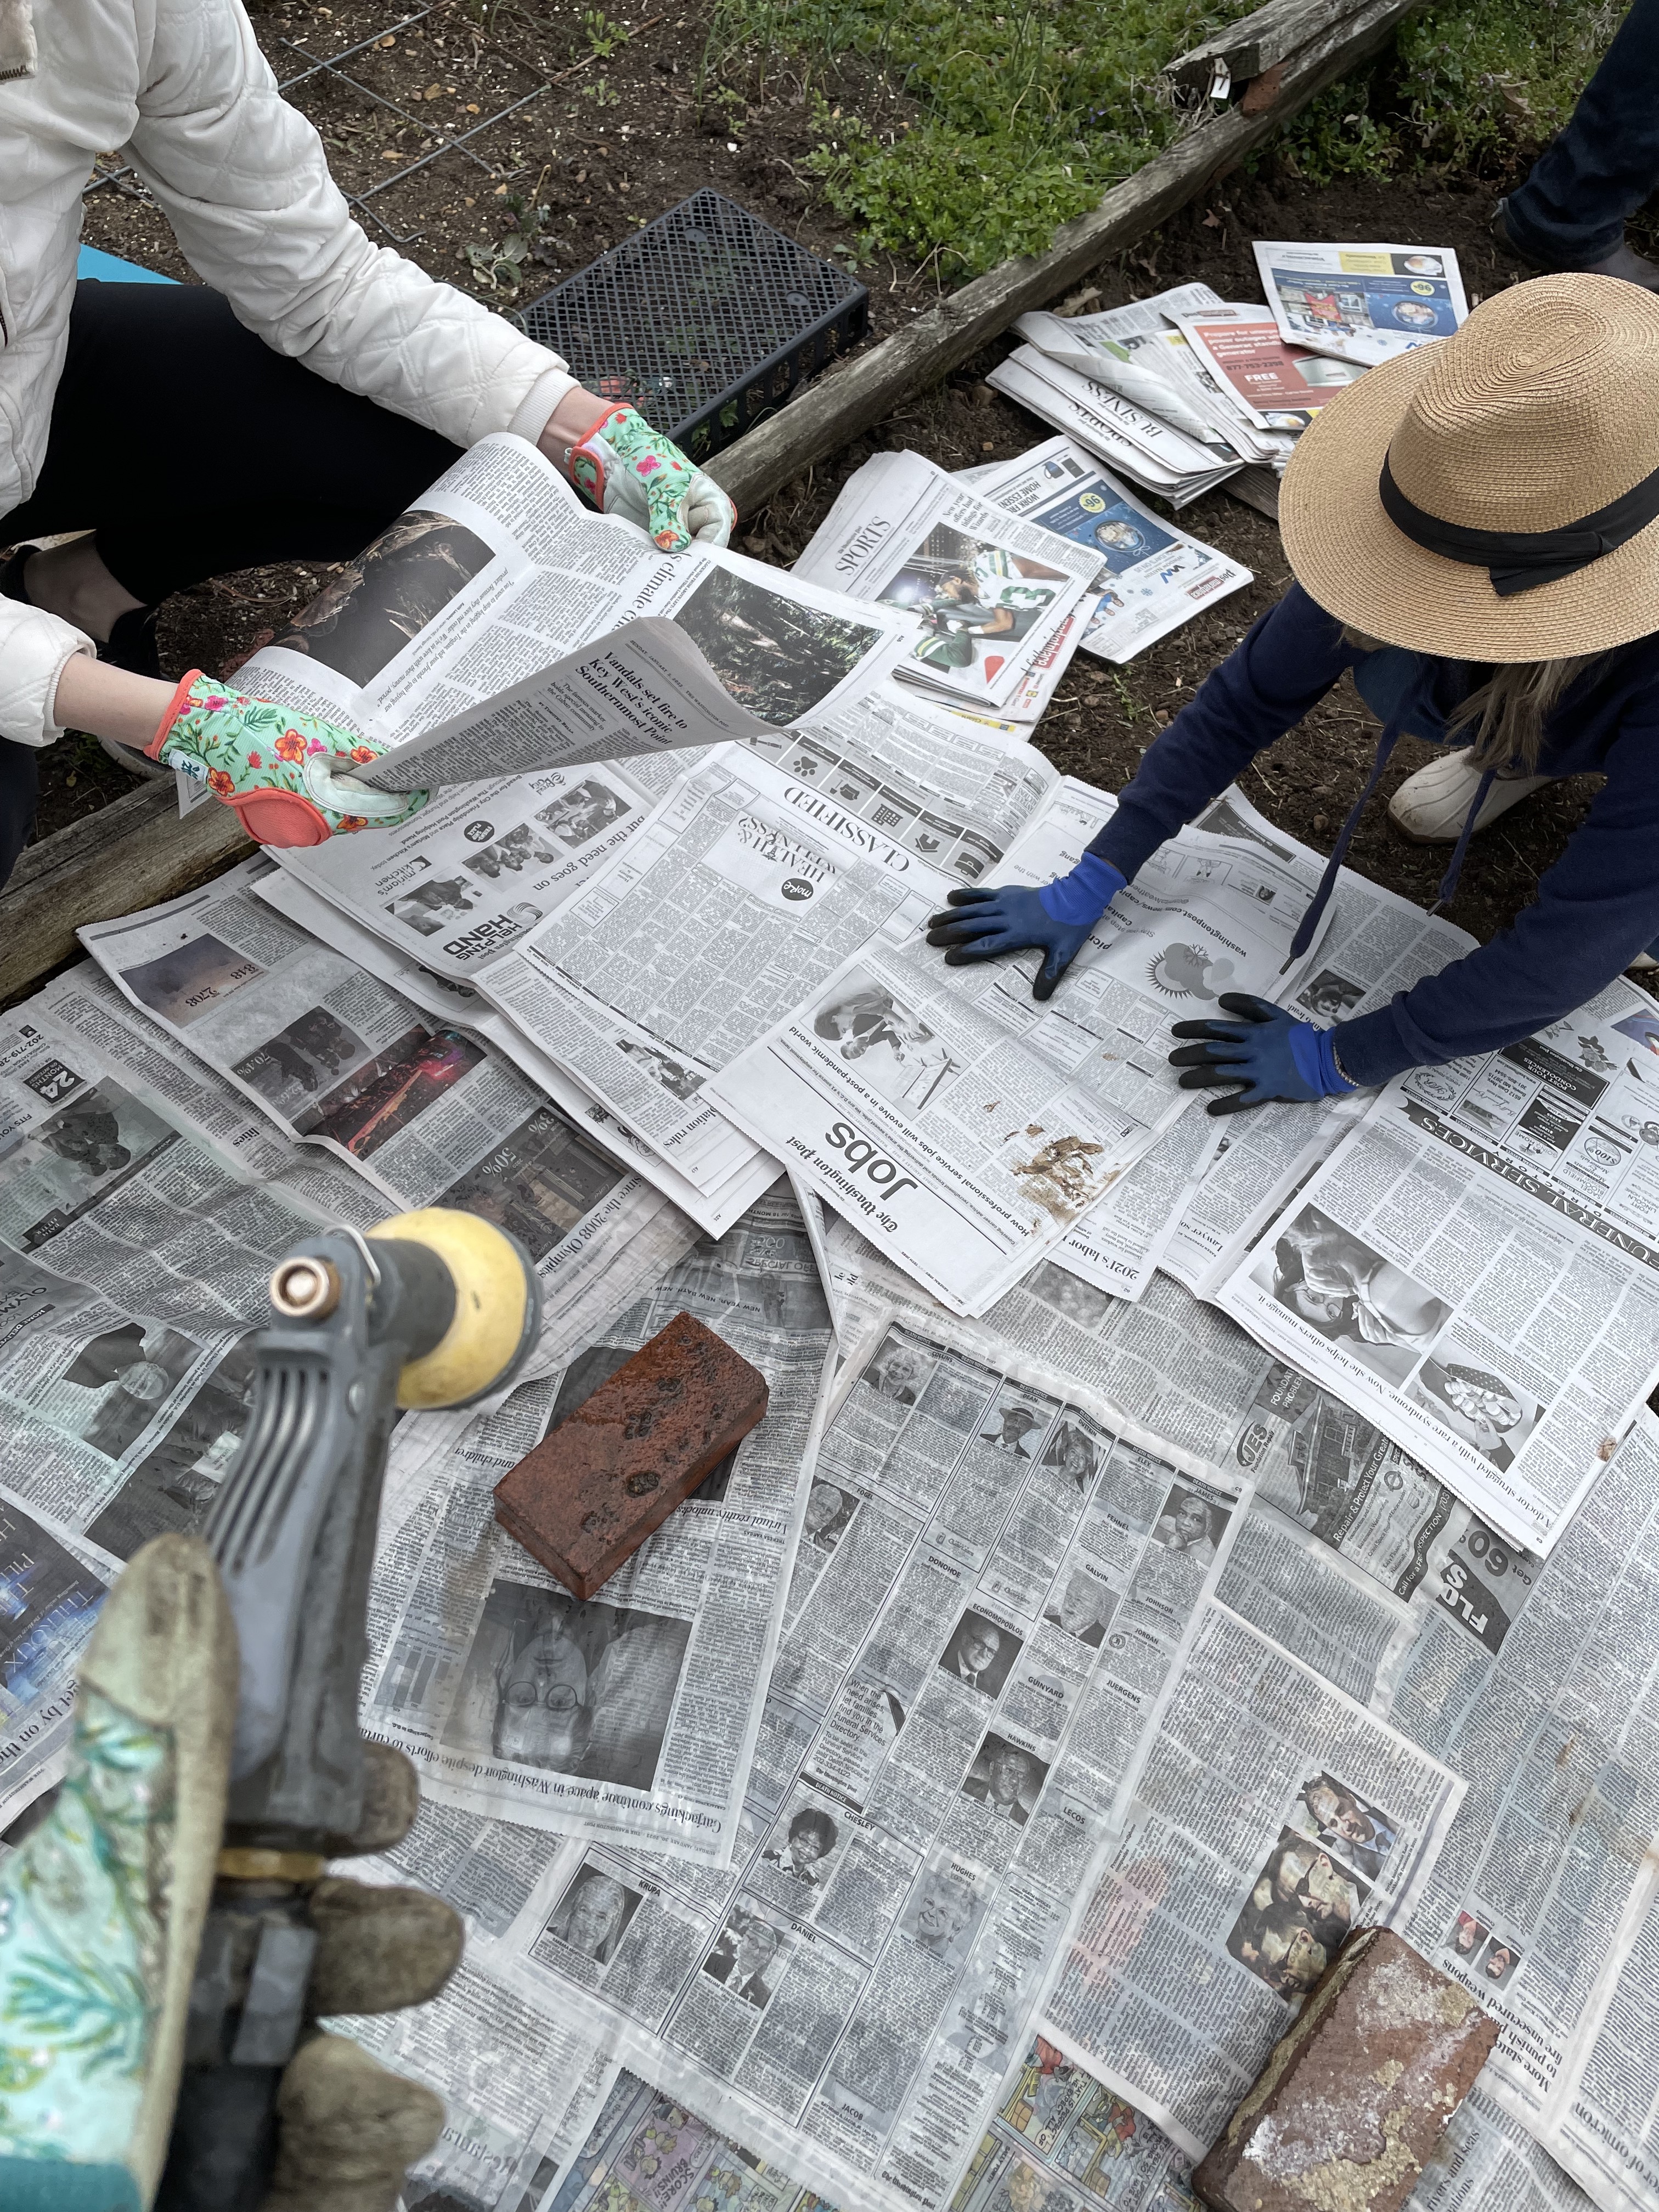
  • NEWSPAPER (Several layers of newspaper to smother whatever else is there)
  • LITTER (Hey, if you have access to rabbit poop, you use it.)
  • MULCH (The county supplies lovely leaf mulch to the garden. You haul it to your plot from a big pile.)

There are a few berry bushes that we left, but everything else came up. We watered in between each layer. (BLESSED ON-SITE WATER!) The soil looked amazing, there were tons of healthy looking wormies in there doing their thing. Thanks to the pieces of landscape fabric, all we had to do was pull up the sections that were still there, shake out the dirt, and move on. This way, we were able to disturb very little of the layers of soil bacteria that have built up over the last two years.

This was about 7 hours of work over two days. Three people the first day, five the second. Many hands make light work! That was the bulk of the heavy work, I think. Maybe cleaning up that back part, too. We’ll have ot put in some deep edging pieces to keep the grass from leaving the sitting area. Gotta see how that will work. Hopefully we’ll get some rain this week, but if not we’ll go back and water the mulch some more. It should break down in about 4-6 weeks. I’m thinking that next weekend after layering the second bed, we’ll add some more mulch to the first bed, and then plant some seeds there. The second bed will be about two weeks behind for the whole season. Turning the clods of weeds over reveled those yummy beneficial worms and also some evil grubs. Thankfully, other garden neighbors were more than willing to help us out.

My neighbors want to put a walking path through the middle using large pavers, which is a super idea. It will make a safe stepping place, differentiate the beds, create visual interest, and cut down on some of the space to work.

The one thing we forgot to do was a soil test, but I’m not too worried about that at this point. We can always do it when we return next weekend. (See the How & Why To Test Your Garden Soil I made last year)

There was already chicken wire in good condition in the plot, so we’ll get some new stakes and reuse the wire to create a fence. We were warned to protect young seedlings with individual barriers. LOTS of bold critters enjoy this garden, including this guy, who was more annoyed that we were interrupting his dinner than anything else.

Speaking of creatures….I didn’t pass up this opportunity to pick a few pesticide-free dandelions for the buns. Considering they’re also going to be contributing to the garden, it is compensation. Theo, of course, was not interested, and Ellie, of course, ate both.

Kickoff 2021 with Plot Against Hunger & FOUA

21 Feb

Arlington FOUA is the new official home for the Plot Against Hunger program! Formerly part of the Arlington Food Assistance Center (AFAC), Plot is a network of private home, community, and school gardens that raise fresh produce during the year to help feed our neighbors. Due to the pandemic, AFAC saw a significant increase in the number of clients needing food assistance and had to shift resources to focus on its core mission of providing free groceries to Arlington families in need in 2020. Along with growing food, Plot also supports a network of pantries that distribute the produce to clients in Arlington and parts of Alexandria. Here’s our full press release about the transition.

The Plot Against Hunger program will be a collaborative effort managed by FOUA that includes Arlington Virginia Cooperative Extension, Marymount University, Master Gardeners, Master Food Volunteers, food pantries, and individual gardens and gardeners. 

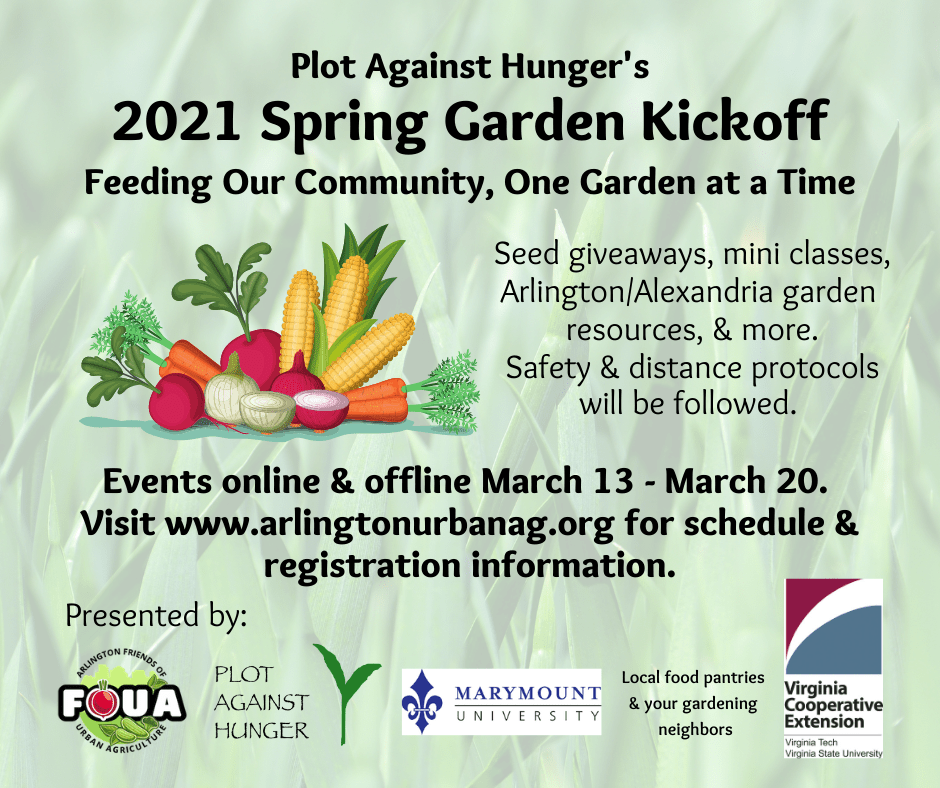
In addition to seed distribution events for participating gardens, we’re starting off the year with a big kickoff week of online events, some distanced demonstrations, and even some surprise giveaways. Here is more info, including a link to registration. If you’d like to get involved in Plot, you can contact me here or through the FOUA web site.

Please also observe my newfound design skills with this bangin’ promo poster.