Archive | May, 2015

Step 3: Dirt

21 May

Dirt. When you have a yard, you think you’re the queen of all dirt. Why on earth would you need MORE dirt when your empire is already full of it???

Well…as I found out removing grass from a 25 by 10 foot spot in my yard, when you dig up grass, it takes 3-5 inches of dirt with it.  And this is 100 square feet of dirt that you’ll need to replace so that you don’t have a giant unsightly hole in your lawn.

So…off to Lowes!

dirt

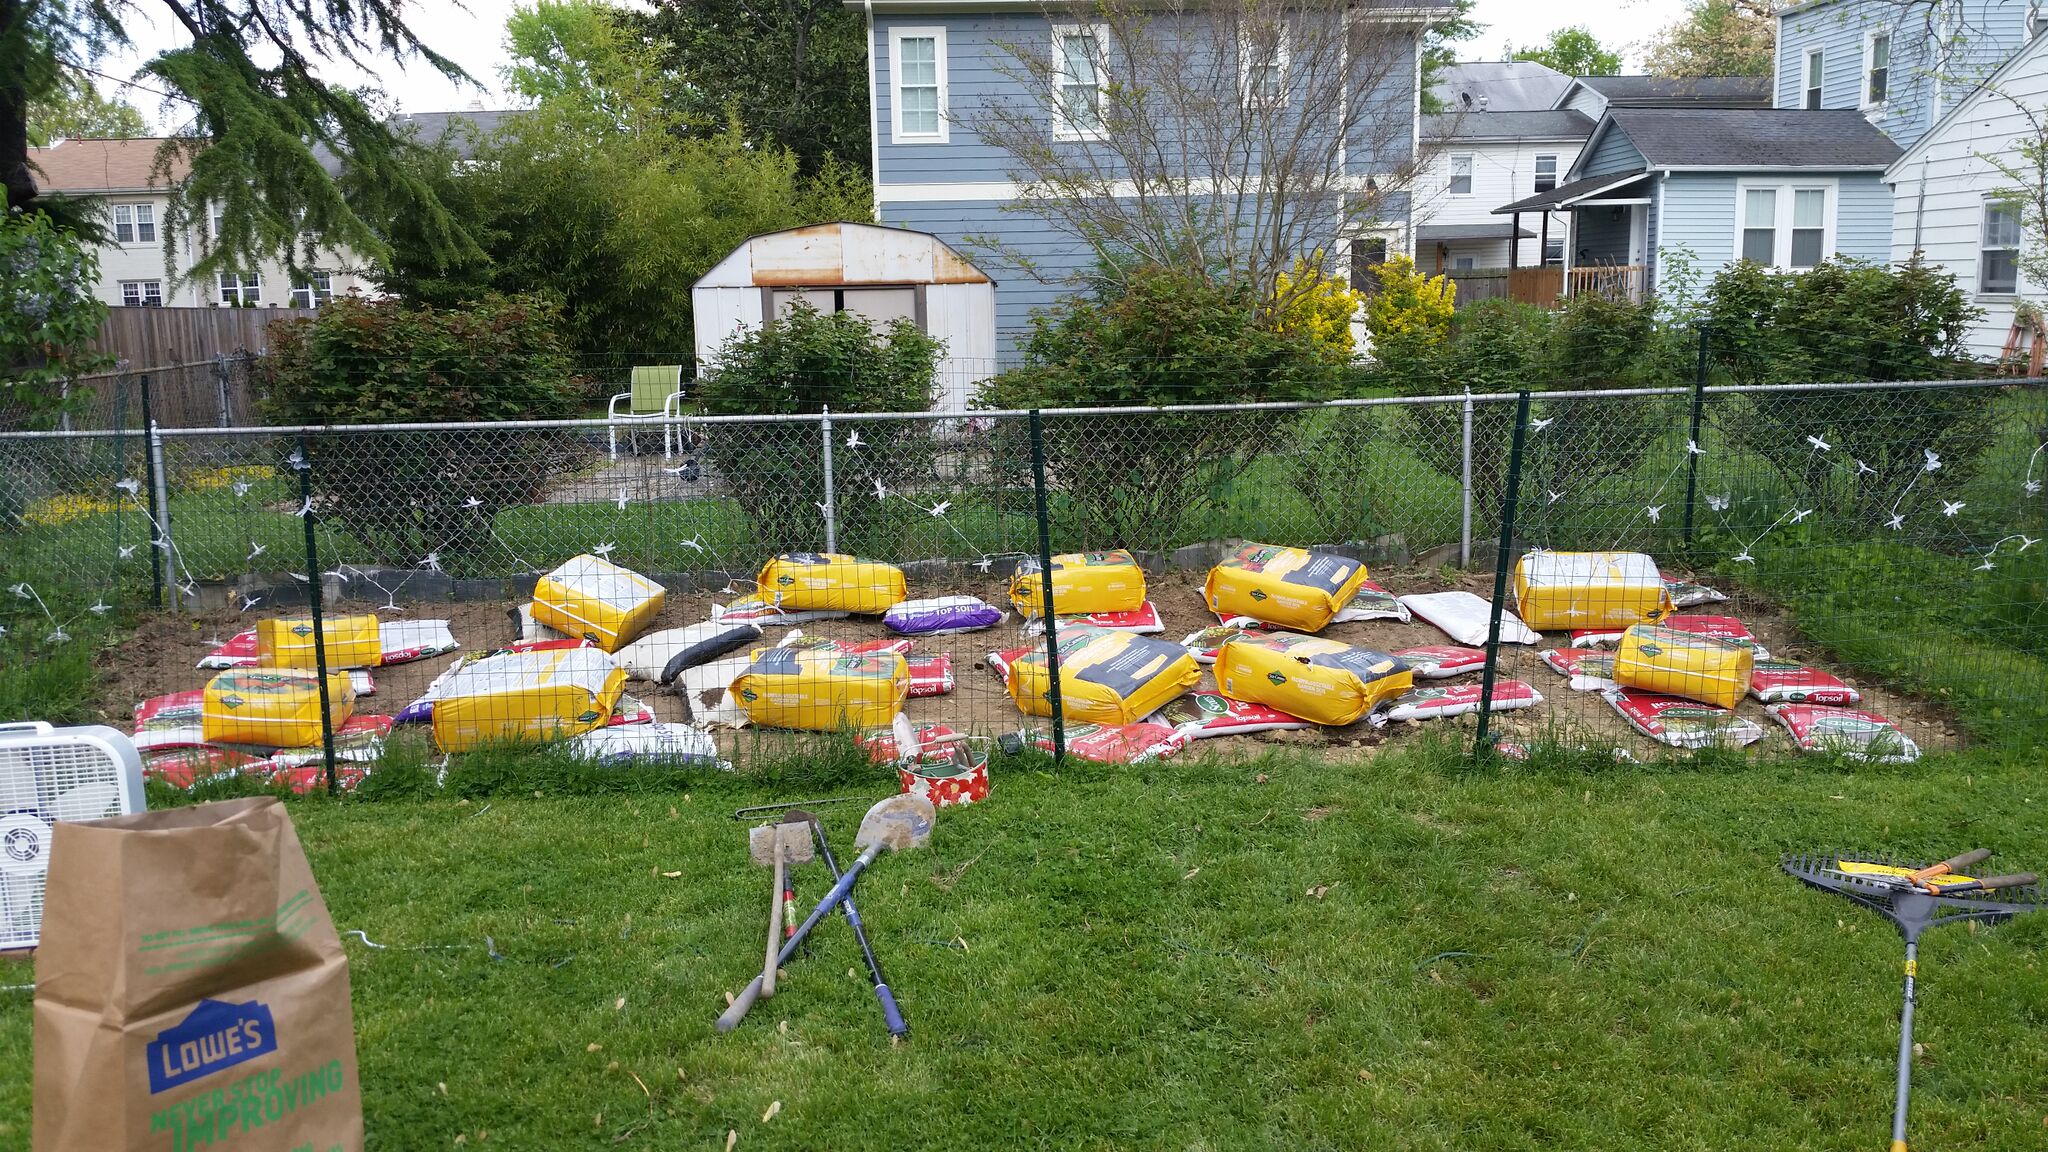
In case you were wondering, that’s what $200 worth of soil looks like from Lowes. It took me 2 trips in a Ford Escape to get this home, and A LOT of help from the staff at Lowes with loading it all into my car (seriously, the staff at my local Lowes are ridiculously helpful. I love it there).

I got 33 bags (33sq feet) of a good mulch-y top soil, and 12 large bags of vegetable-specific garden soil (30 sq feet). I supplemented all of this with 6-7 additional bags of topsoil and organic garden soil we had lying around the lawn from other projects.

If you’re doing the math, you’ll realize this means I only got around 70 square feet of soil.

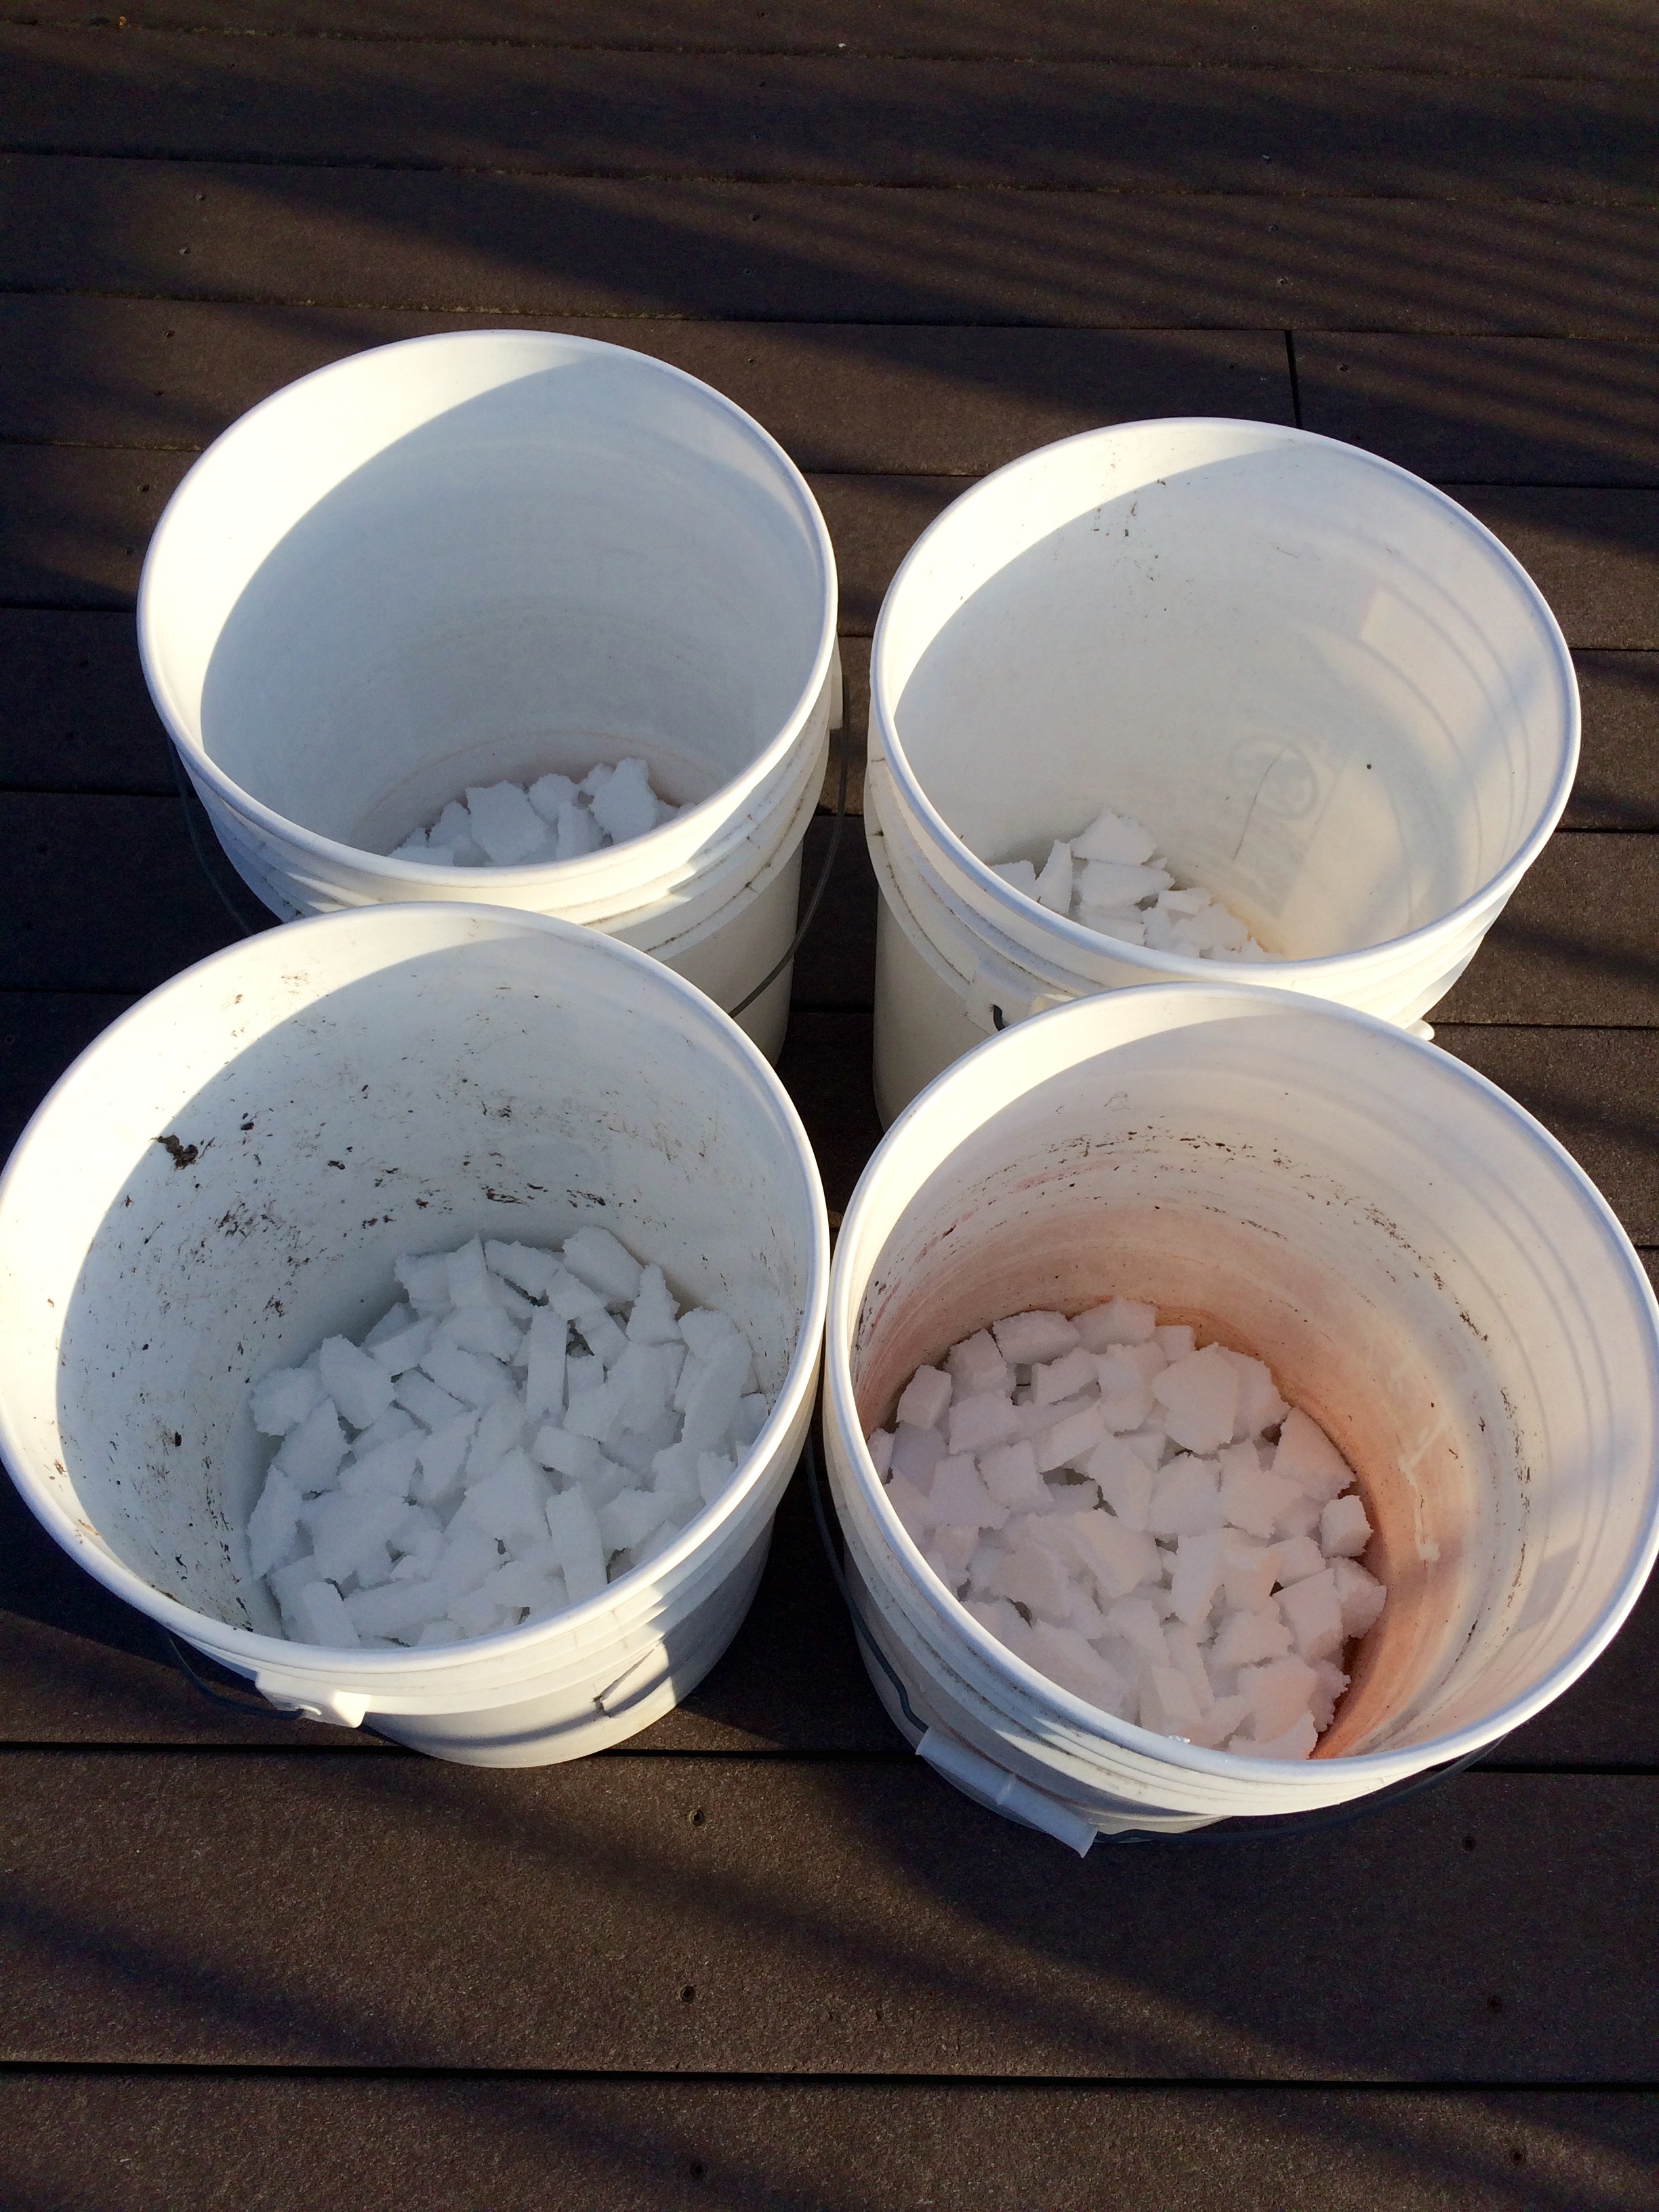
But don’t despair! I have 6 cubic yards of mulch in my driveway thanks to the city of Alexandria! That’s wayyy more than I need for this project (in fact, way more than I need for anything…anyone want some mulch???).

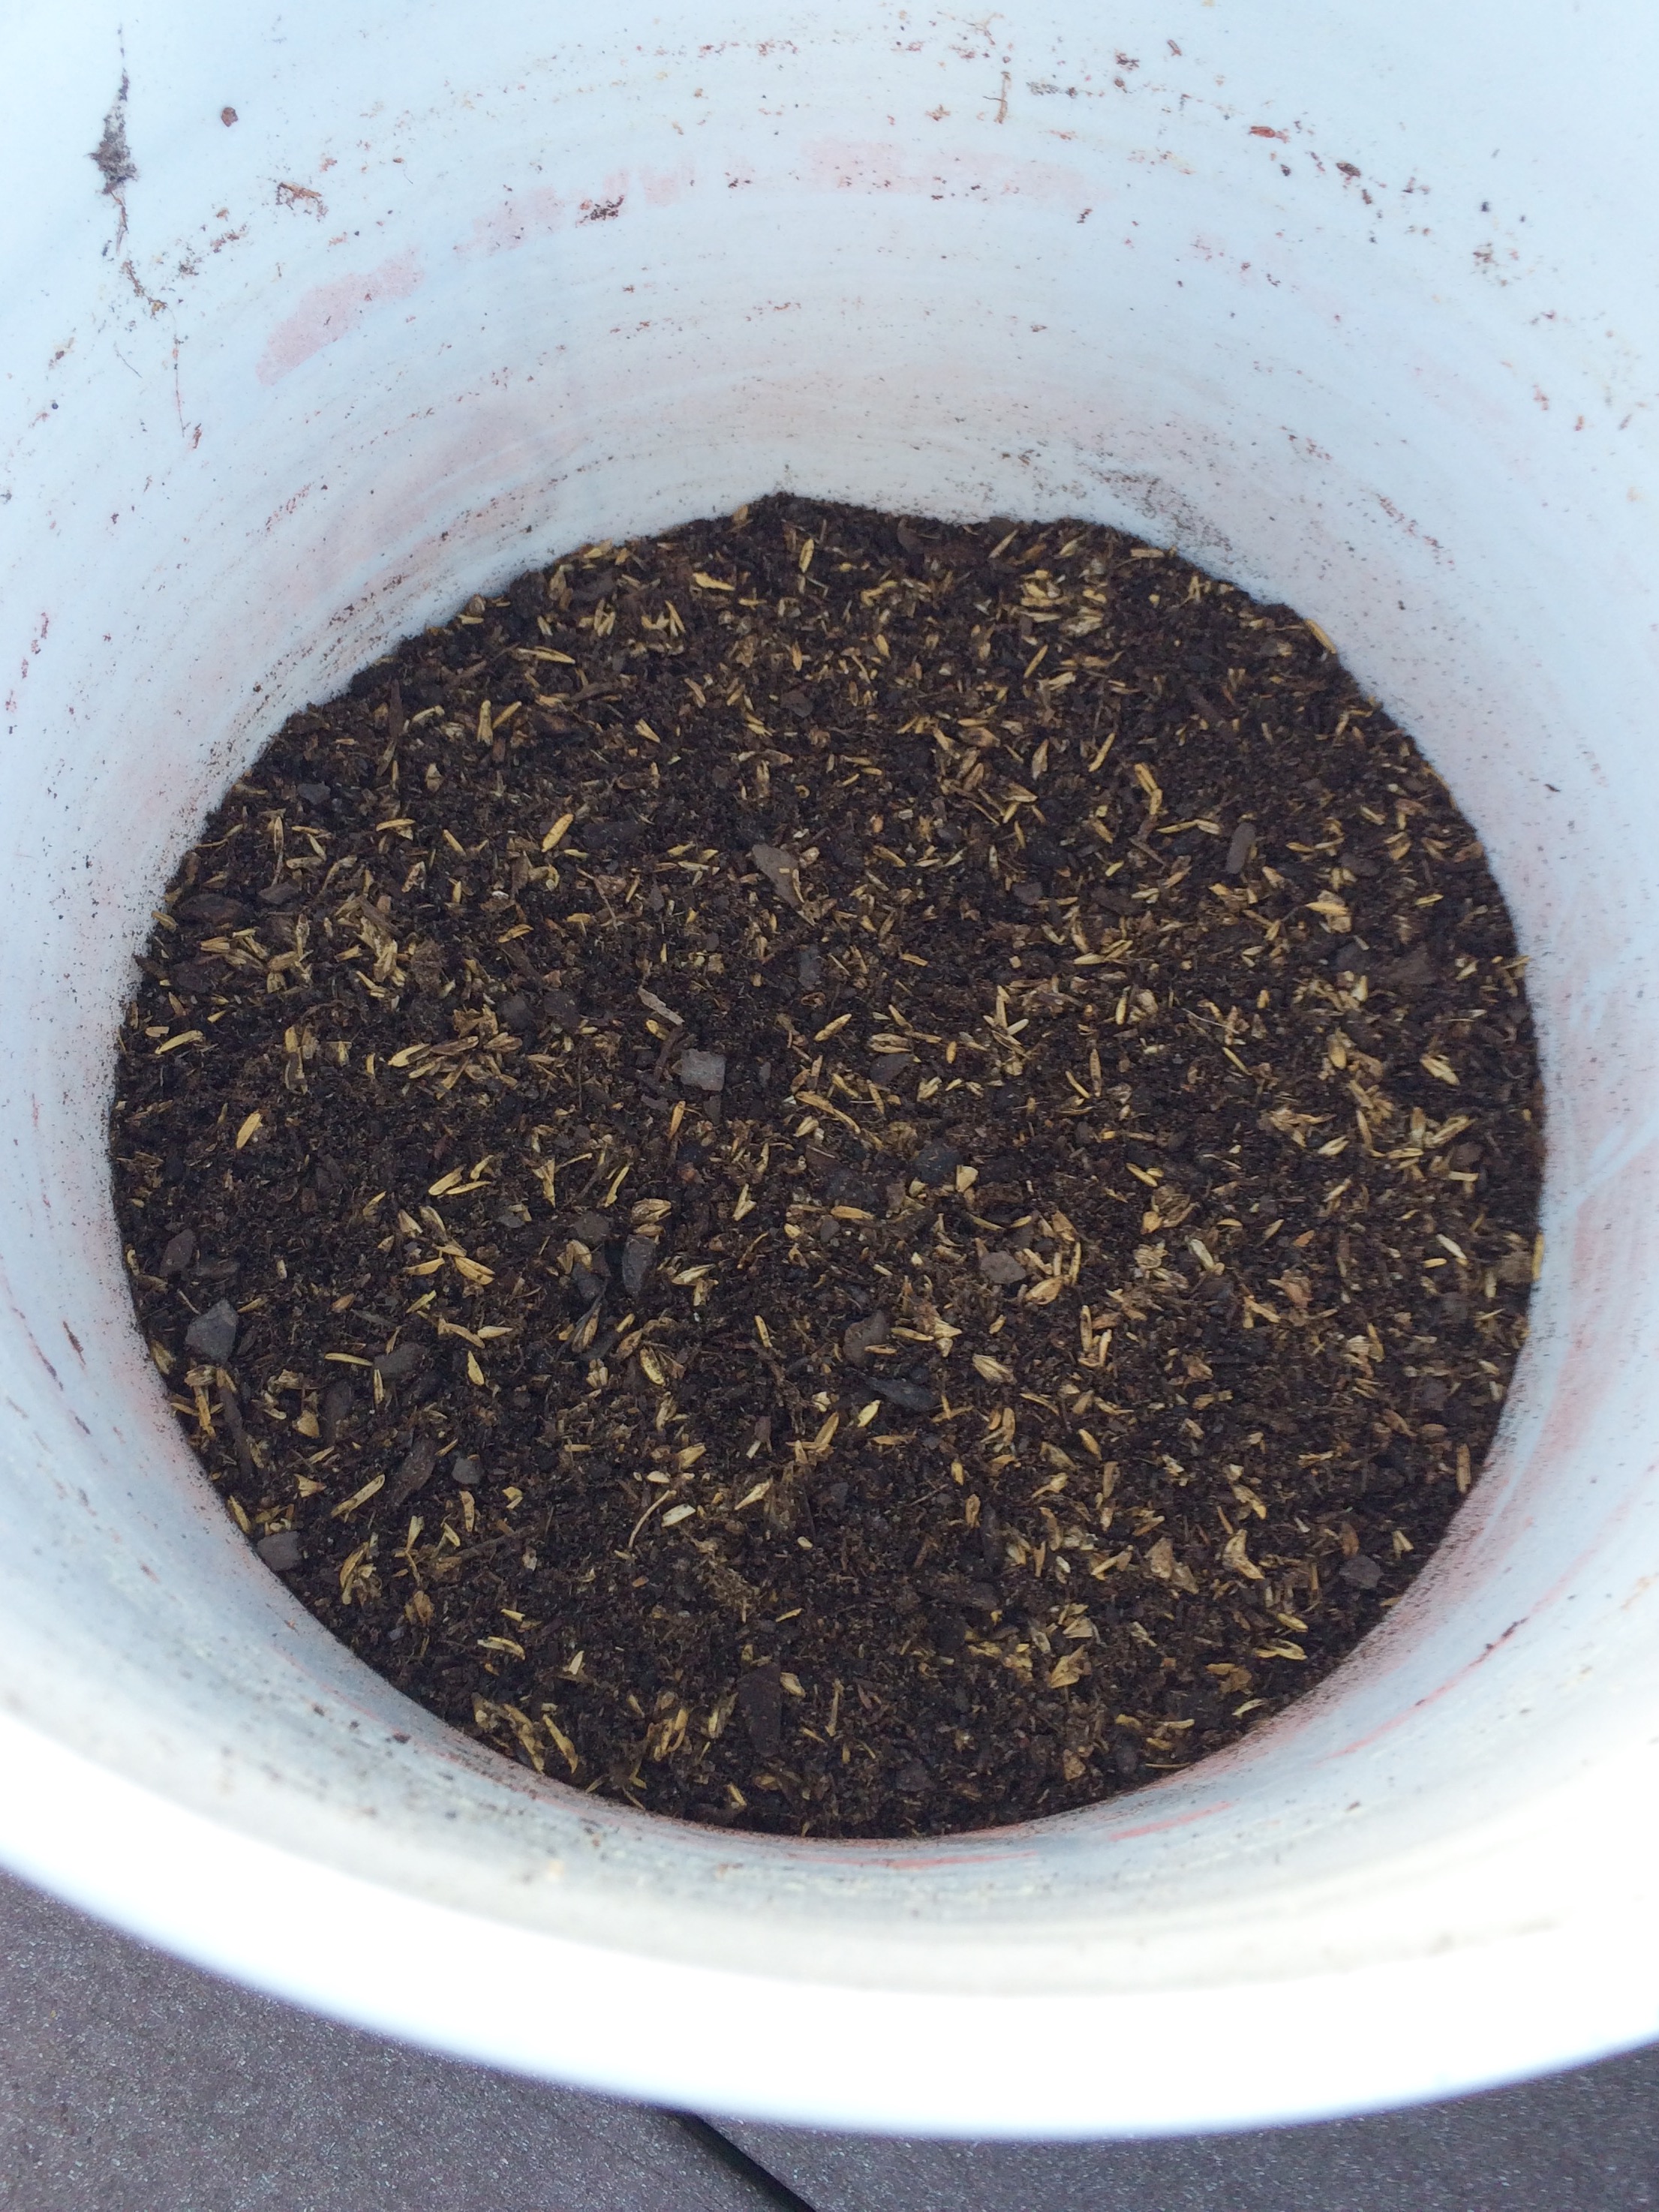
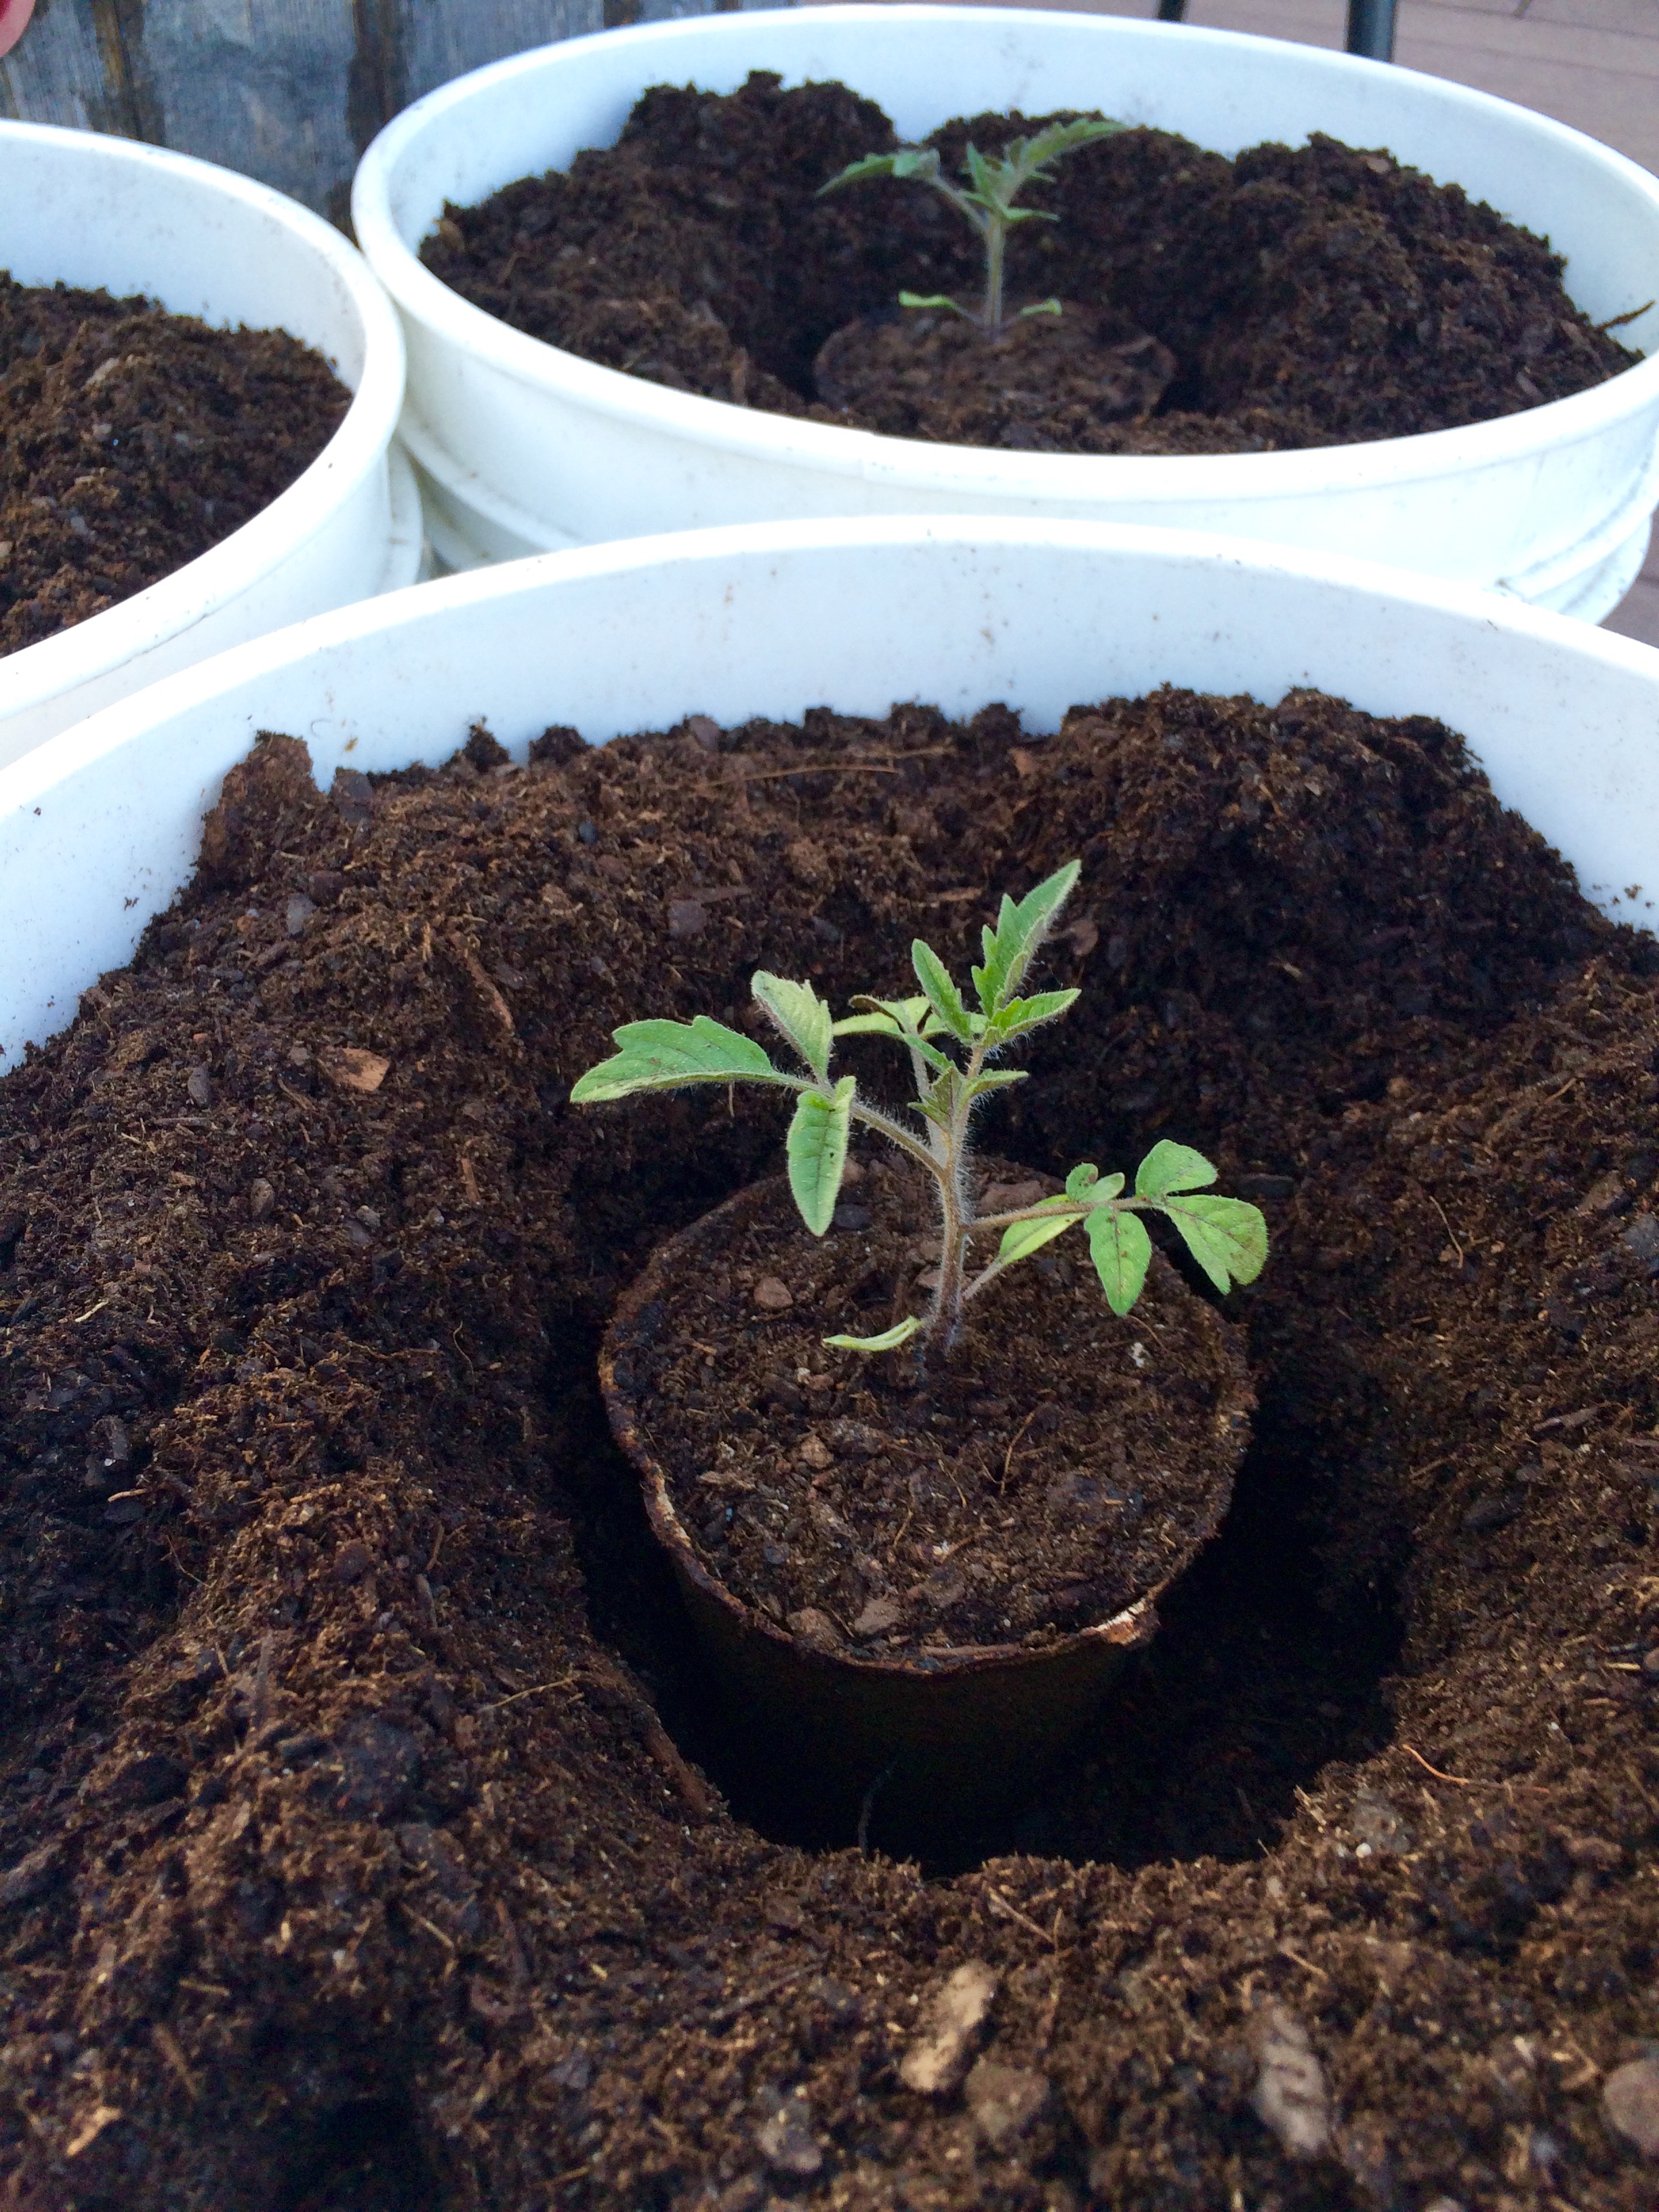
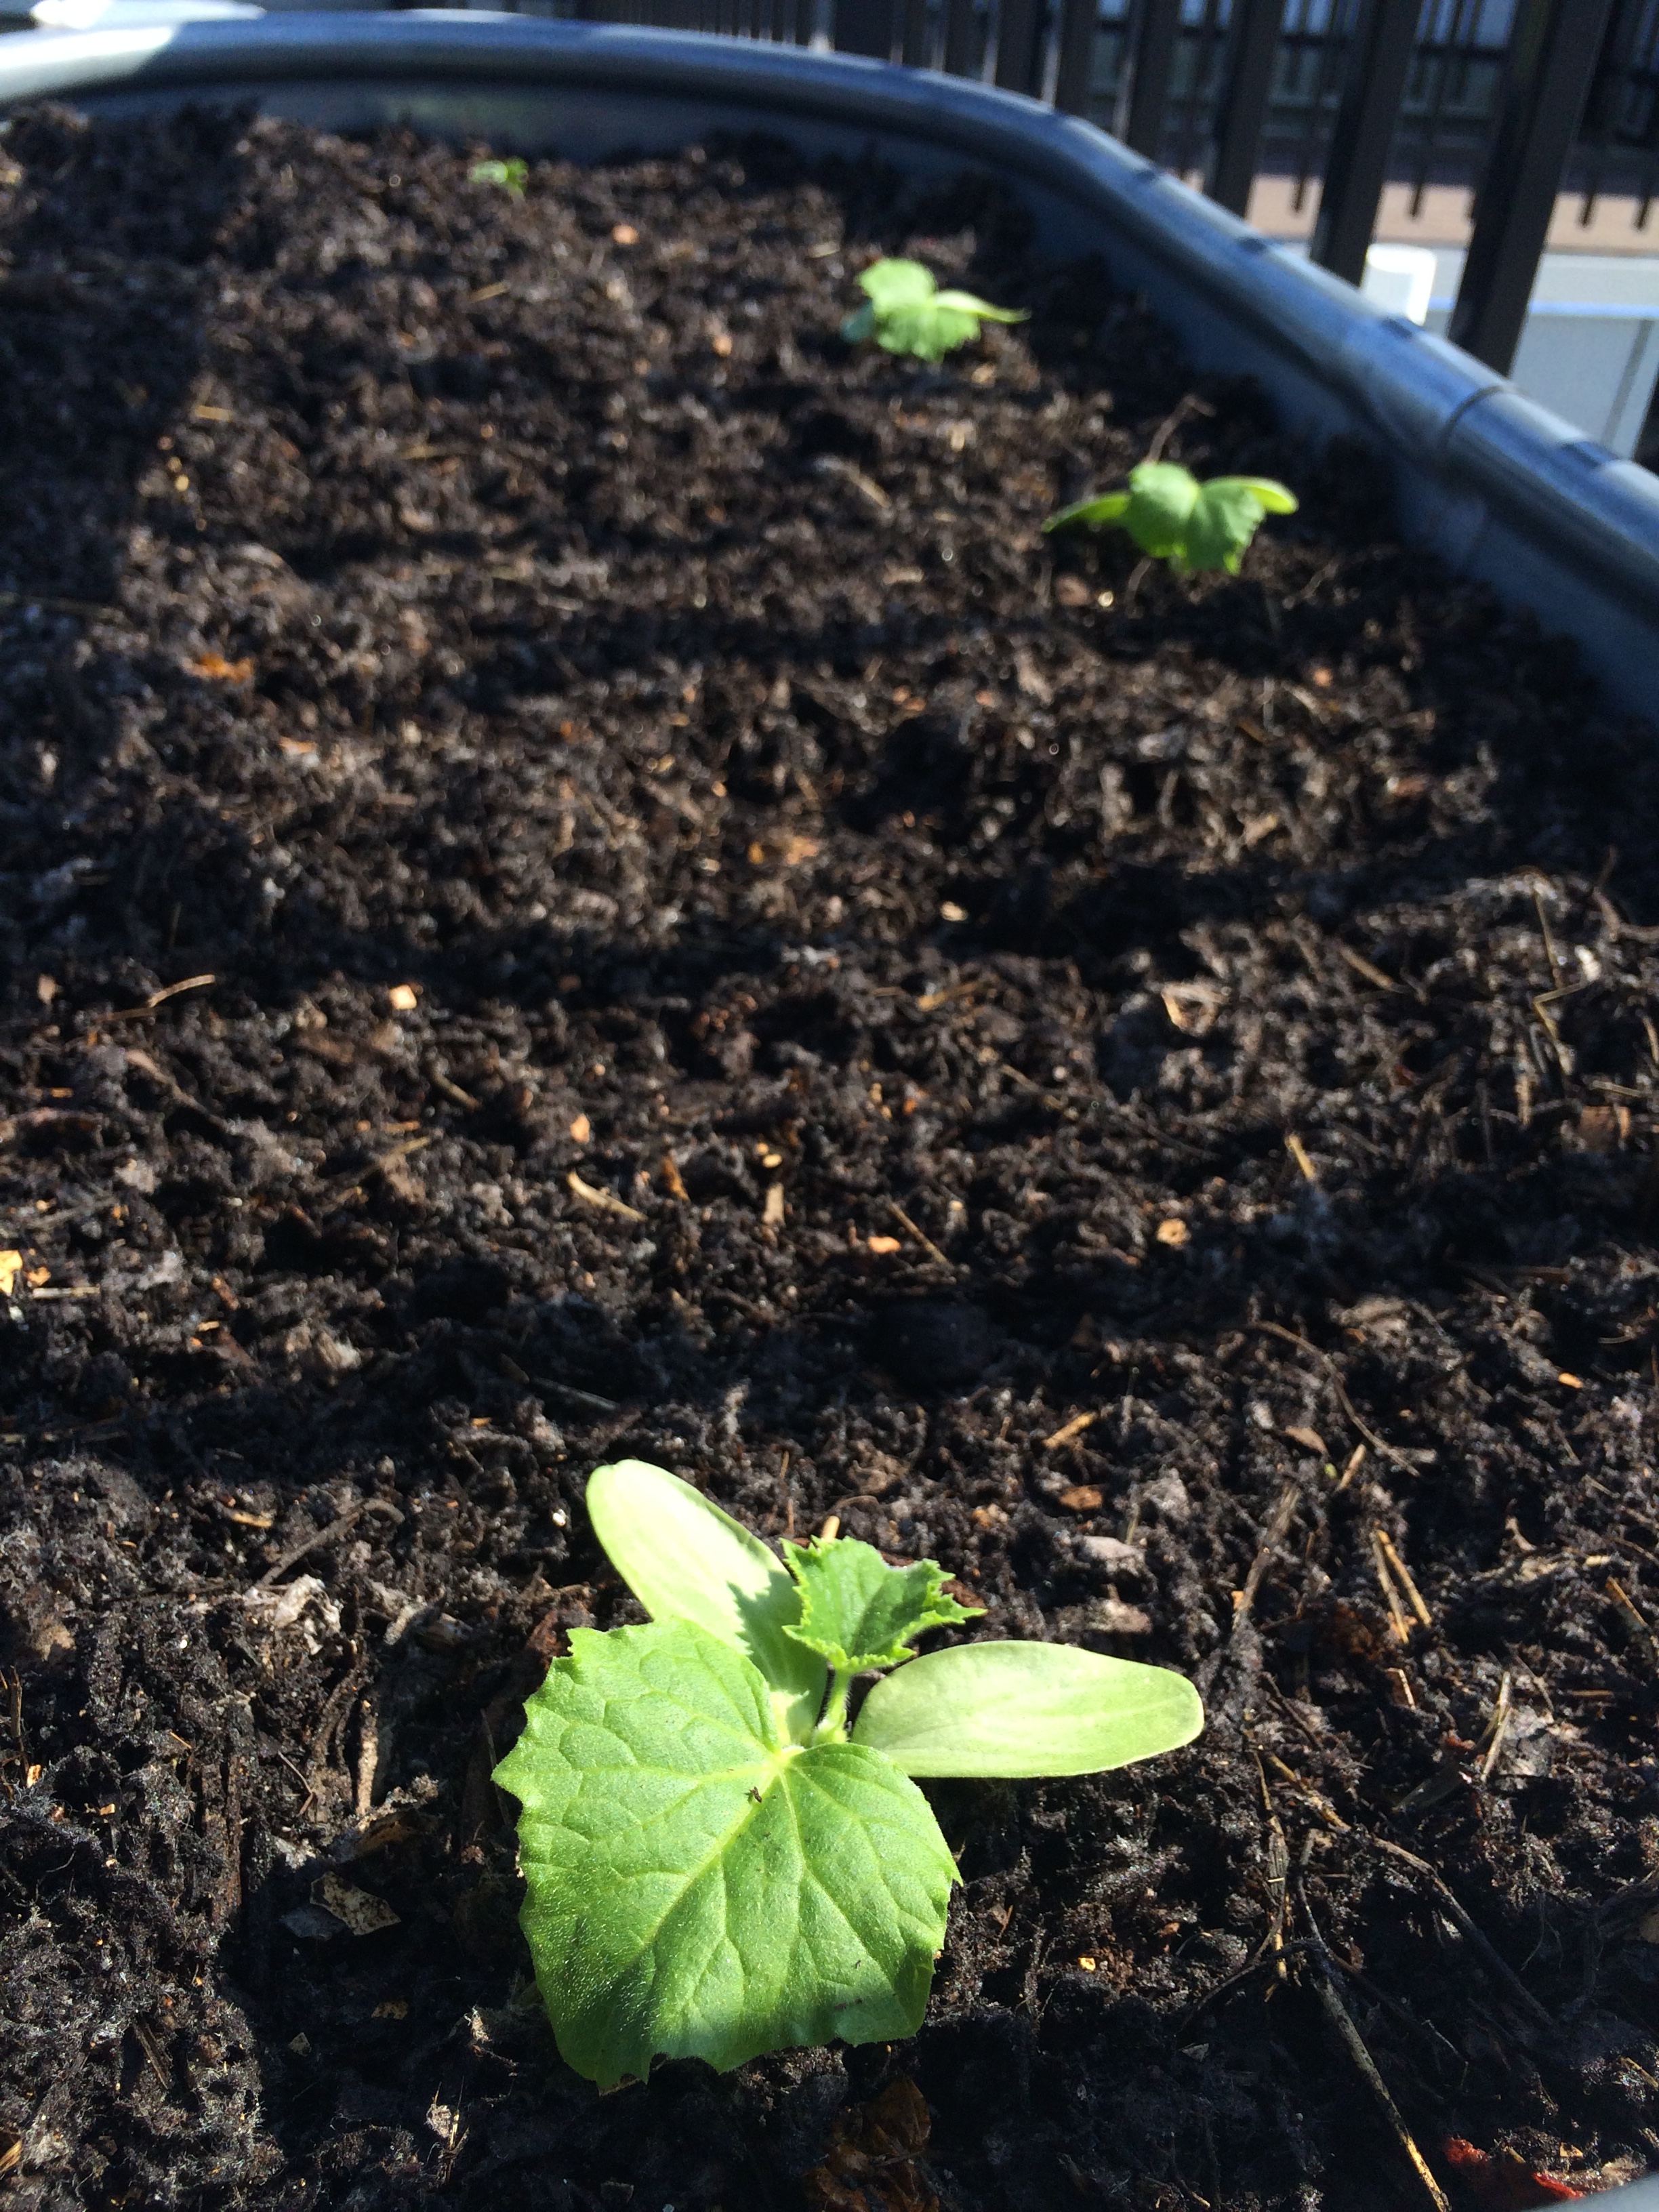
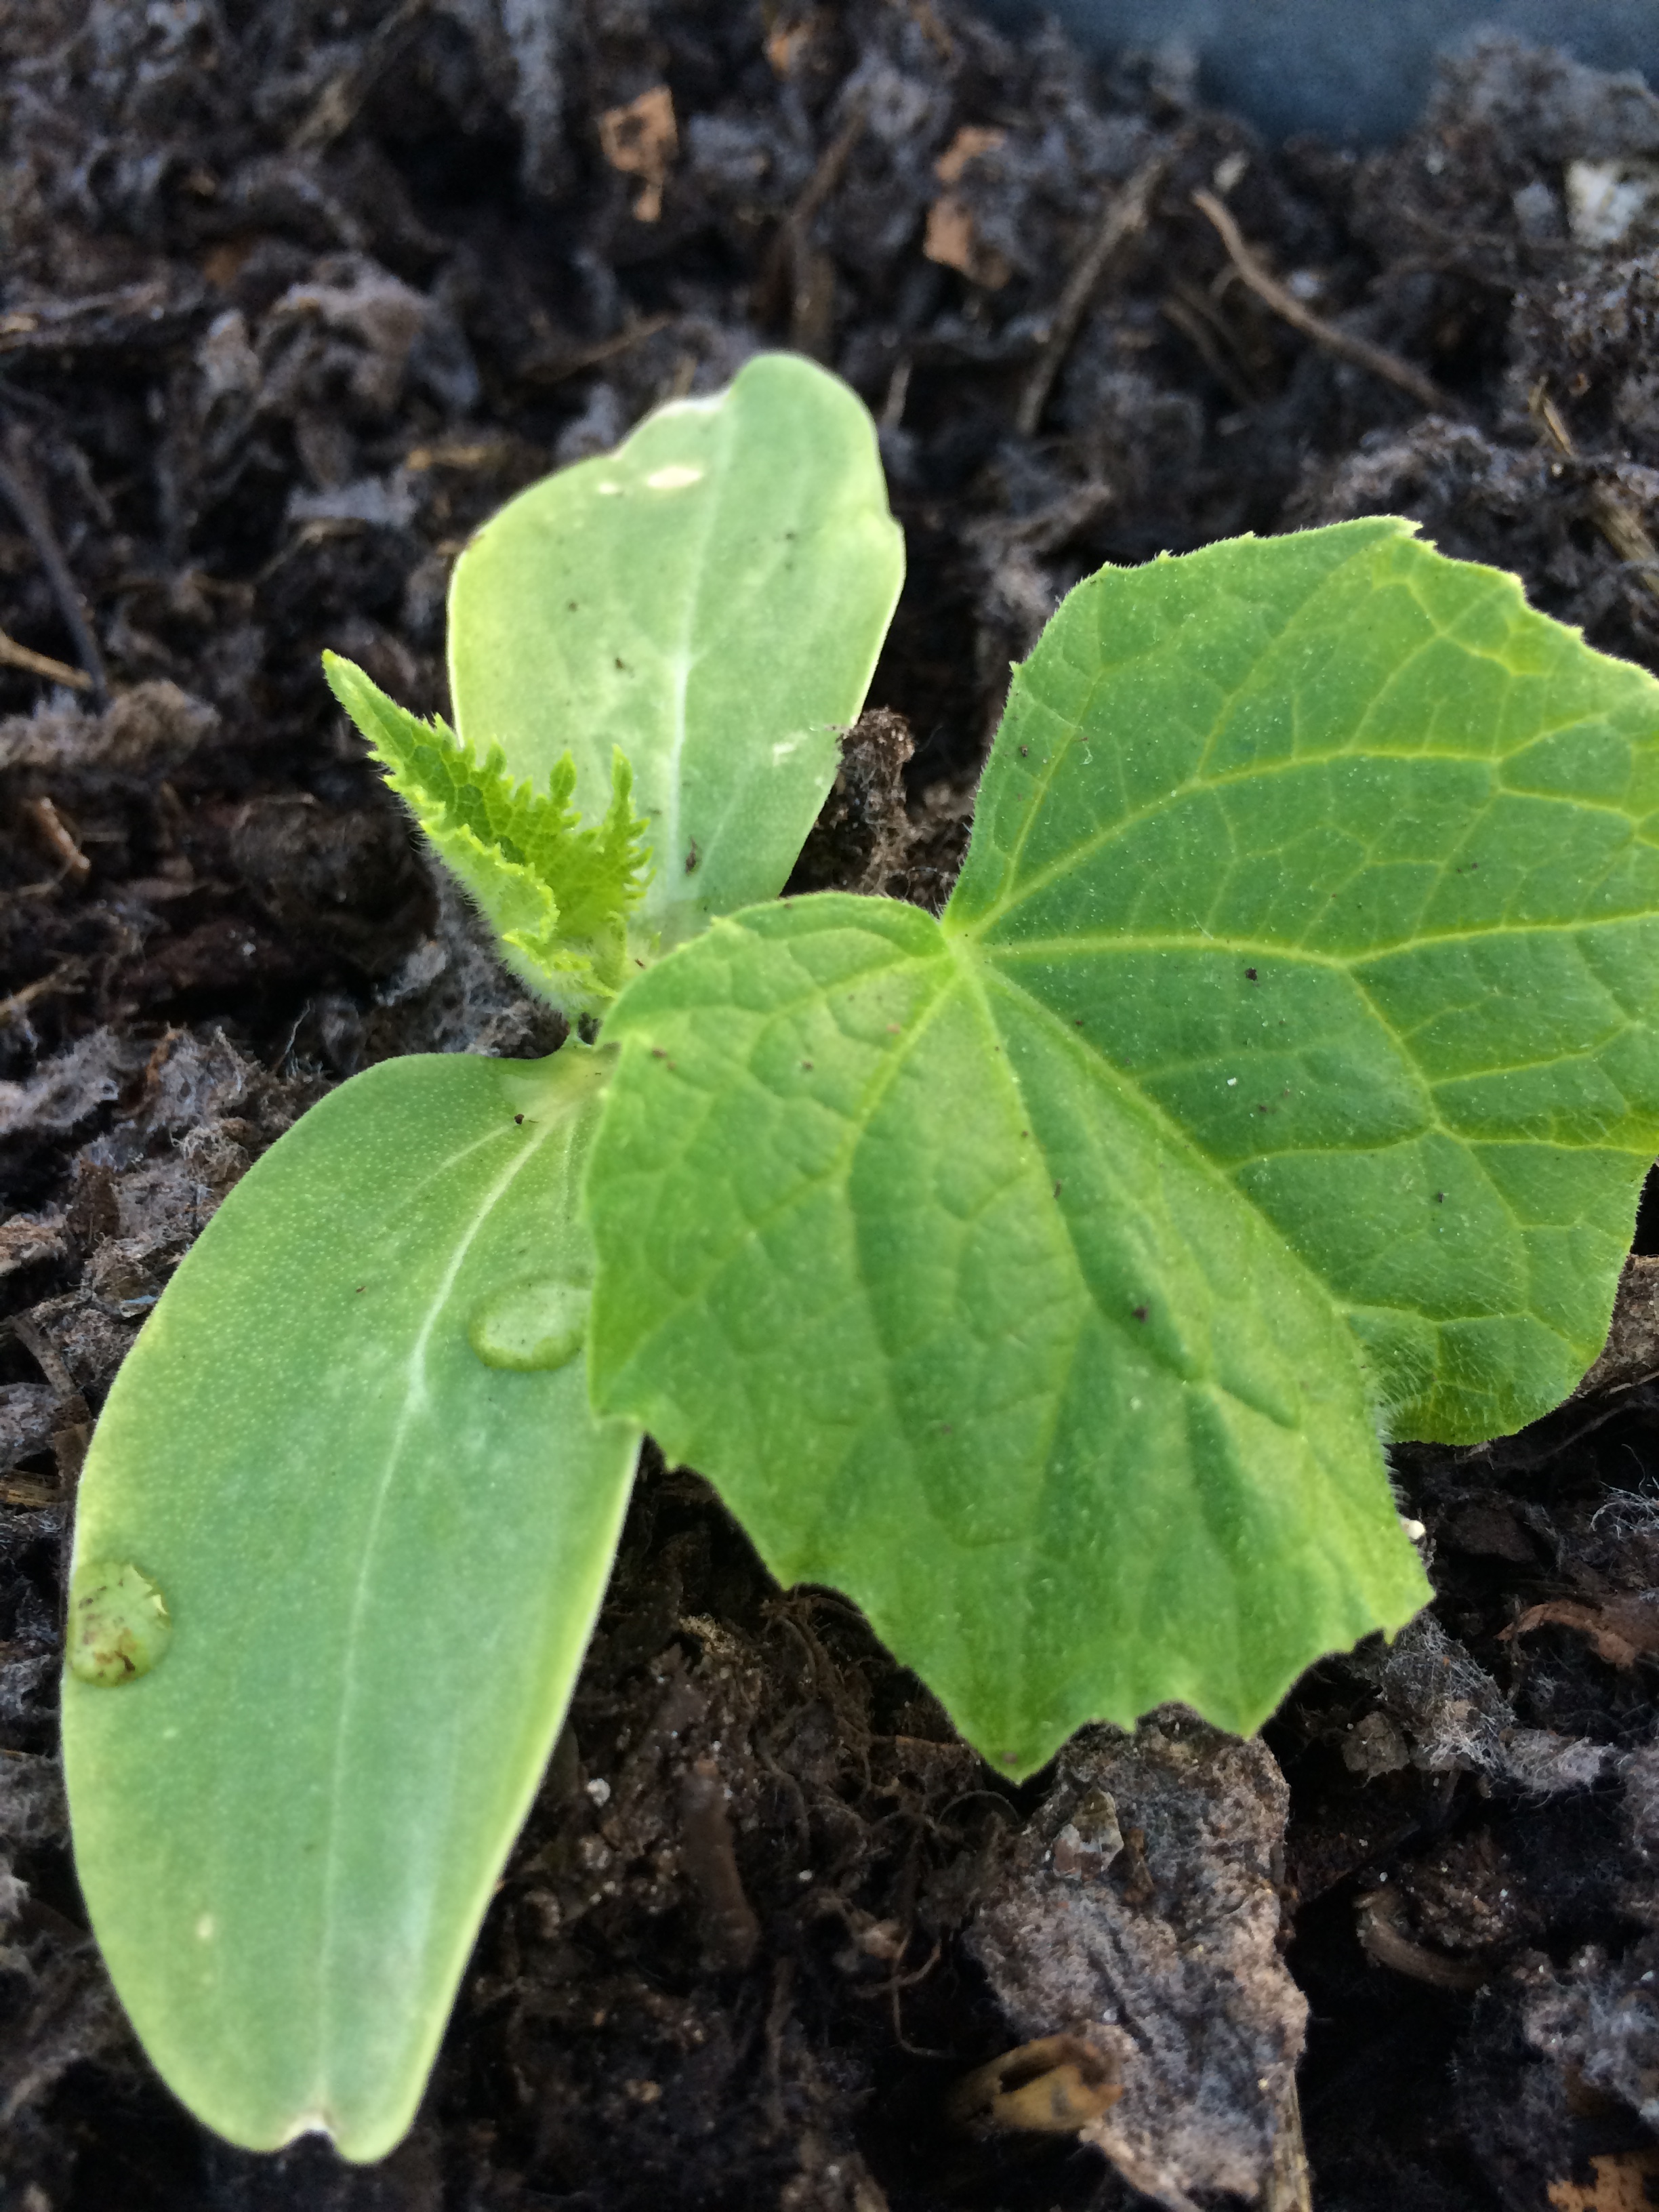
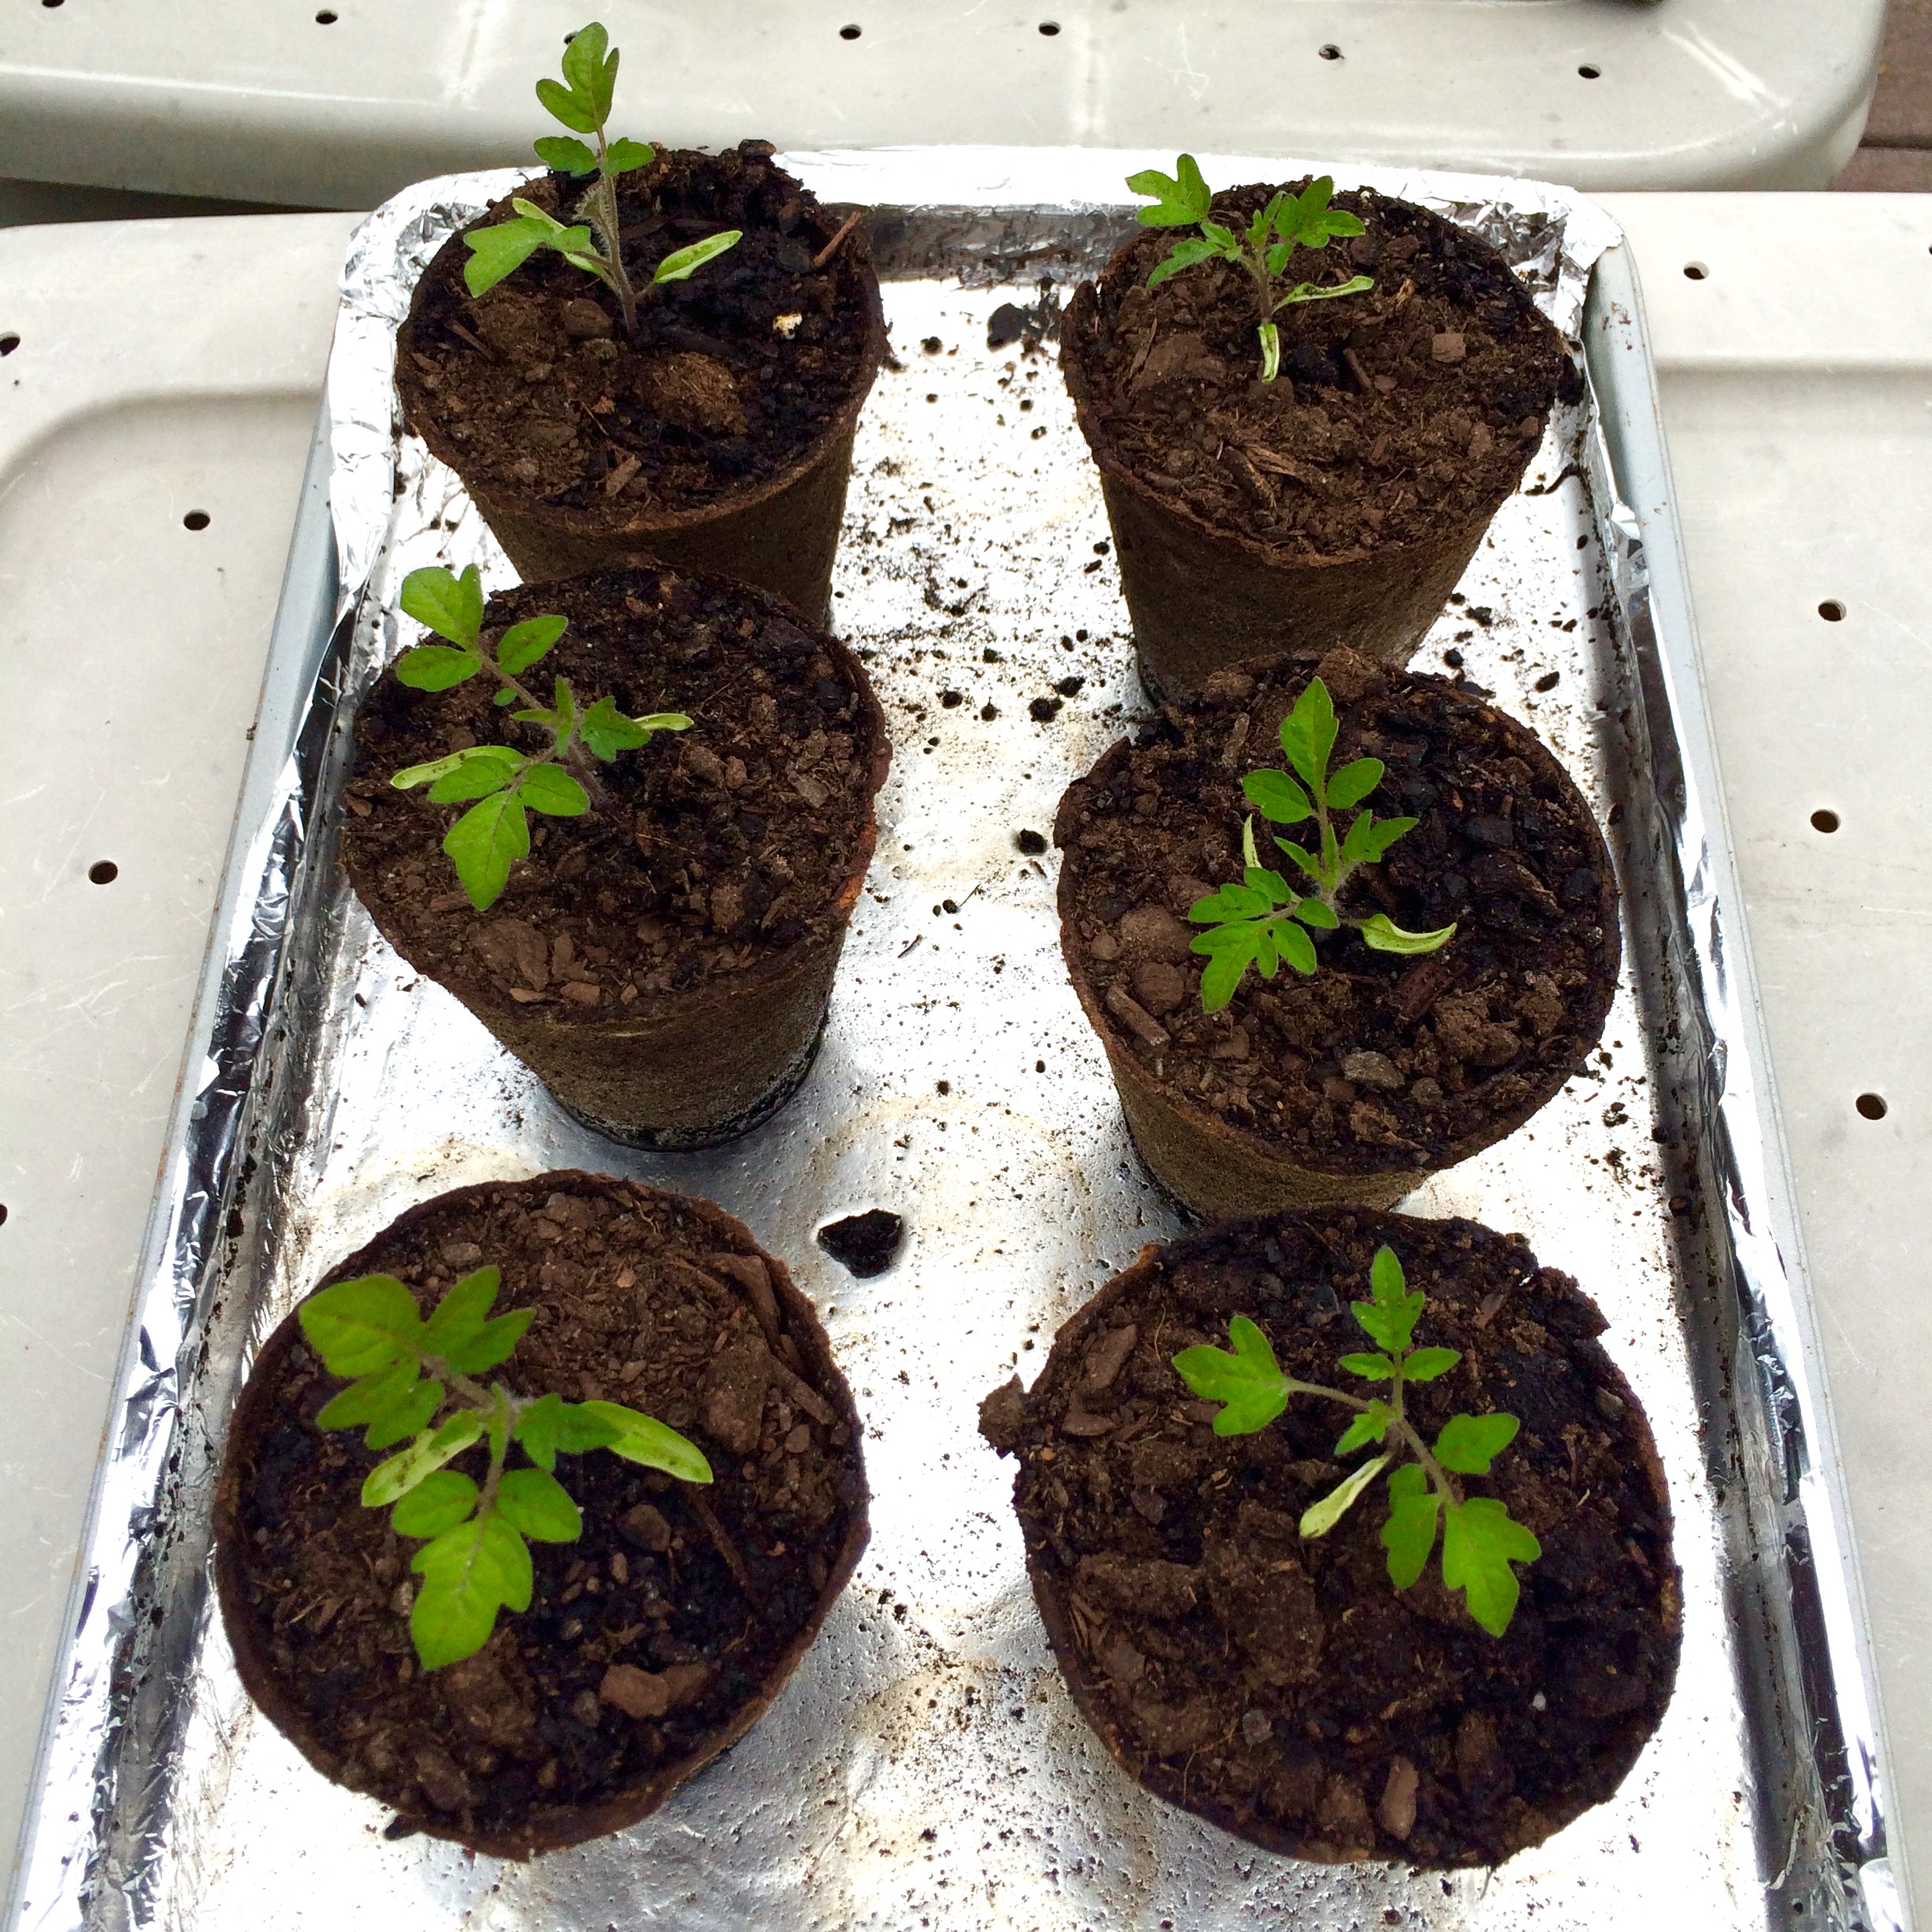
This is my dirt, in my garden.

dirt2

Side note: I had wanted to try organic garden soil, but it came down to a cost issue—it cost me $80 for 30 sq feet of high quality vegetable garden soil I purchased, but it would have cost meat least twice as much to get the same amount in organic soil. I am all about organic gardening, but for a project this size the start-up cost is enormous, and wasn’t possible within my budget.

Step 1 and 2 of building a garden: Finding and Digging out a Space

18 May

Hi, I’m Erin (aka schmerin). And this is my first post about building my garden in Del Ray, Alexandria. This is cross posted from my blog, Garden and Gears.

In years past I’ve done windowsill gardening in Arlington–mostly herbs like basil, oregano, and some ill-fated pepper plants, and last year I used containers to garden on my fiancé’s townhome’s back porch.

So moving on to this year—WE RENTED A HOUSE WITH A YARD! Did I tell you? It HAS A YARD! That gets lots of sunlight! So this is my first post on how we built our garden.

Step 1 and 2 of building a garden: Finding and Digging out a Space.

Task 1: Find a location. Our backyard is a decent size, but has some weird bushes, a shed, and an odd cement path. All of which we’ve been informed by the landlord cannot be moved. So we looked around for a spot that had four qualities:

  1. Wouldn’t be an eyesore for the neighbors.
  2. Got plenty of sunlight during the day.
  3. Large enough to be around 20 feet long and 5-10 feet wide.
  4. Was easy to block the dog from getting into.

The spot that fit all of these qualifications ended up being on the west side of the lawn, behind the shed.

Task 2: Realize there is grass where the garden should be, but no grass in the center of the lawn (?!?!?). In case you were wondering, digging up and moving grass is really tough. Day 1 and about 6-8 hrs of work resulted in a 10×10 foot hole, and a nicely patched spot in the center of the yard.

Day 1 of digging

Day 1 of digging

Task 3: Add fencing. This step I’d actually recommend doing after digging the hole since the fencing blocks the shovel from getting to the right angles, but my fiancé and neighbor went ahead and did it at this point anyways. The green fencing is from Lowes, and is attached to 8-10 green stakes. It looks nice, and isn’t an eyesore for the neighbors. The gate was not built yet at this point.  The total size of the fenced in space is 25 by 10 feet.

Chris and Dave building the fence

Chris and Dave building the fence

Task 4: Keep digging.

Still digging...

Still digging…

Task 5: FINISH DIGGING! Digging took 3 days of 6-8 hrs each, spread over 3-4 weeks. Digging up grass is really tough work, especially on 80 degree days with full sun, which seemed to be every weekend.

FINISHED DIGGING!

FINISHED DIGGING!

Next post…DIRT.

Lean On Me: A Support Story

14 May

I’m dedicated to updating at least once a week, more if possible. Lots of exciting things going on upstairs!

ShmErin and I went to Campbell and Ferrara on Rt 1 in Alexandria a few days ago to pick up some strawberry pots that were on sale…50% off! We got pots and plants. The guy who took care of us was VERY friendly and helpful. I feel like a dope for not getting his name, but I’m going to tell them he was great. I got two strawberry plants, two peppers, and two yellow squash plants. Now, the squash were really four, as each one had two little guys in the pot. I knew that separating them might not be the best idea and I could damage both, but I thought that if they were apart they’d do better. Also, tearing the roots a tiny bit would stimulate new growth, but I didn’t know if this would be too much for them. I risked it. It worked. The morning after planting, all four squash plants were happy and looked great. Here they are in their new tank with two red bell peppers and one hot pepper. Marigolds all over to help keep bugs away.

Photo May 12, 7 49 46 PM

This is the first year I have strawberries. They also like their new pots. The guy at the shop said they have shallow root systems, which is why they do well in pots. I don’t know if i put them in correctly. I basically put their runners through the soil and into the other holes in the pot. I think I was supposed to plant the actual runner itself so it develops its own root system, as that’s what happens when they’re in the ground. We’ll see what happens. I might have to do some plant surgery in a few weeks. However, the few little berries that were there earlier ripened quickly and both plants have made new leaves in the last three days.

Photo May 12, 6 08 20 PM

Tomatoes REALLY like their new buckets. They look much better now that they’re in their new homes. I debated staking them vs caging them. Cages would go out too much and take up too much room on the roof. I decided to use 6′ bamboo stakes and tie them on top. Not quite a cage, not quite a stake. It won’t do much until the plant is larger, but it will keep them mobile and I won’t take up too much space from my neighbors. We are excited about having greenery in another corner of the roof.

Photo May 12, 7 58 57 PM Photo May 12, 5 47 44 PM

Finally, I couldn’t figure out how to trellis the cucumbers and squash. In the past I’ve allowed the cucumbers to just hang over the sides of the tank, but this year I want to keep them up. I couldn’t really find anything that would work well in the tanks, so I eventually figured I should build one. I used last year’s tomato stakes and came up with this. (Really glad I’m able to reuse some of them, they were $3 each and I had a bunch of them.) I put nails in to two 6′ stakes to act as “shelves” and then tied on horizontal posts using coated wire in a cris-cross form. worked really well. The vertical stakes are very secure and will hold a lot of weight from the plants pulling on them. I’m going to redo it and make it slightly larger to get the outer plants, and then I’ll make a second one for the cucumbers in the other tank.

Photo May 12, 8 18 46 PM Photo May 12, 8 36 48 PM

Finally, I don’t really have a need for something like this for herbs right now, but how perfect would this set up be for a small garden space or even a balcony? Saw it at Lowe’s. Pretty self explanatory. Plastic pots drilled onto a folding trellis.

Photo May 11, 5 44 29 PM Photo May 11, 5 44 34 PM

You Say Tomato, I say, Well I Also Say Tomato

11 May

It’s official, people!

Tomatoes are here to stay!

Most importantly, I remember my Grandpa Ben growing tomatoes in 5 gallon buckets in our commercial building in NYC, using any available outside space with sun. I don’t remember if he was ever successful. (I’ll have to ask my father about that.) But, he kept trying. I think he’d be proud of me for this year’s garden. 

Here are my babies, nice and big, waiting to be transplanted. I can’t believe I was actually able to start tomatoes from seed. First time! I’m really happy.

Photo May 10, 6 25 26 PMI drilled holes in the bottom of each bucket for drainage. I think I wound up making 15 holes in each. Then I put a few inches of bits of styrofoam on the bottom, also to assist with drainage. Remember, we put a whole lot of styrofoam into the tanks early on. I was able to use up a lot of left over stuff I already had. It’s very difficult to find a styrofoam recycler, and I really didn’t want to just trash it.

Photo May 10, 6 28 07 PM   Photo May 10, 6 51 03 PM

Then I filled the buckets with a mix of organic potting mix, organic garden soil, and left over dried, spent beer grains from Farmer Russell. It helps with drainage, too. It looks like there’s a lot of grain in here, but I wound up adding a lot more soil mix.

Photo May 10, 7 05 26 PMIn go the peat pots. Plants are buried up to their first set of real leaves. All of those fuzzies on the stem will turn into roots. I left enough space and there will be enough settlement in the buckets that I will be able to add at least another inch of potting soil in a few more weeks, covering more of each plant’s stem and encouraging more new root growth.

Photo May 10, 7 22 16 PMAnd we’re all in! I have six plants in total, but two of them are going to ShmErin later this week. Here are my four all finished, and then in their new corner. If this space doesn’t work out, it will be easy enough to move them. I will stake the plants in the next week or two. Not sure if I want to do three stakes or a cage for each one.

Photo May 10, 7 25 12 PM   Photo May 10, 7 40 54 PM

Also, side note. I was wearing shorts and a tshirt upstairs last night as I worked, as it was quite hot today. Totally got a bit of a skin reaction from the potting mixes. I forgot that that happens to me. Oops. Had to shower again before bed. Oops again.

New Homes for Little Plants!

8 May

Plants have been moving into their new homes over the past week or so.

I finally moved the parsley and basil into the pot with some other herbs. They seem to be loving it!  I saw that the cotton flannel I put in the bottom of the pots to prevent dirt from falling through was starting to disintegrate, and some roots were able to pop through. Very happy there. Also helped keep everything together.

Photo May 03, 3 36 16 PM   Photo May 03, 3 30 57 PM

Here they are, all together.

Photo May 05, 5 24 51 PM

Baby cucumbers moved into their tank, too. Only four of the six survived, so I’m starting two more inside. I hope they’ll be able to move out in about two weeks. That will also help me stagger the harvest a bit.

Photo May 04, 4 25 25 PM   Photo May 04, 7 49 52 PM

All six tomatoes are doing very well! Three red cherry plants, three yellow pear. They are now living outside all the time, except when it’s really windy. The peat pots are very light. Also I am watering them twice a day because they dry out super fast. I still need to drill drainage holes in the white 5 gallon buckets that I now use for water so I can put the tomatoes into them. I think being in the smaller containers will also help them retain a bit more water. We’ll see. I bought potting soil and garden soil. I’ll do a mix of that for them.

Photo May 06, 6 44 11 PM   Photo May 04, 4 14 08 PM

Dumped one bucket of compost onto the tanks last week before I put the cucumbers in, so I was able to start a new batch of compost. It’s already looking REALLY good, lots of creatures flying around and eating all the whatever. Very active.

Photo May 02, 7 33 19 PM

Finally, visitors. Apparently we have wasps up there, but Farmer Russell assures me they’re beneficial. I promise to stay out of their way. So far I’ve just seen one at a time and they don’t seem to be interested in me at all. I’ve checked the whole roof for nests, so we’re clear there. Plus, they’re gone by the evening.

Photo May 07, 11 08 06 AM   Photo May 03, 3 25 13 PM

%d bloggers like this: