So, I have no direct access to water on the roof.
Now you’re thinking:
- Attach a hose to your outdoor spigot? (Can’t! Don’t have one!)
- Uh, attach a hose to your faucet and send it up through your window? (Highly impractical. I’d probably need about 150′ of garden hose…and it would go across my living room…and I’d have to leave my window open.)
- Get a rain barrel and hook it up to the gutter? (Can’t! Condo building…not allowed.)
As I mentioned a few posts ago, I’d been carrying water up to the roof from my kitchen a few hours after filling a 2 gallon watering pail. While it might make for some good weight lifting, it’s exhausting and not very efficient. Plus, those plants are THIRSTY up there with no shade in the heat of the summer. That means several trips back and forth. That was all of 2011.
There had to be a better way! In 2012 I started to collect water from the bottoms of the 3 gutters I could reach during a rain and dump it into a 5 gallon pail. A few problems with this method:
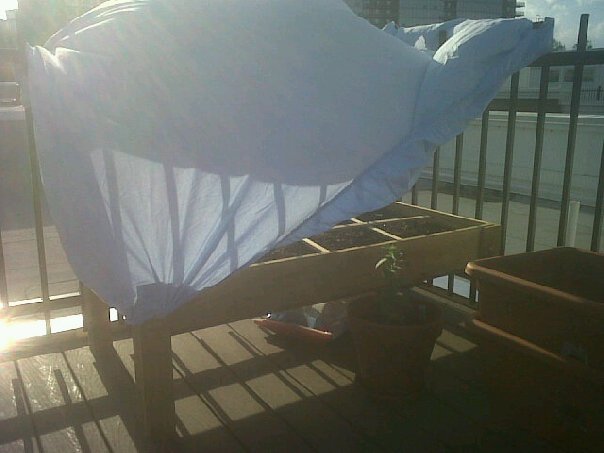
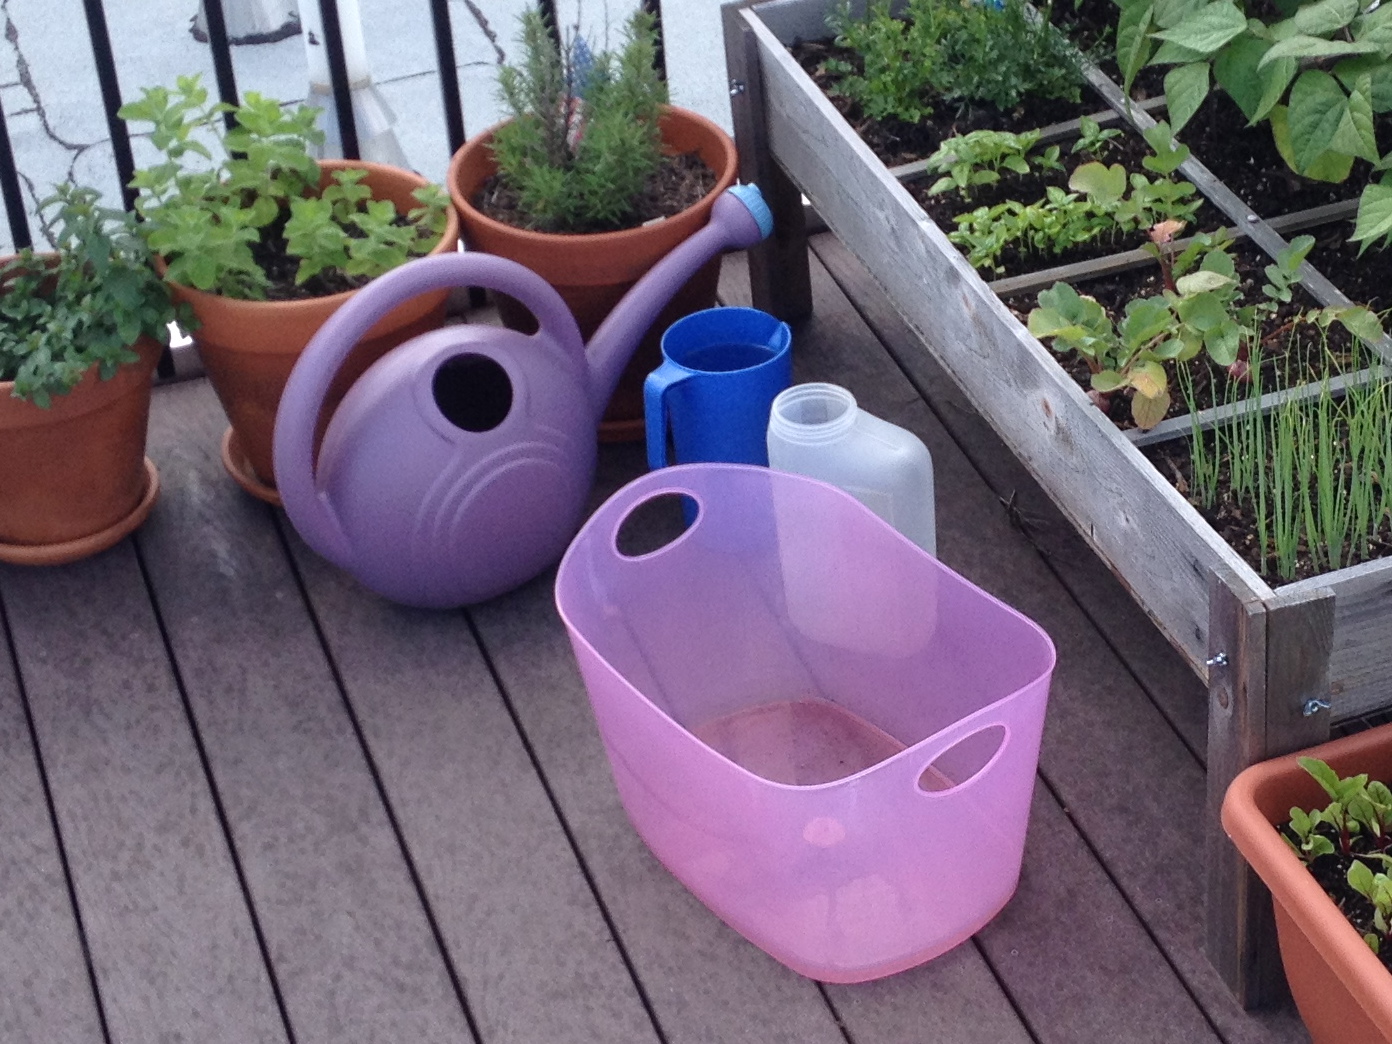
- The bottom of the gutters are about 6″ from the deck, so I need a small containers to collect the water. (See below…I also used a quart sized yogurt container.)
- Small containers don’t hold a lot of water = many trips to the big 5 gallon bucket. I had a flexible bucket that helped a bit, but I could only fill it about 1/4 of the way every time, maybe a gallon at the most. In the photo, it’s the pink one with the handles. It wound up cracking in the fall, probably because it’s not supposed to be abused as I had.
- When the 5 gallon pail is full, it weighs about 40 lbs…that’s a lot for me, and it’s hard to carry a bucket of sloshing water.
- I got sopping wet every time. (Umbrellas are not practical devices while harvesting water I learned after about 12 seconds.)
- No photo of the 5 gallon bucket, for some reason, but I swear it’s there!

What was nice about filling up all of these container was I usually didn’t have to water for two days or so after collection because the garden drank up from the sky and the tomato buckets reservoirs were pretty full. But then we’d have several days of no rain….sometimes over a week and the bucket water would be used up in one fell swoop.
I also tried to make a bottle drip irrigation type of thing. It . You can find directions all over on the interwebs.
-

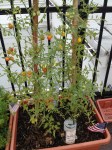
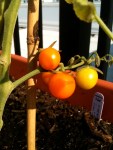
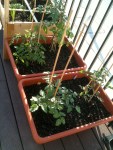
- Two bottles in the tomato bucket.
-
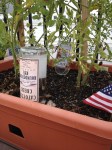
- Full of water, not whisky.
-

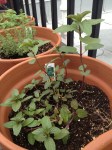
- 3 or 4 bottles in the box. Not gin.
It worked, but not very well. I started with full bottles and well watered soil. The water was gone in a few hours, I’m guessing because it’s hot up there. (Have I mentioned that?) I did try it in late July, so who knows. I think this would work better for house plants. 😦
This year, however, I’m going to create some kind of rain sculpture thing for collection…not really sure how it’s going to look, but my other option is more buckets.
Or Brawndo.