Tag Archives: water

New Babies Need Diapers

17 Sep

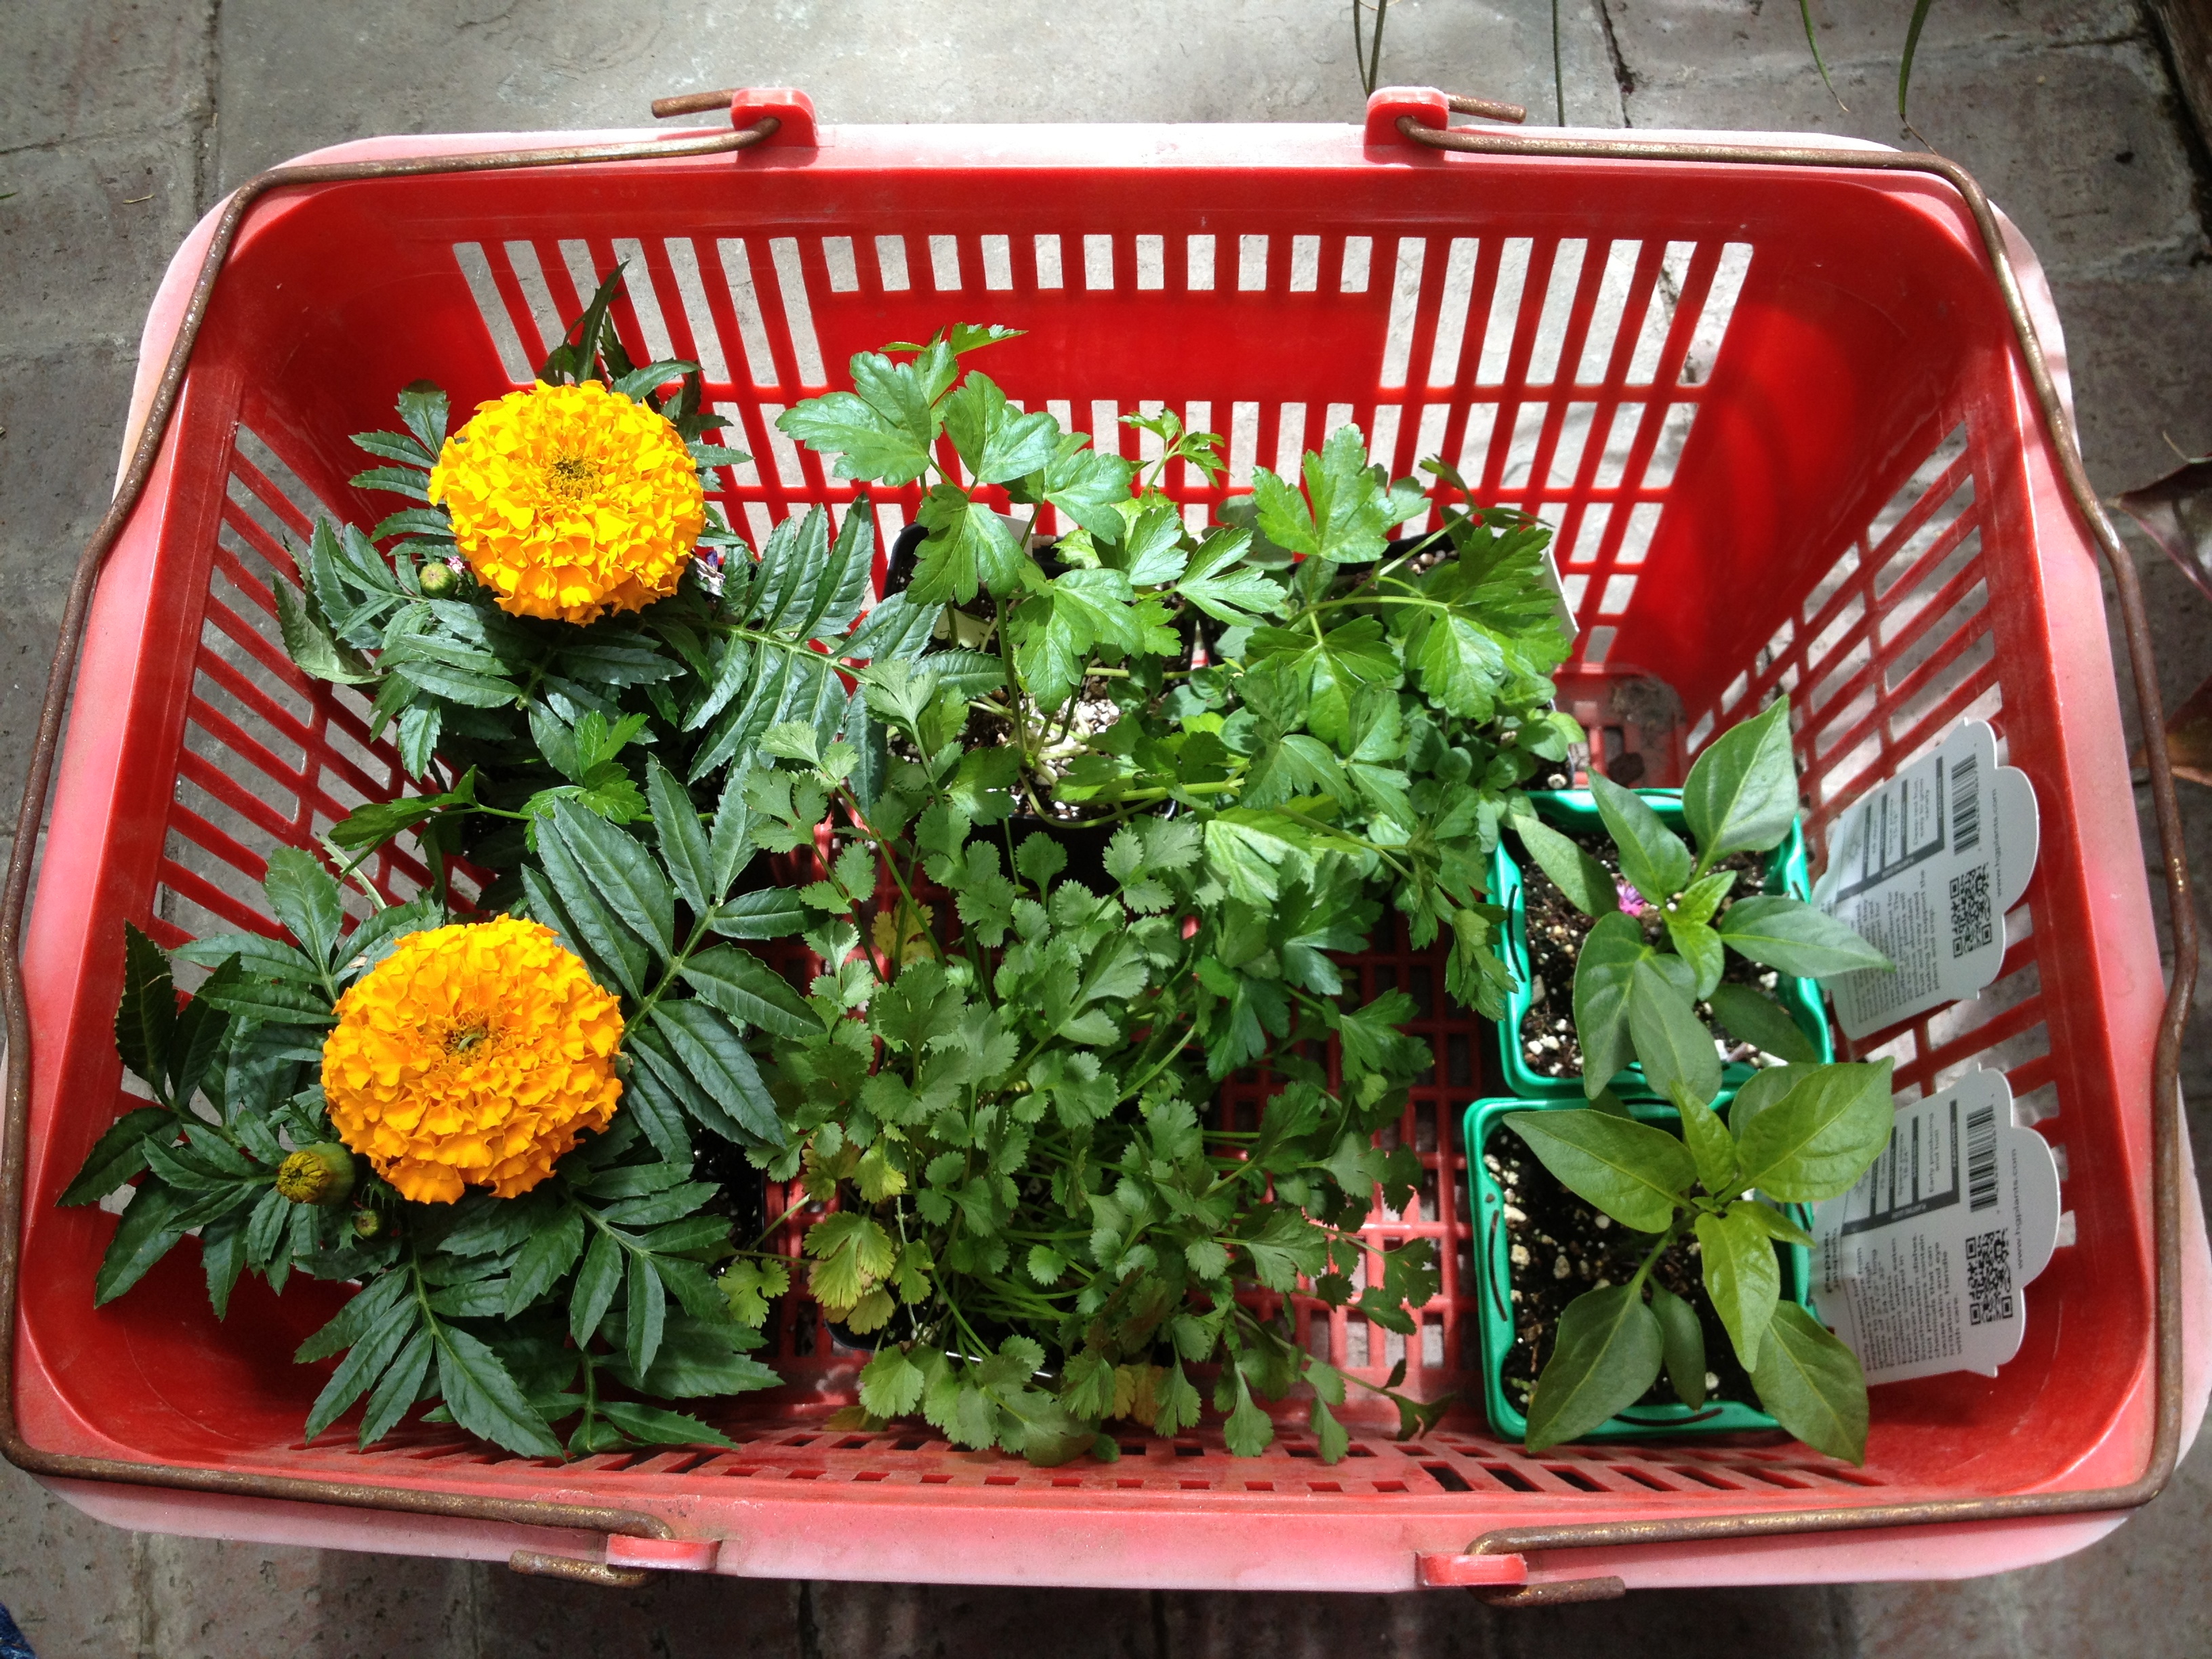
I’ve decided to try for a fall harvest. I decided on two kinds of radishes, Photo Aug 31, 2 15 34 PM
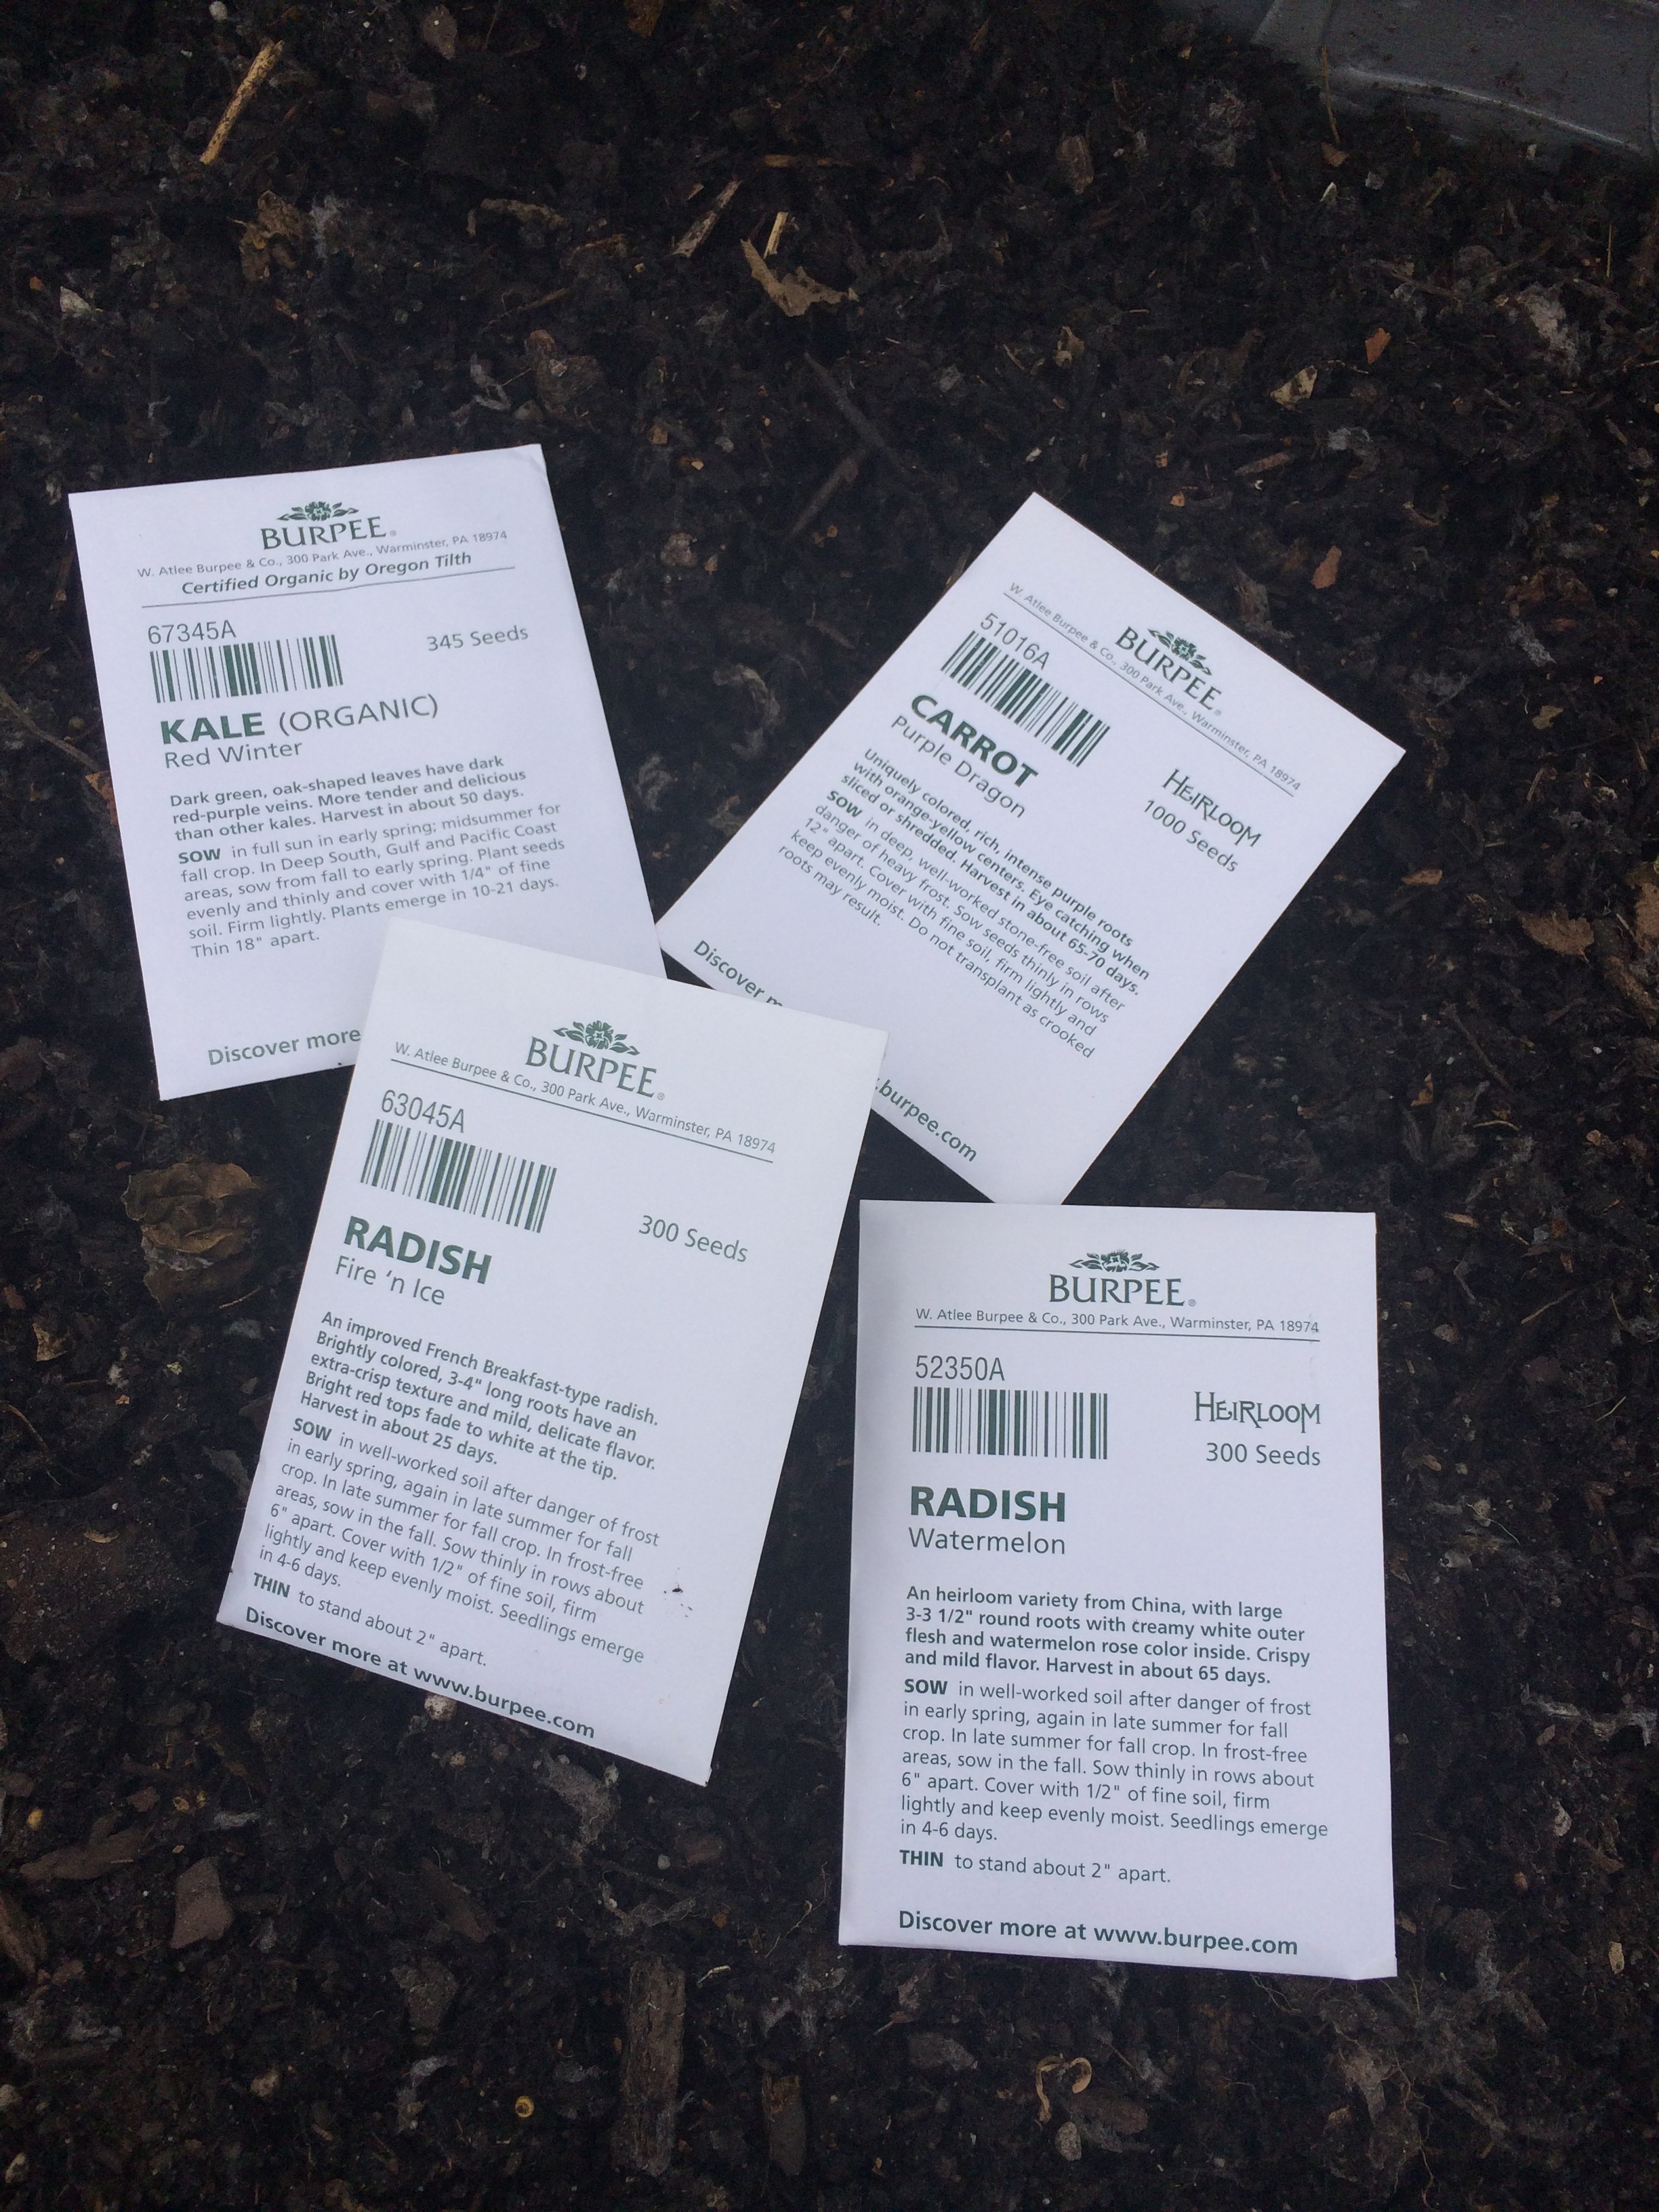
carrots, and kale. I thought it would also be good to have something else growing in that tank for a while, kind of rotating my crops.

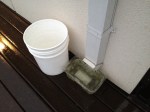
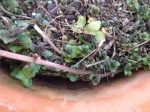
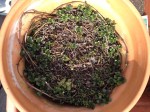
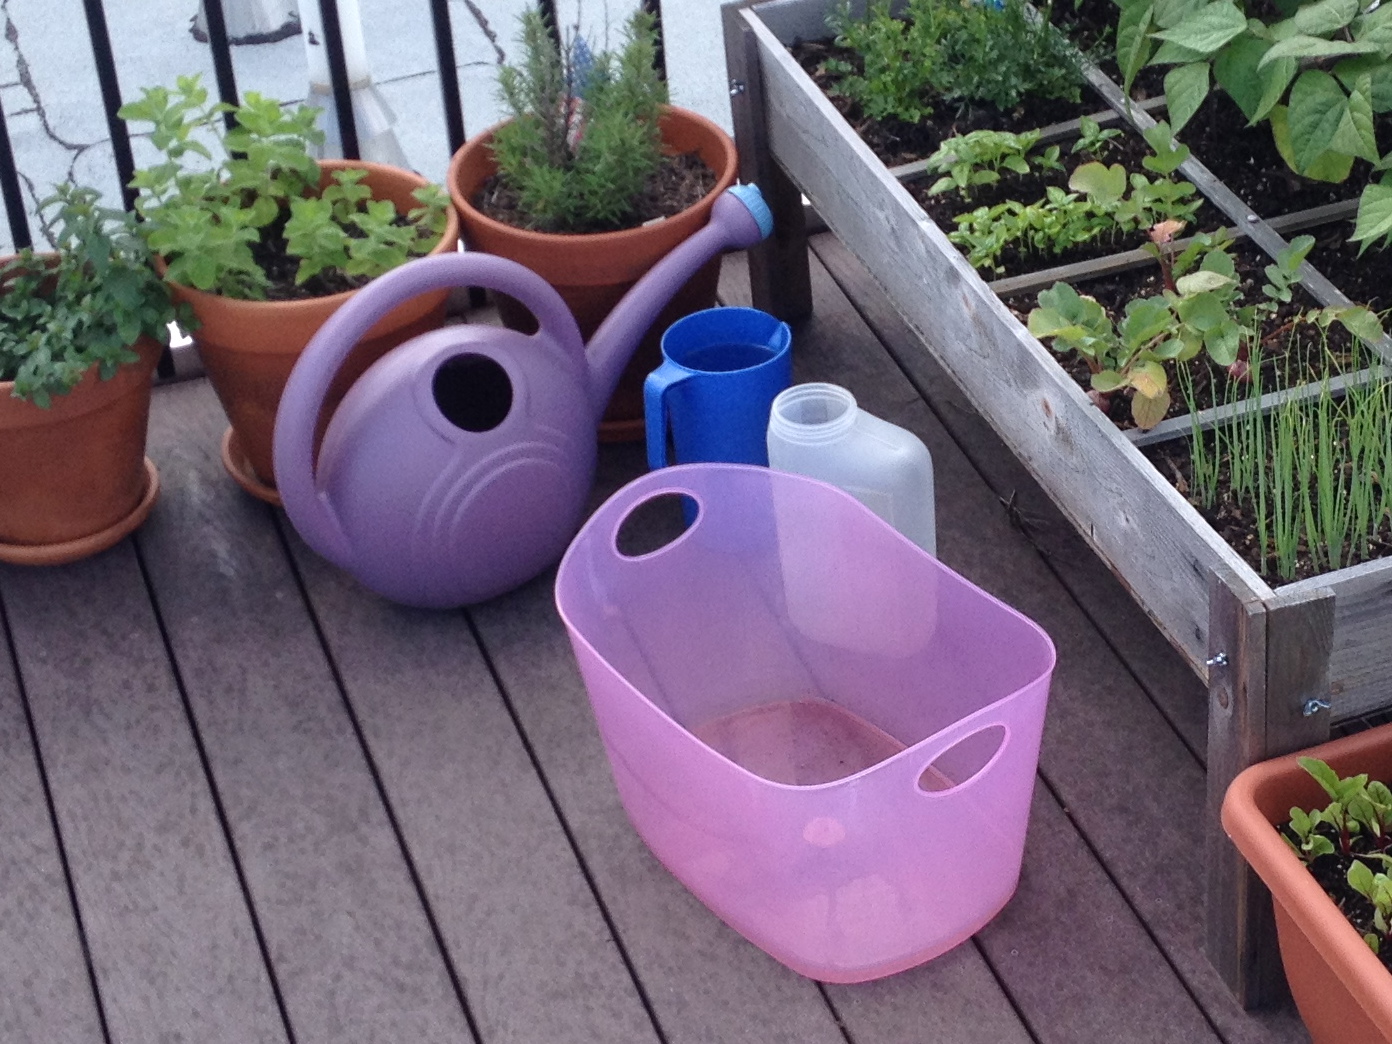
I cleaned out one of the tanks of dead bean and cucumber plants. Then I dumped one of my finished compost buckets in there for some much needed nutrients and bulk.

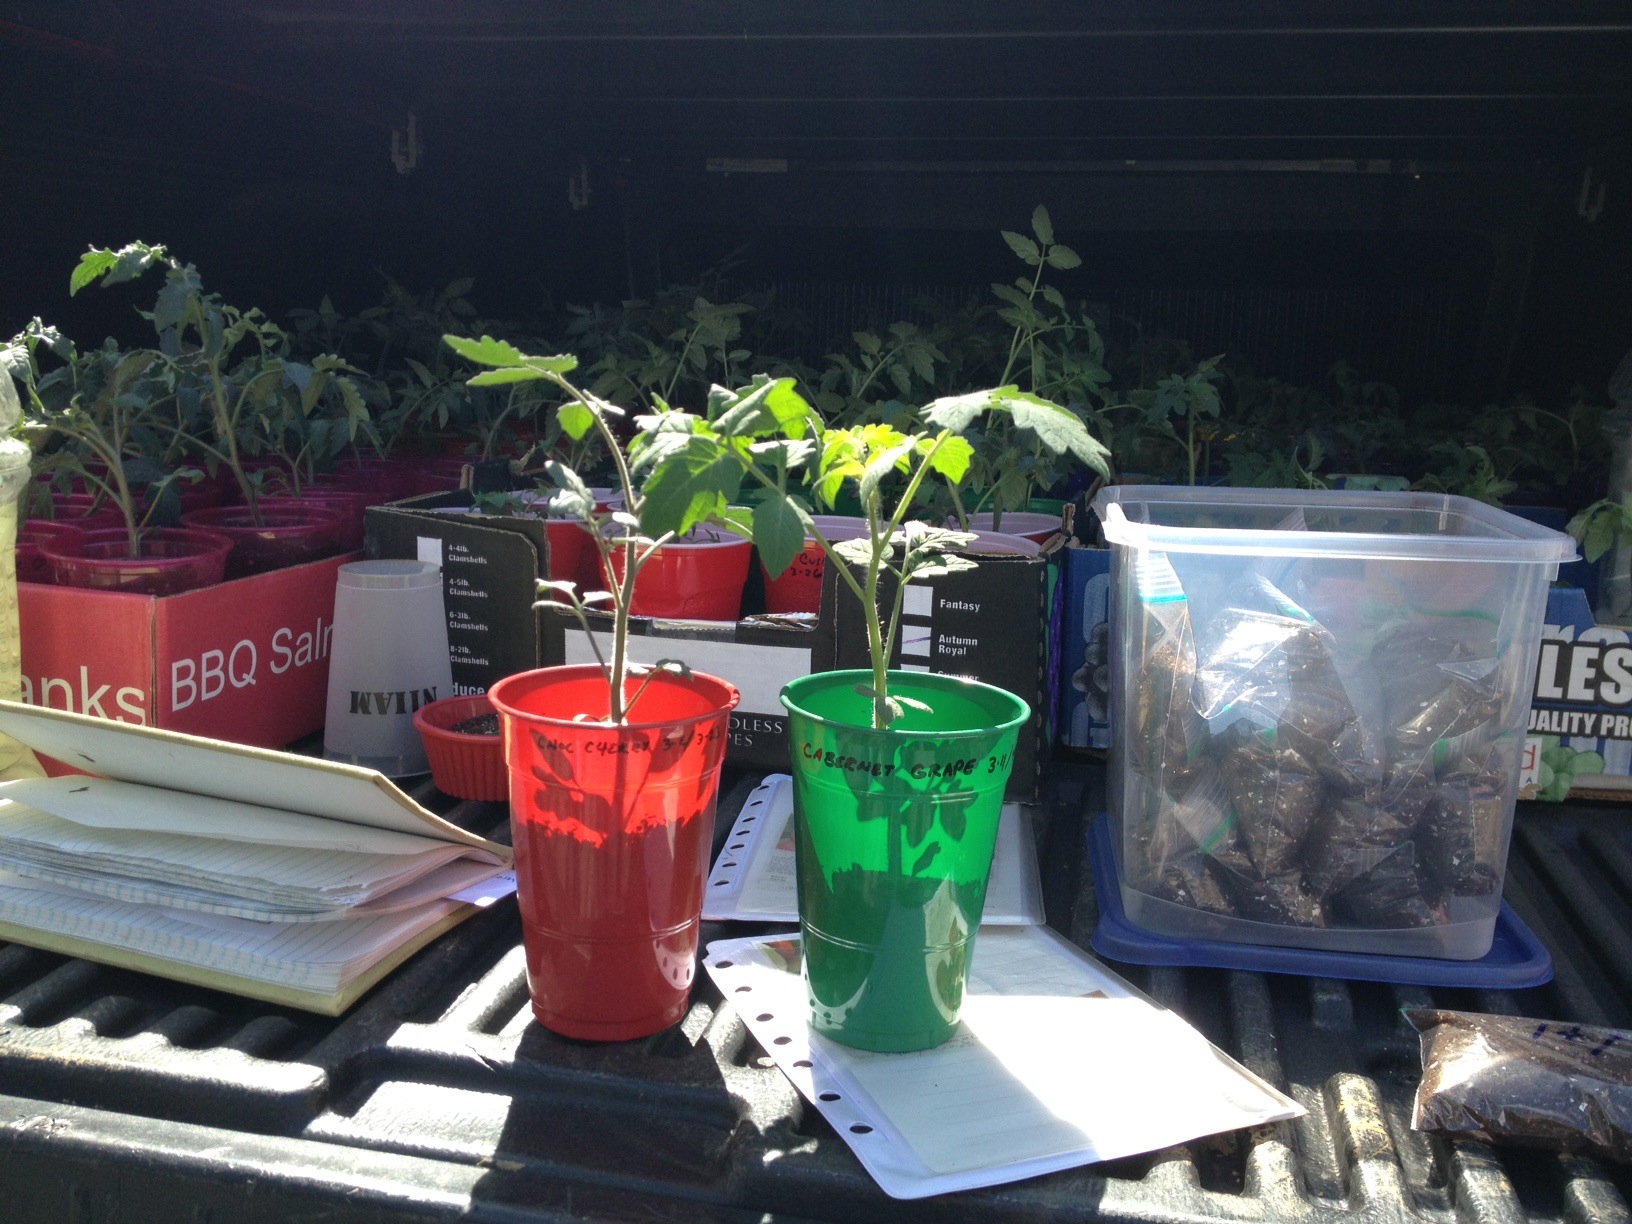
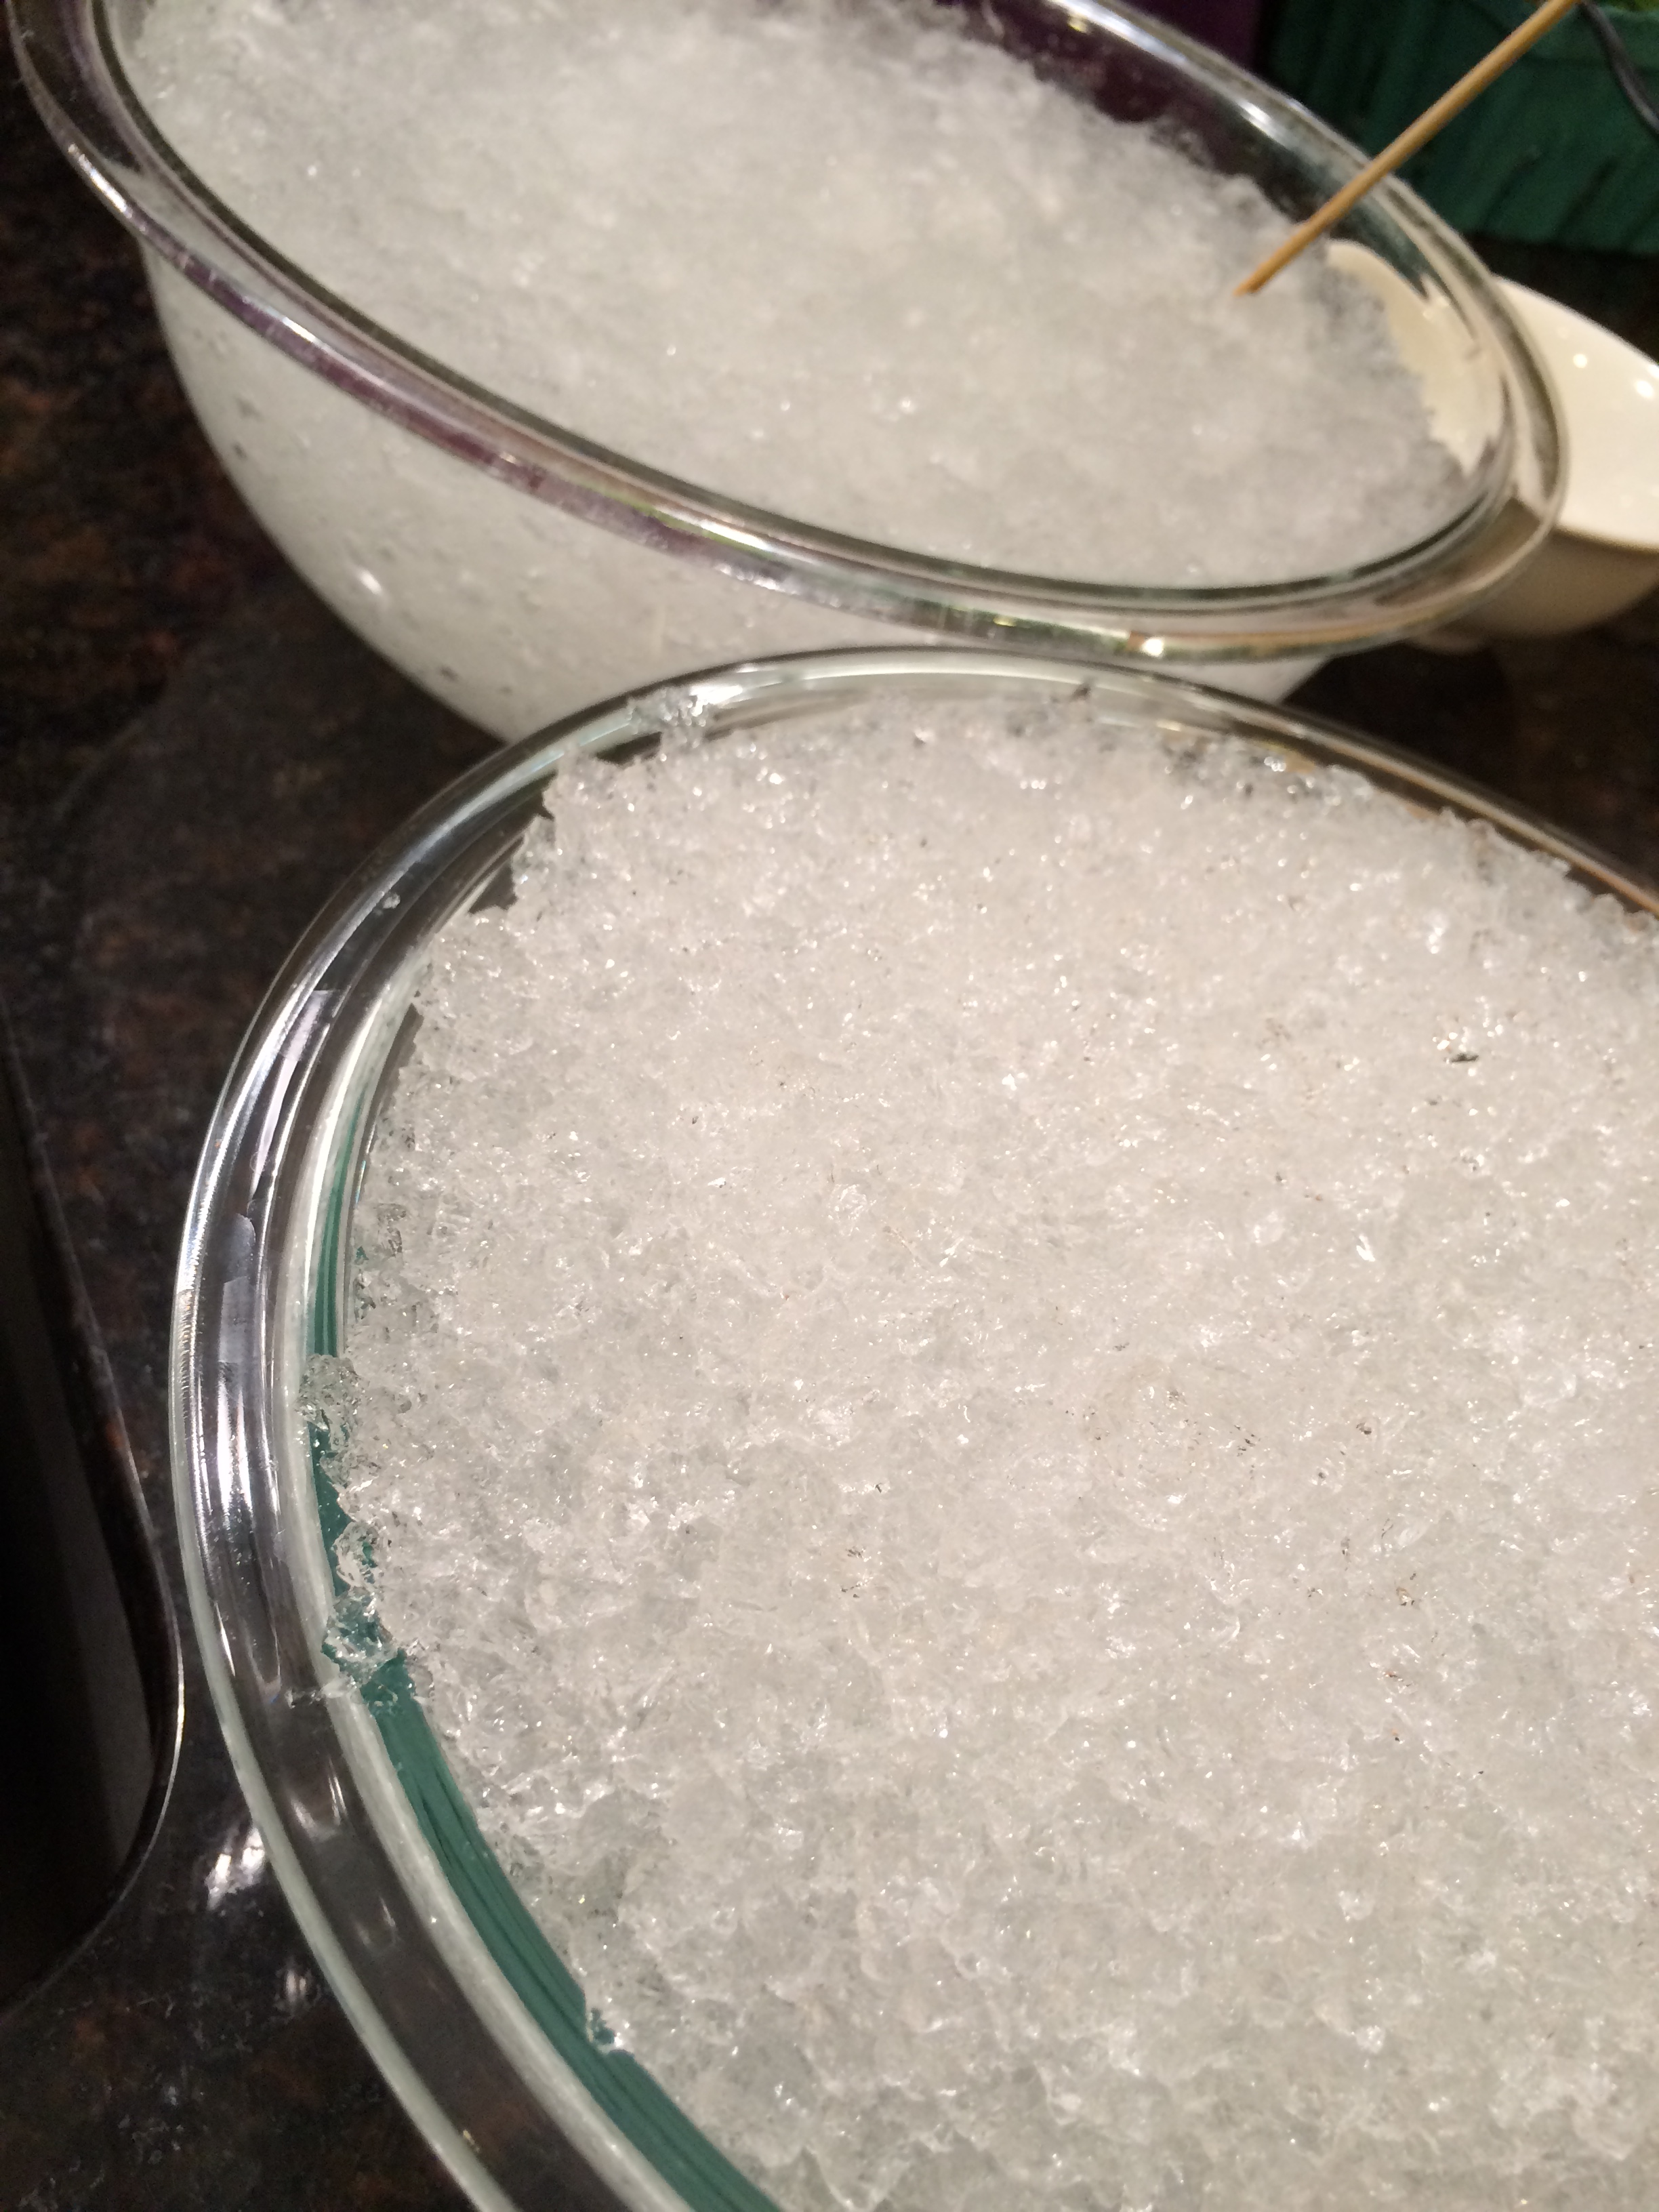
I’d wanted to use SoilMoist in the tanks to see if it would help with water retention, but I only used half of one small baggie. Then I heard about using diapers for the same purpose. Why not? The active components are very similar to SoilMoist. I bought the largest kid diapers I could find, which wound up being overnights. I didn’t get adult diapers, I just didn’t want to be seen with them. Also they’re pricier. Took them apart and dumped the powdery stuff into a bowl, just to play. Works! Here it is next to the rest of the SoilMoist

Photo Sep 17, 3 40 55 PM Photo Aug 27, 5 22 38 PM


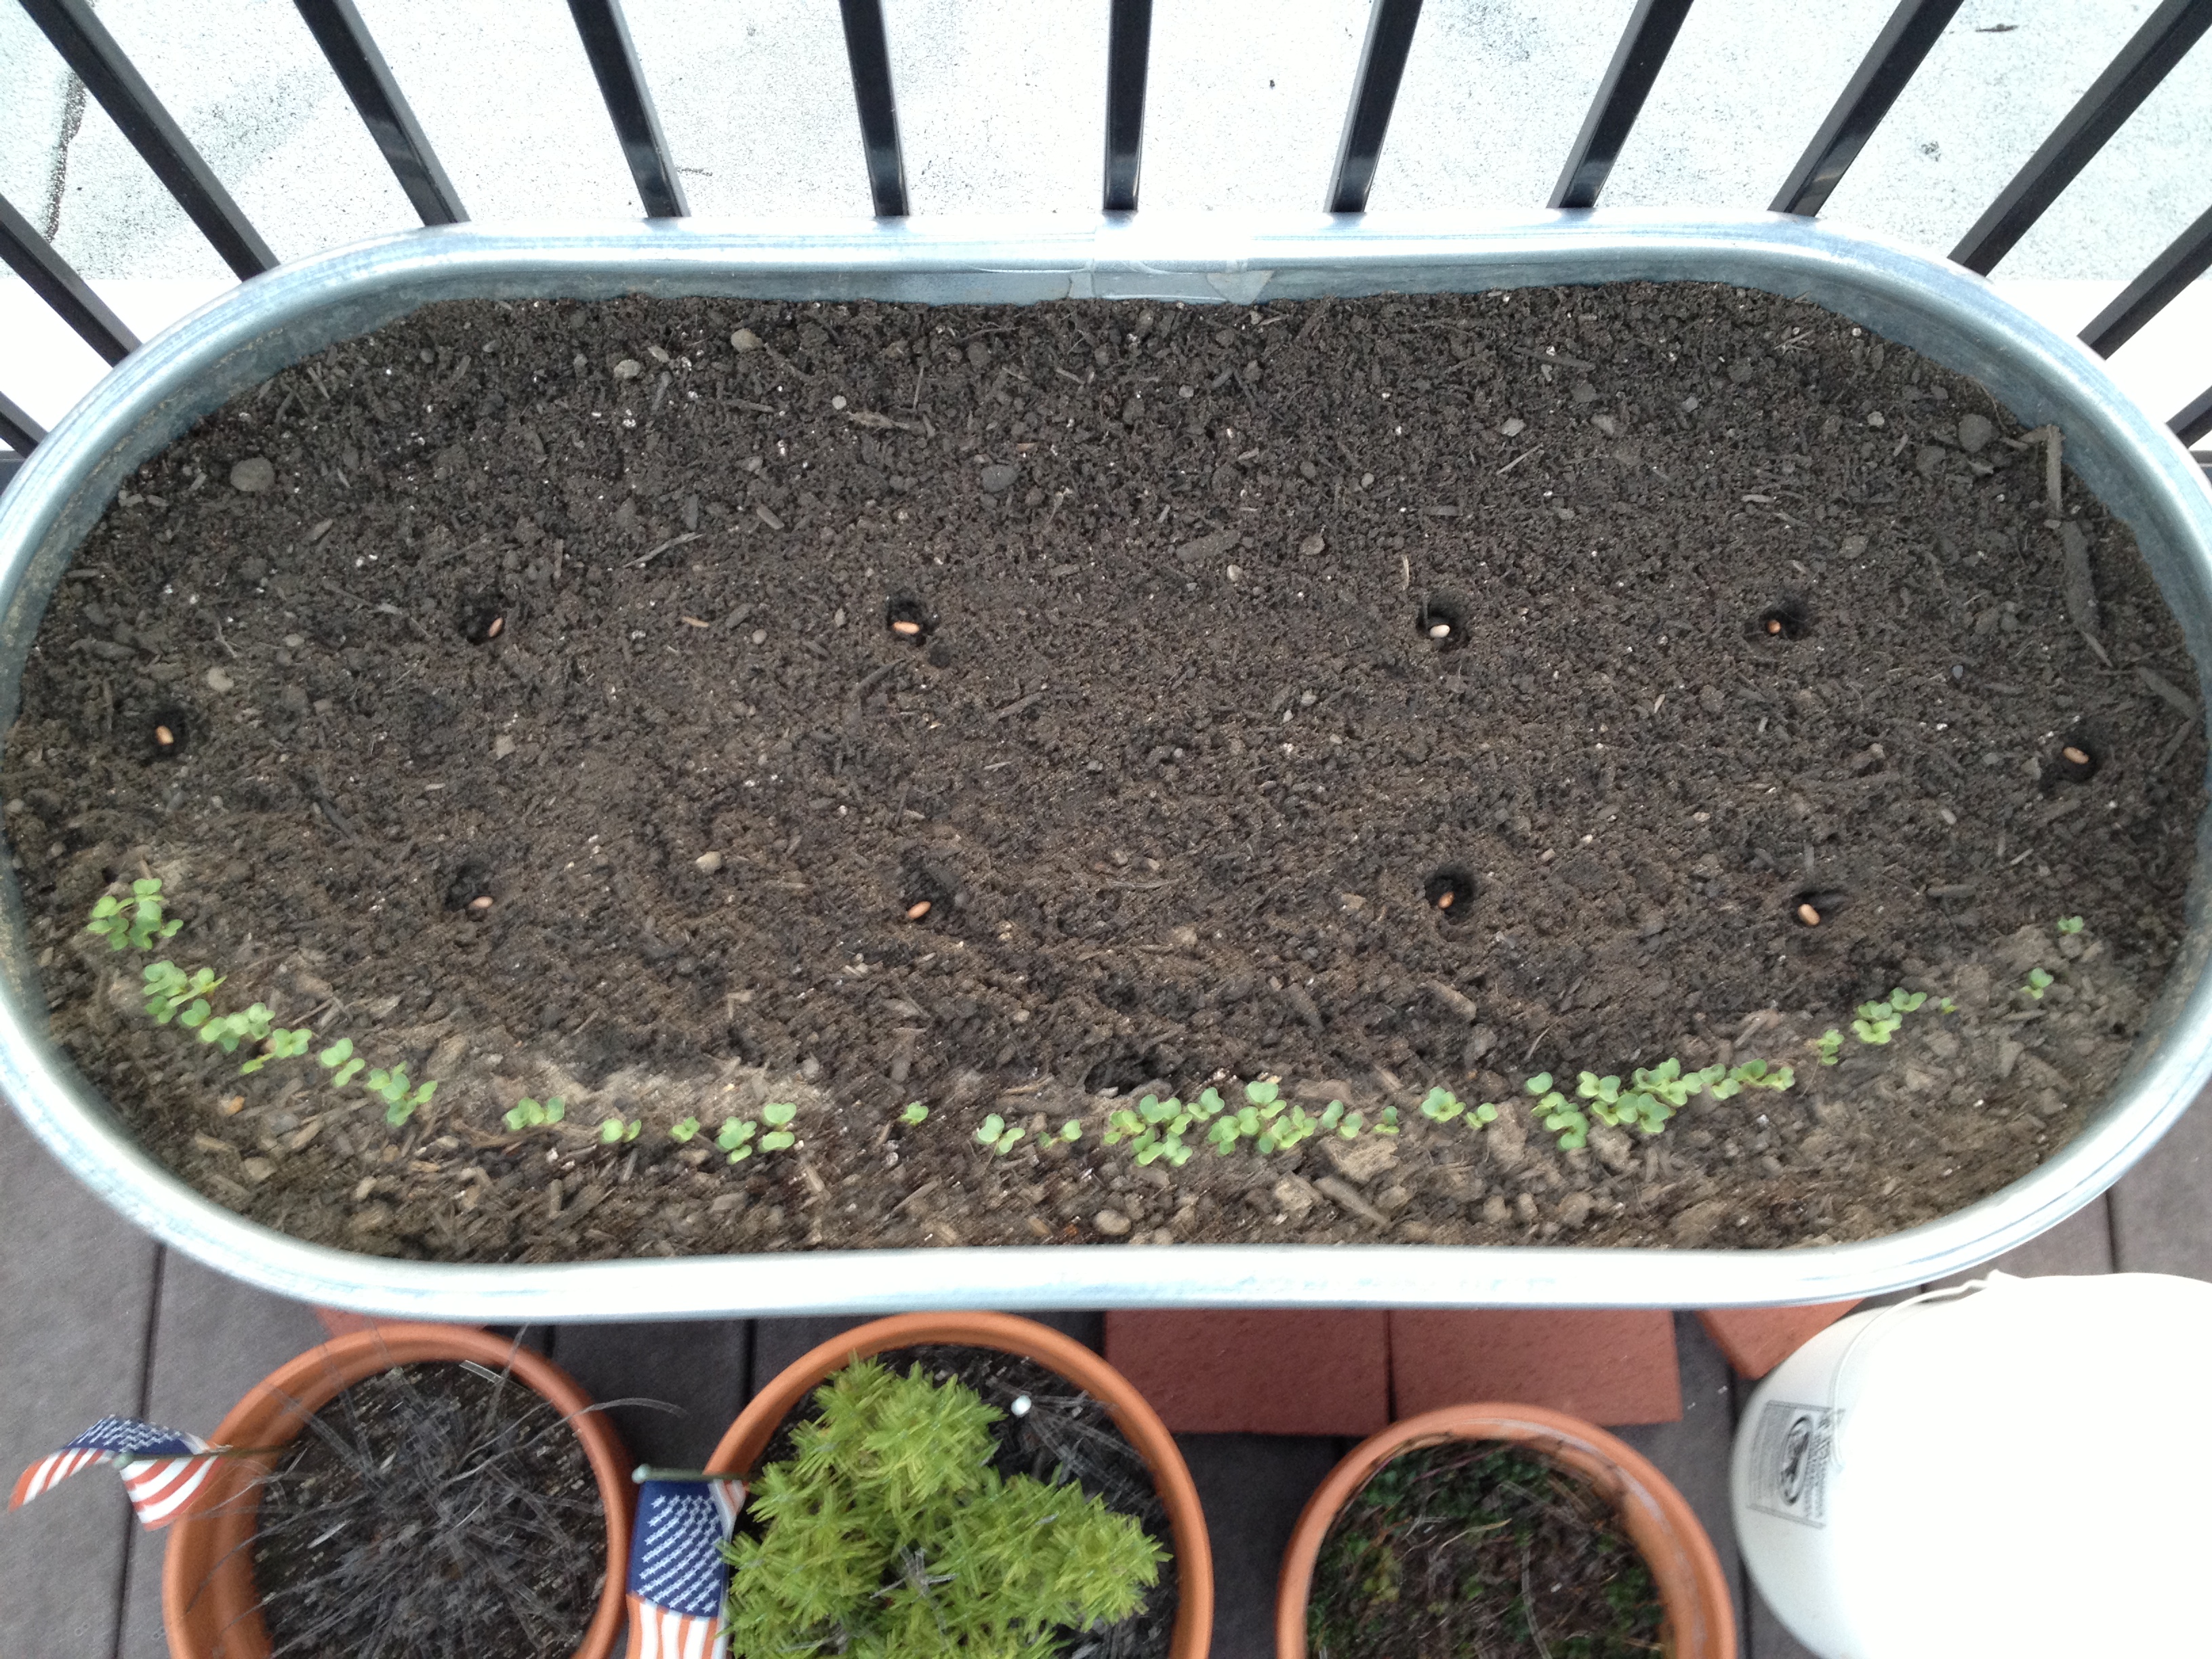
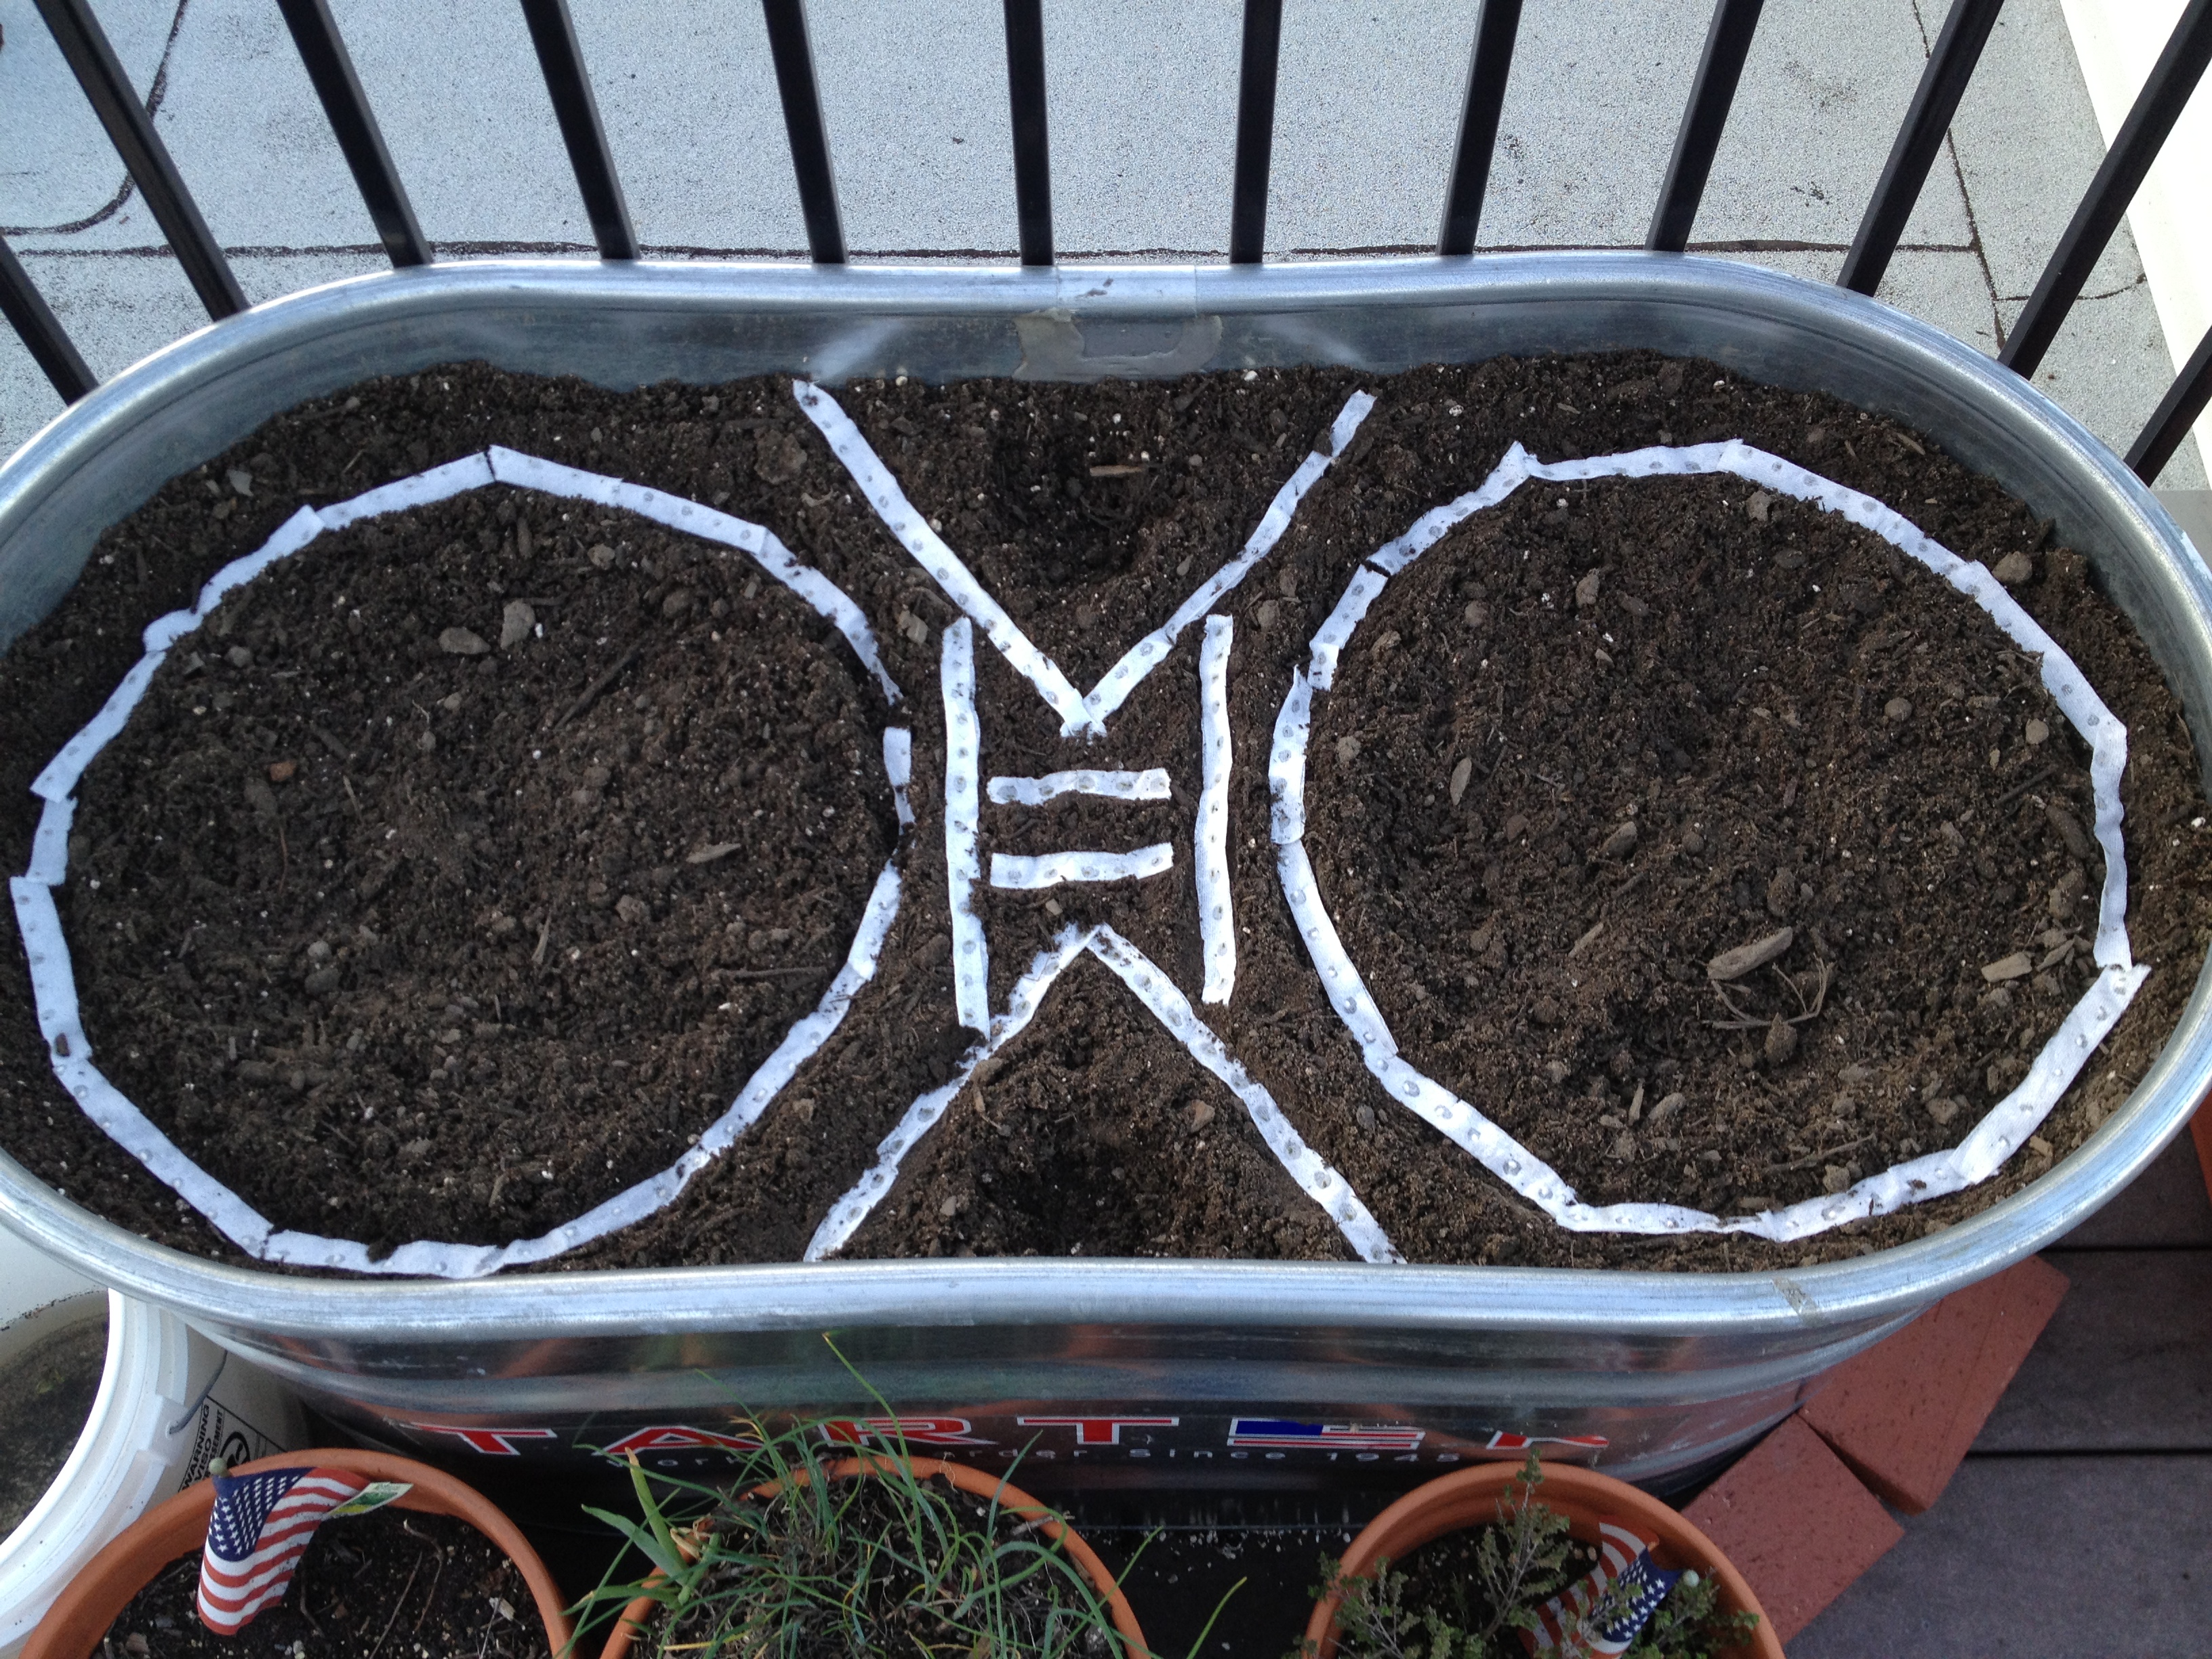
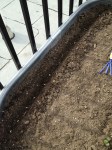
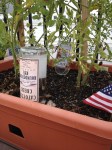
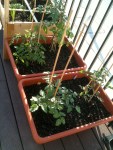
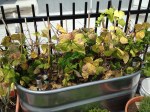
I wound up using three diapers in total, so for the other tank I’ll use four to make up for the additional SoilMoist. Worked it in a few inches under the soil, as suggested. Makes sense. You don’t want it to evaporate right away. Then I planted.

Photo Aug 31, 1 09 04 PMPhoto Aug 31, 2 19 00 PM


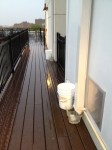
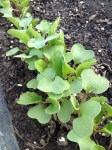
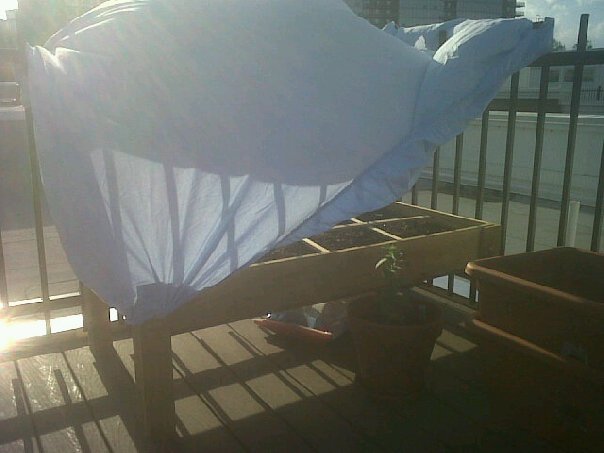
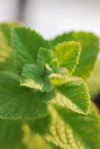
Then I watered. You could see the new soil mix fluffing up as it absorbed the water. Radishes came up in two days, everything else was up within the week. Three weeks later and we’re doing very well. I will start to harvest the radishes in about a week or two. The intense summer heat has started to dissipate, but we are still having some high temp September days. The diapers have been protecting my babies!

Photo Sep 14, 4 31 51 PM

I’m not really concerned about the material leaching and getting into the plants themselves. It’s basically inert, and it will eventually break down into the soil and I’ll have to replace it. Next year, I’ll add some diaper material to the second tank, and also to the tomato buckets.

I pick a peck of pickled peppers

24 Jul

IMG_8658Well, they’re not pickled just yet. This is last week’s pepper harvest. Banana peppers from ShmErin’s plant, bells from ShmAli’s, red jalapenos from my plant. The plant currently has about a dozen banana peppers ready to pick. I’ll do that tomorrow. The bell peppers are also doing well, but they’re not getting to, like, actual pepper size. The green peppers here are supposed to be red and the red ones are supposed to be green. Some picked too early (they were starting to get soft spots) and some too late. I have actually transplanted three of the plants…more on that in a day or two.

Here are the three plants that these peppers came from. The bell pepper has been getting really thirsty since this heat wave started. I’ve been bringing it water about 2x a day. It generally responds within about 15 minutes by waving “thanks” to me.

So about three weeks ago I asked my neighbor if she saw anyone taking my chocolate cherries. Although I’ve offered her tomatoes and herbs as she liked, she has repeatedly refused, saying I should enjoy the fruits of my labor. So, I couldn’t figure out who was stealing my cherries. Then, I noticed one of the other tomatoes on the other plant was half eaten. Then another. Could this be the elusive soft-bellied tomato pecker that Alton Brown and neighbor McGregor talked about in Good Eats episode 6, season 6, “Tomato Envy”?

Cucumbers were moving along really nicely for several weeks. I decided to pick off the little baby cucumbers once I saw one or two nice sized ones growing on each plant. It really seemed to help them along. Rather than having the plant focus on a dozen babies, I encouraged them to just pay attention to a few. Seemed to work well. I actually picked enough to not know what to do with them at one point. We sliced them up and nommed on them while biking one day. Great snack! I wound up making a cold cucumber soup. Easy and totally delish. Used cuces and onions from the garden.

But, all good things must end. After picking a whole bunch of beans one day, I noticed that most of the leaves were starting to yellow and the beans themselves weren’t looking great. The cucumbers in the tanks were also not so hot anymore, probably because it has been so hot. I’ve been bringing each tank a full 5 gallons every day, plus more for the smaller pots, but with almost a week of temps near 100, it just wasn’t working. Sadly, this tank is nearing its end.

My compost had been growing weird things…I was advised against nibbling on these mushrooms, as they are toadstools and will kill me. I’ll skip them. I also saw a number of larvae squirming around here and there. So, I got another bucket and divided the compost in half, adding several days of rabbit litter to each one. Today, both bins are doing well, no mushrooms, and no wiggly things.

Finally, some lovely garden photos…

IMG_8601

Fences Make Good…Bean Plants

29 May

I built a fence. Out of bamboo and twist-ties. I’m so handy.

The beans were flopping over in the wind, so I decided to help them stand upright. I was able to see the bad leaves and pick a few of them off. Now they will happily feed me with purple string beans soon.

About two weeks ago I decided to fill in the spaces in the carrot rings where I didn’t get carrots. Just regular seed, no more tape at this point. I also decided to plant some more green onions. Brought both packets up to the roof (with my cocktail, of course) that evening and went to work. Then I sat back, had my first sip, and realized that I had put the carrots where the onions should be and the onions where the carrots should be. My neighbor, also enjoying a beverage on the roof, asked if I could just switch the seeds. No, no I can’t do that. I figured, just wait and see.

My fears were for unfounded, I was glad to see a few days ago. Both carrots and onions are coming up in their proper spots. Whew!

photo 3 (3)
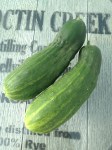
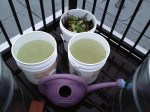
Someone is eating my cucumber leaves. Any ideas? I don’t see anythingĀ on the underside of any of the leaves, and I’ve checked at different times of the day, just in case I have a night nosher or something. Also, I’m wearing the latex glove because I had smashed up part of my hand a few days earlier and had it all covered up in super awesome advanced healing bandages. Didn’t want to damage them any more than I needed to.


photo 1 (5)And finally, it’s going to be almost 90 degrees here in the DC area by the end of this week. We started off with a thunder storm last night. Great opportunity for me to collect about 24 gallons of water from the roof in my 5 gallon buckets, smaller buckets and watering cans. I also filled up the reservoirs in the containers holding other smaller plants now.

Some chilly nights slow down planting

23 Apr

It’s been really cold here…like, really cold! We’ve had a few nights dip into the mid 30s over the last week or so. Also, there’s pollen everywhere. Lots of it. All over. Coating everything like a thick, giant yellow-green snot inducing powdery blanket. And I’ve had a cold for four days. Whoo hoo!

I went to the Purcellville farmer’s market last weekend before work and picked up these Image 26two little guys from Dave the tomato guy. (Hi!) I told him to follow me here. I got a chocolate cherry tomato plant and a cabernet grape. He said the chocolate cherries have a deep red purple color and an almost salty sweet flavor. I had never heard of them before, so of course I had to try them out. The cabernet grapes look like they’ll be a nice classic red grape. I had originally planned to plant them right away, but I’ve been keeping them on my windowsill for the last few days and they appear to be happy. I’d like to keep them until this weekend when it’ll be over 50 at night. They’re just babies!

My seeds have been slow to germinate, but they’re finally starting to grow. I know these guys are tiny, but they’re there. I took these photos yesterday, 4/22.

Today I saw three string beans starting to break the surface. No carrots just yet either, but it may be for a few reasons.

  • Seed tape and glue have to dissolve before the seed can germinate.
  • It’s been pretty chilly.
  • The seeds are a season or two old.

I’ve used old seeds before. (The packet usually says “Packed for 2013” or whatever year.) They are always fine, but sometimes take an extra few days to pop up.

Before this cold last week, we had a nice heavy rain. I used it as an opportunity to fill up my water buckets. I have yet to build a large scale self-filling rain barrel. I needed a new flexible bucket to use under the gutters and came up with used pre-washed salad containers. They’re great. I have one under each gutter and the buckets right next to them. Takes only a few minutes to fill them up, and then I fill the watering can for an extra 2.5 gallons. Again, I get sopping wet outside, but at least I’m not out there forever.

Other than that, everyone seems to be settling in nicely. I even had a bird watch me take these pictures as he bathed in a puddle on the roof.

Big planting on a frost-free weekend

15 Apr

Seeds and plants and replants…BLAMO!

I put my seed tape to work this weekend. Using Farmer Russell’s earlier guides, I made little furrows to plant the seed tape, probably about 3/4″ deep. I kind of mixed the tapes up a bit, so I will have a few of each kind of carrot scattered all over. Covered those puppies up, and voila! Also planted basil in the middle “V” shapes in the carrots. Purple string beans in the other tank.

IMG_7385IMG_7384


On Sunday my friend and I went to a garden center to get some plants. To protect herĀ anonymity, I will call her “ShmErin” here. (Her actual name may or may not sound similar…I’ve always wondered if articles that say names have been changed actually do use real names, and say that just to throw you off.)

IMG_7388

We each purchased a $20 for $40 Groupon deal fromĀ Ā Garden World of Virginia and Ā found some nice stuff. Also the staff was very helpful. Remember…SUPPORT YOUR LOCAL ECONOMY! I was fascinated by the water fountain things, but so were a pair of adorable twin two year old boys.

Aside from several bags of organic potting soil, I picked up a packet of cucumber seeds and live plants.

  • Oregano (to replace my dead plant)
  • Parsley (to replace the other dead plant)
  • Cilantro (for my rabbit, not me. I think cilantro tastes like soap. Ew.)
  • Red bell pepper
  • Jalepeno pepper
  • Two orange marigold plants that I don’t know what to do with yet.

IMG_7391

We went home and got to work!

First, I put the peppers in one of the old tomato boxes with the parsley and cilantro. Easy. Looks good. Then, I took a chunk of chives for ShmErin’s growing herb garden. I originally planted these chives from seed in 2011, so I was very happy that they were still alive and doing well and that I could share them. Then I moved the chives and onions to the second former tomato box so they are alone. Farmer Russell just posted a few words about companion planting on his Tumblr…gotta be careful with alliums. Some plants don’t mind being near them, others will die. I decided to just keep them in a separate container. I’ll probably plant a few more rows of green onions this week, too. Ā The ones in there now were also planted in 2011 and have come back each year. Also, he cautioned not to plant the marigolds near the beans. The will act as a natural herbicide and then…no more beans. They’re great near tomatoes, though! I will probably put them near the tomatoes. Next, several of my potted herbs needed a bit of a, shall we say…pick me up? I removed the thyme and chocolate mint from their containers, loosened up the roots, which wereĀ absolutelyĀ packed, added some new potting soil to the bottom of the pots, replaced the plants and filled in around them with more soil.

Finally, a row of cucumber in the back of the second tank. They will be trained up some bamboo sticks I have, and then eventually they can hang over the fencing. At least that’s the plan now.

Then, ShmErin watered! A lot. We carried up a ton of water. Either a ton or about 40 pounds in total. Then we celebrated with cocktails on the roof. Then I came up later in the evening and watered everyone one more time. Then it rained early this morning. That was awesome.

I felt like Mother Nature had approved of my planting. Win.

Water…It’s what plants crave! (And you thought it was Brawndo.)

3 Apr

So, I have no direct access to water on the roof.

Now you’re thinking:

  • Attach a hose to your outdoor spigot? (Can’t! Don’t have one!)
  • Uh, attach a hose to your faucet and send it up through your window? (Highly impractical. I’d probably need about 150′ of garden hose…and it would go across my living room…and I’d have to leave my window open.)
  • Get a rain barrel and hook it up to the gutter? (Can’t! Condo building…not allowed.)

As I mentioned a few posts ago, I’d been carrying water up to the roof from my kitchen a few hours after filling a 2 gallon watering pail. While it might make for some good weight lifting, it’s exhausting and not very efficient. Plus, those plants are THIRSTY up there with no shade in the heat of the summer. That means several trips back and forth. That was all of 2011.

There had to be a better way! In 2012 I started to collect water from the bottoms of the 3 gutters I could reach during a rain and dump it into a 5 gallon pail. A few problems with this method:

  • The bottom of the gutters are about 6″ from the deck, so I need a small containers to collect the water. (See below…I also used a quart sized yogurt container.)
  • Small containers don’t hold a lot of water = many trips to the big 5 gallon bucket. I had a flexible bucket that helped a bit, but I could only fill it about 1/4 of the way every time, maybe a gallon at the most. In the photo, it’s the pink one with the handles. It wound up cracking in the fall, probably because it’s not supposed to be abused as I had.
  • When the 5 gallon pail is full, it weighs about 40 lbs…that’s a lot for me, and it’s hard to carry a bucket of sloshing water.
  • I got sopping wet every time. (Umbrellas are not practical devices while harvesting water I learned after about 12 seconds.)
  • No photo of the 5 gallon bucket, for some reason, but I swear it’s there!IMG_4121

What was nice about filling up all of these container was I usually didn’t have to water for two days or so after collection because the garden drank up from the sky and the tomato buckets reservoirs were pretty full. But then we’d have several days of no rain….sometimes over a week and the bucket water would be used up in one fell swoop.

I also tried to make a bottle drip irrigation type of thing. It . You can find directions all over on the interwebs.

It worked, but not very well. I started with full bottles and well watered soil. The water was gone in a few hours, I’m guessing because it’s hot up there. (Have I mentioned that?) I did try it in late July, so who knows. I think this would work better for house plants. 😦

This year, however, I’m going to create some kind of rain sculpture thing for collection…not really sure how it’s going to look, but my other option is more buckets.

Or Brawndo.


2011 “Harvest” Recap

28 Feb

First, some gratuitous beautiful herb shots. Taken with my micro lens. (Most photos I take with my iPhone, however, so the quality and detail will vary.) Mint, thyme, and rosemary were in terra cotta pots, while chives and both basil varieties were in the box. I totally squished the basil in there. Too much in one square. These photos are from July 1, 2011.

DSC_0458DSC_0461

<—– Lovely thyme (common)

Ā Ā Ā Ā Ā Ā Ā Ā Ā Ā Ā  Lovely rosemary —->

Funky purple basil. The flowers are sweet and spicy, so I let it flower just to eat them.DSC_0452

I began to sample the fruits of my labor in the early summer. Herbs, a few spring onions here and there. I was really excited to see what would happen with the tomatoes. I had planted four different kinds in these buckets; grape, cherry, yellow cherry, and a deep purple red that was supposed to yield 2″-3″ fruits. Meh.

These tomato photos are from early July – mid August, 2011.

The following gallery pretty much wraps up the first 2011 experimental season. These photos are from late July – late October, 2011. The grape and cherry tomatoes were the easiest ones to grow, so I decided to stick with the smaller varieties for the future.

Another note about water. Again, it’s really hot and dry up on the roof, and I don’t have a water up there. Tomatoes are thirsty plants, and between light rain and regular watering, I probably added about a gallon to each container every day, and a gallon and a half to the box and herbs. I used these “self-watering” containers (just the container, not the whole kit) with four gallon reservoirs. It really did help, but it was still pretty tough. When I was able to collect enough rain water, I filled the bottom of the tomato buckets all the way. I usually brought water up twice a day, morning and evening, after letting the municipal water additives dissipate or whatever they did, as someone had suggested. The plants did seem to like the water that sat around for a bit more than the water right from the tap. Rain was best, of course.

Another 2011 recap

26 Feb

I was pretty happy for the first few weeks with the garden in 2011. My neighbors were garden sheetvery concerned about the wee baby plants being exposed to sun, and before my week long absence in mid April, they insisted I create a cover of some sort. Despite my assurances that plants, do, in fact like the sun, this is what we came up with. The sheet didn’t last too long, and the plants lived after all. Everyone was happy.

All went along smoothly for the next few weeks. At this point I was happy with the garden’s progress. Things were growing and I was starting to be able to pick here and there for tasting. Rain was falling on a fairly regular basis. My municipal water is a bit on the swimming pool side, so I had a watering can that I’d fill up in from the tap in my condo and allow to sit for a few hours before watering if it got too dry up there.

Also, the bugs. I’m five floors up, surrounded by air conditioning units, Trex decking, and very few actual trees. Any bugs were welcome. I wanted them to all talk to each other and come to my garden to pollinate things and do whatever it is that bugs do. The lady bug below was a minor victory, even if it was just lost.

The photos in the gallery below are from late April-early July 2011. The close ups were taken with the Nikon 60mm f/2.8 d af micro lens that my brother got me as a grad school graduation gift that year. I HAD to play with it, and what better subjects? I’m quite pleased with the way they came out, actually.

%d bloggers like this: