*NOTE: I am writing this post during Mad Men commercial breaks. Trying to multitask.
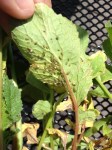
Last week I noticed that my lovely baby cucumbers were beginning to shrivel. Some research revealed that they might not be properly pollinated, and I learned about male flowers and female flowers on cucumbers. However, their close proximity to the very successful string beans would indicate that I have enough pollinators flying around. More on that later.
-

- Dead little cucumber 😦
-

- Another shrivley cuce.
-

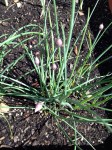
- But beans are wonderful right next to them.
-

- Yummy beans
-

- Winston is clearly doing a great job.
-
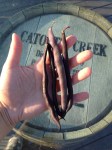
- First pick.
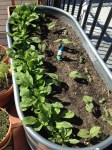
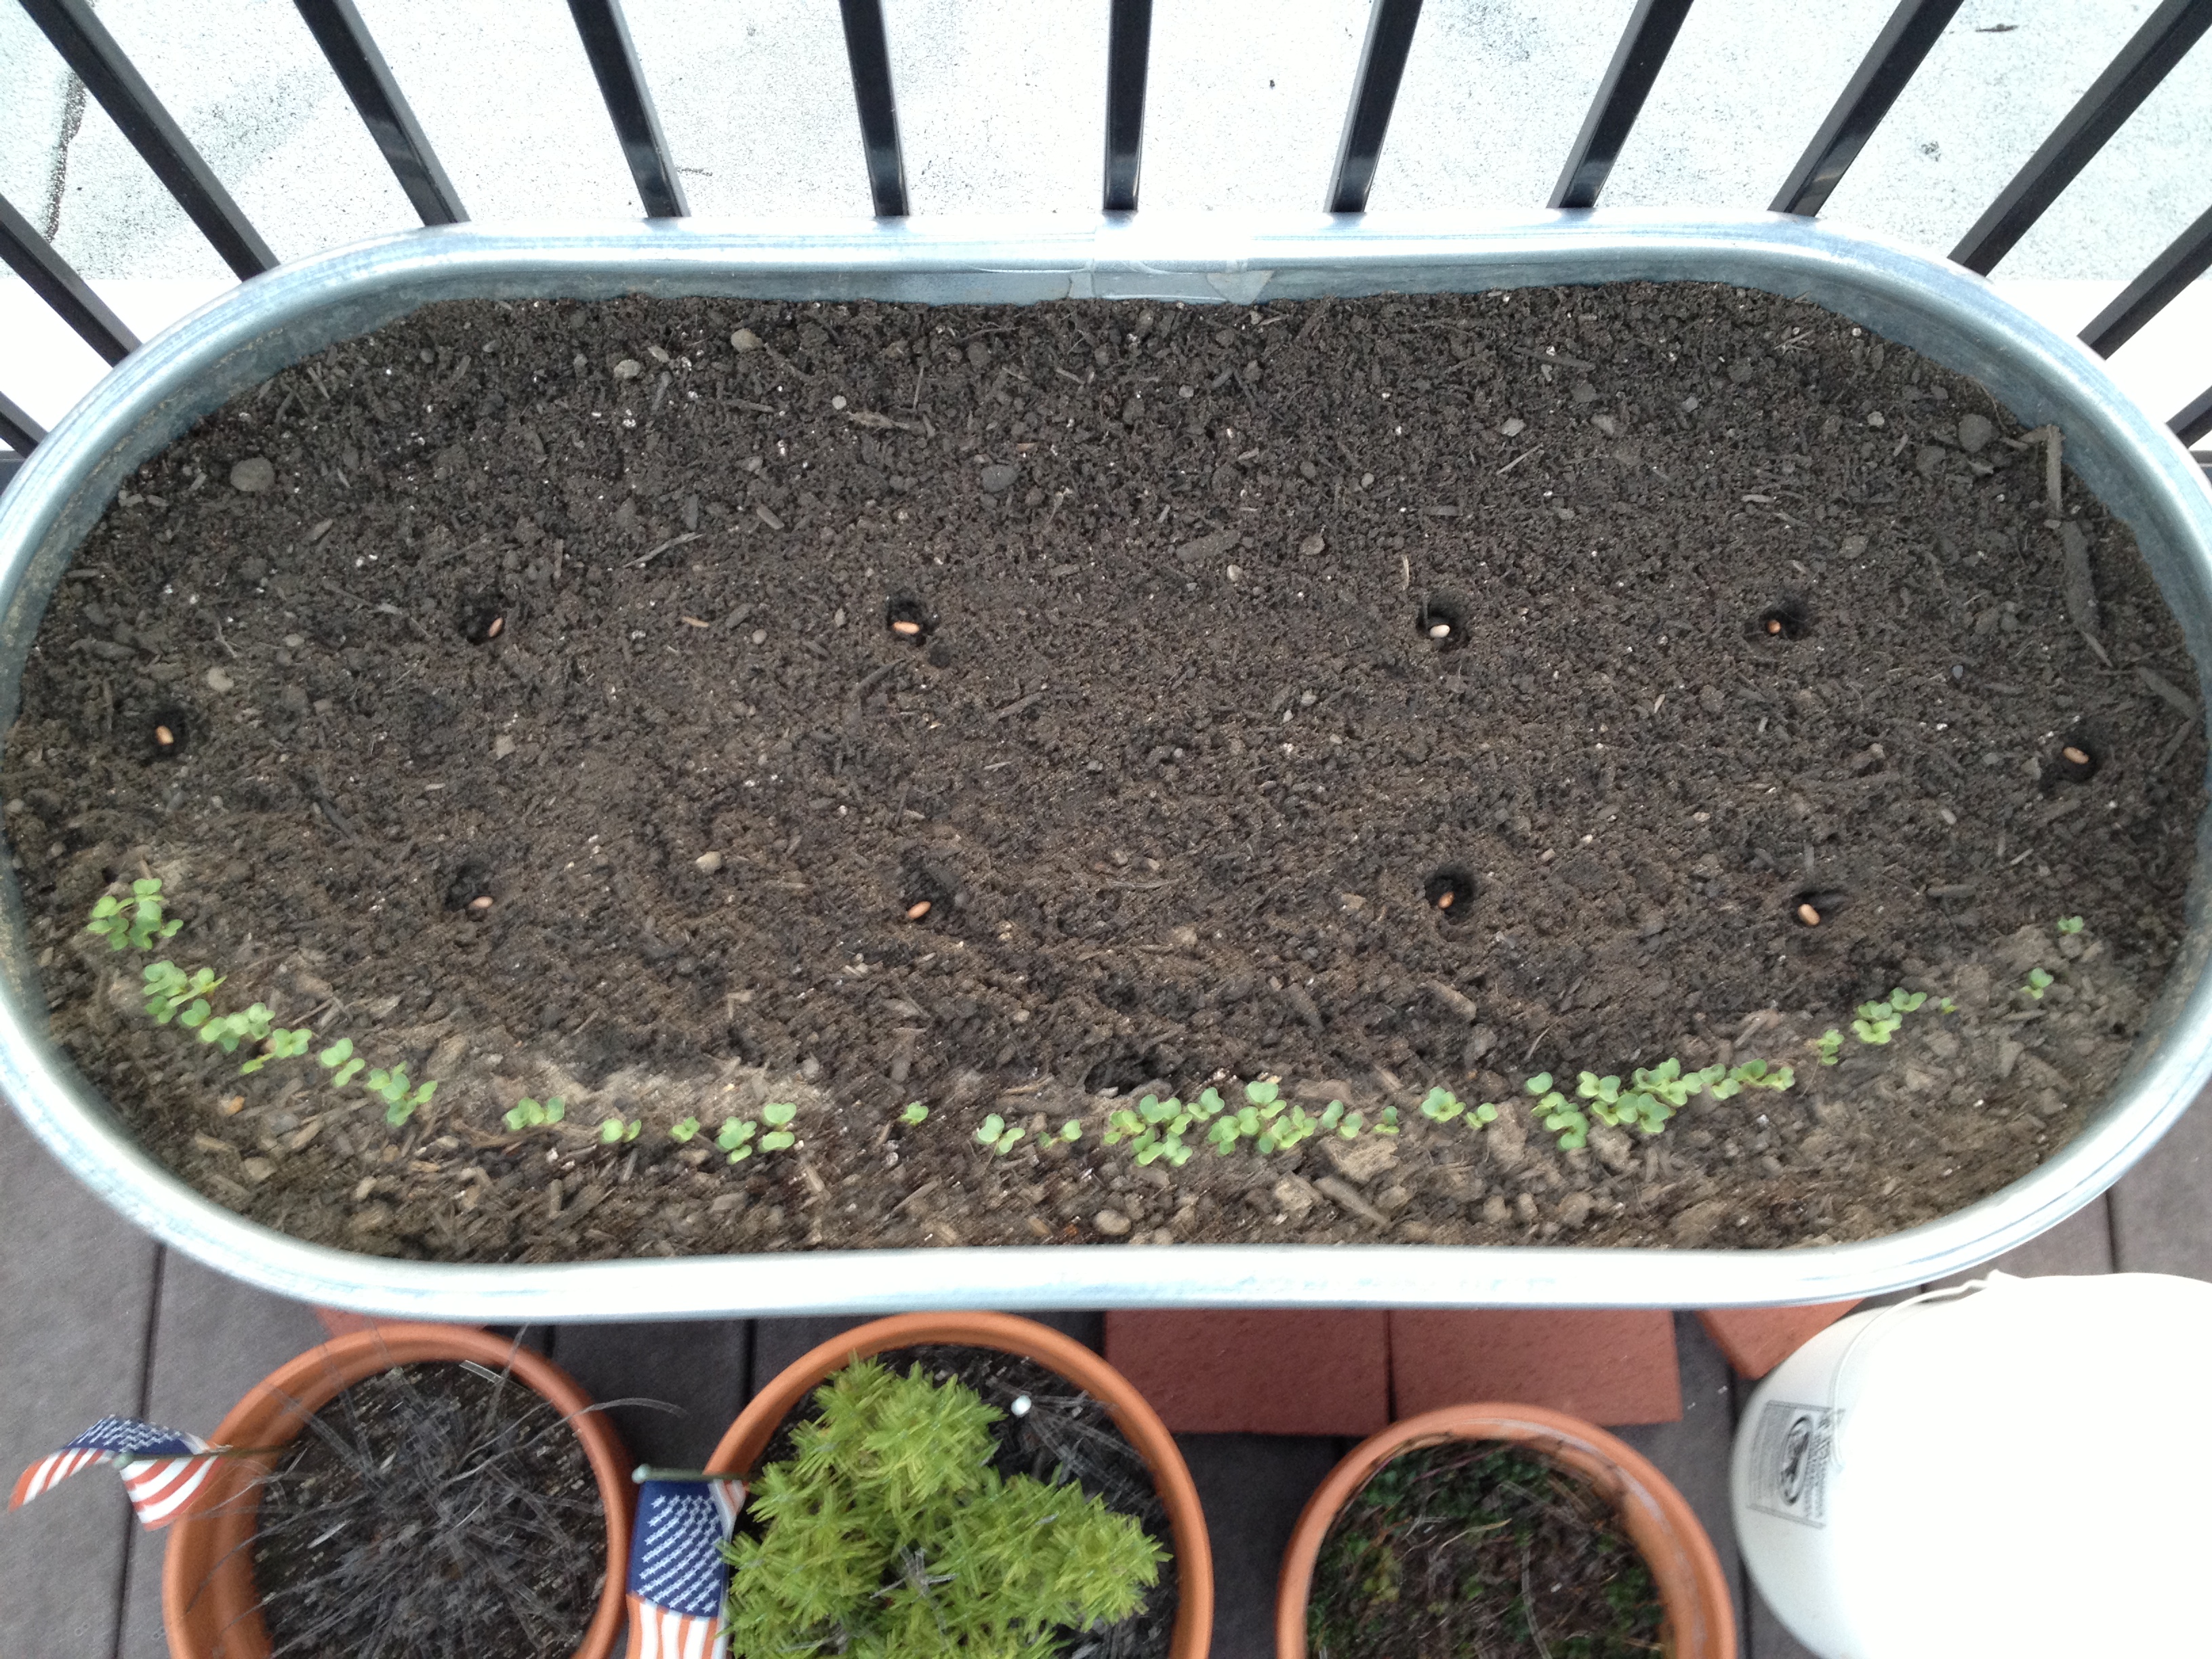
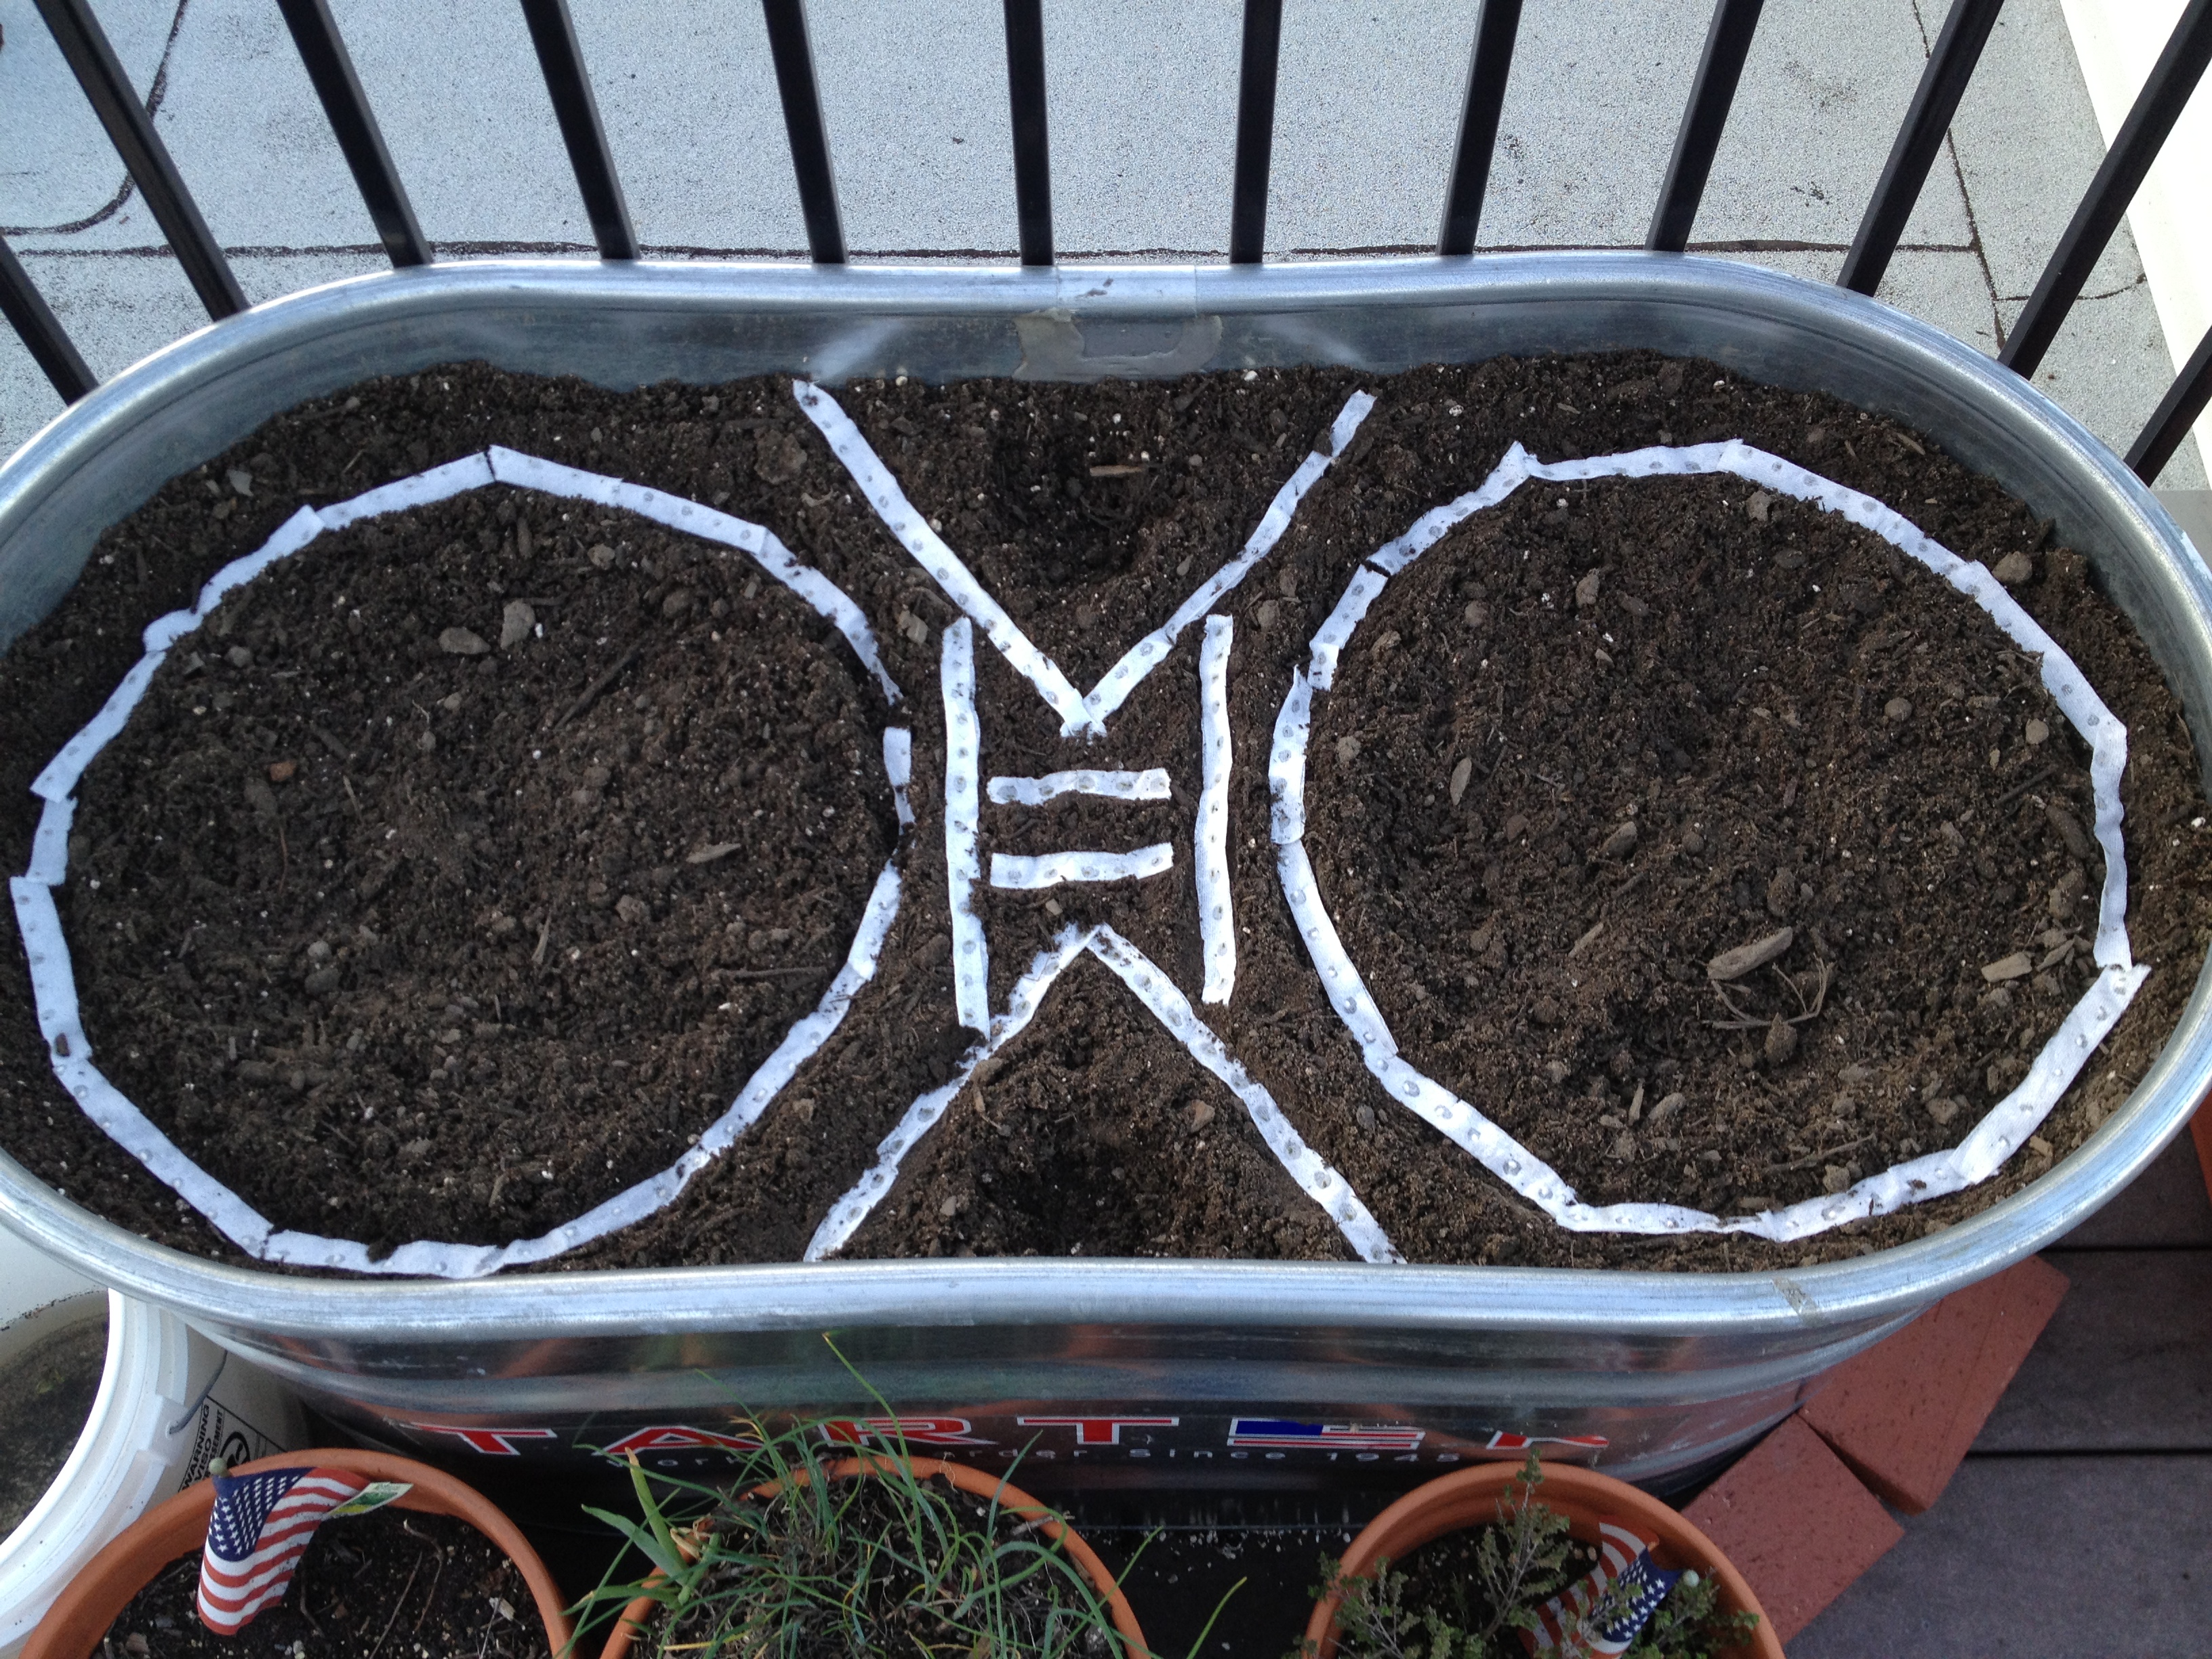
One thing Farmer Russell insisted I do to help the cucumber plants is thin them even more than I had earlier. I found three of the 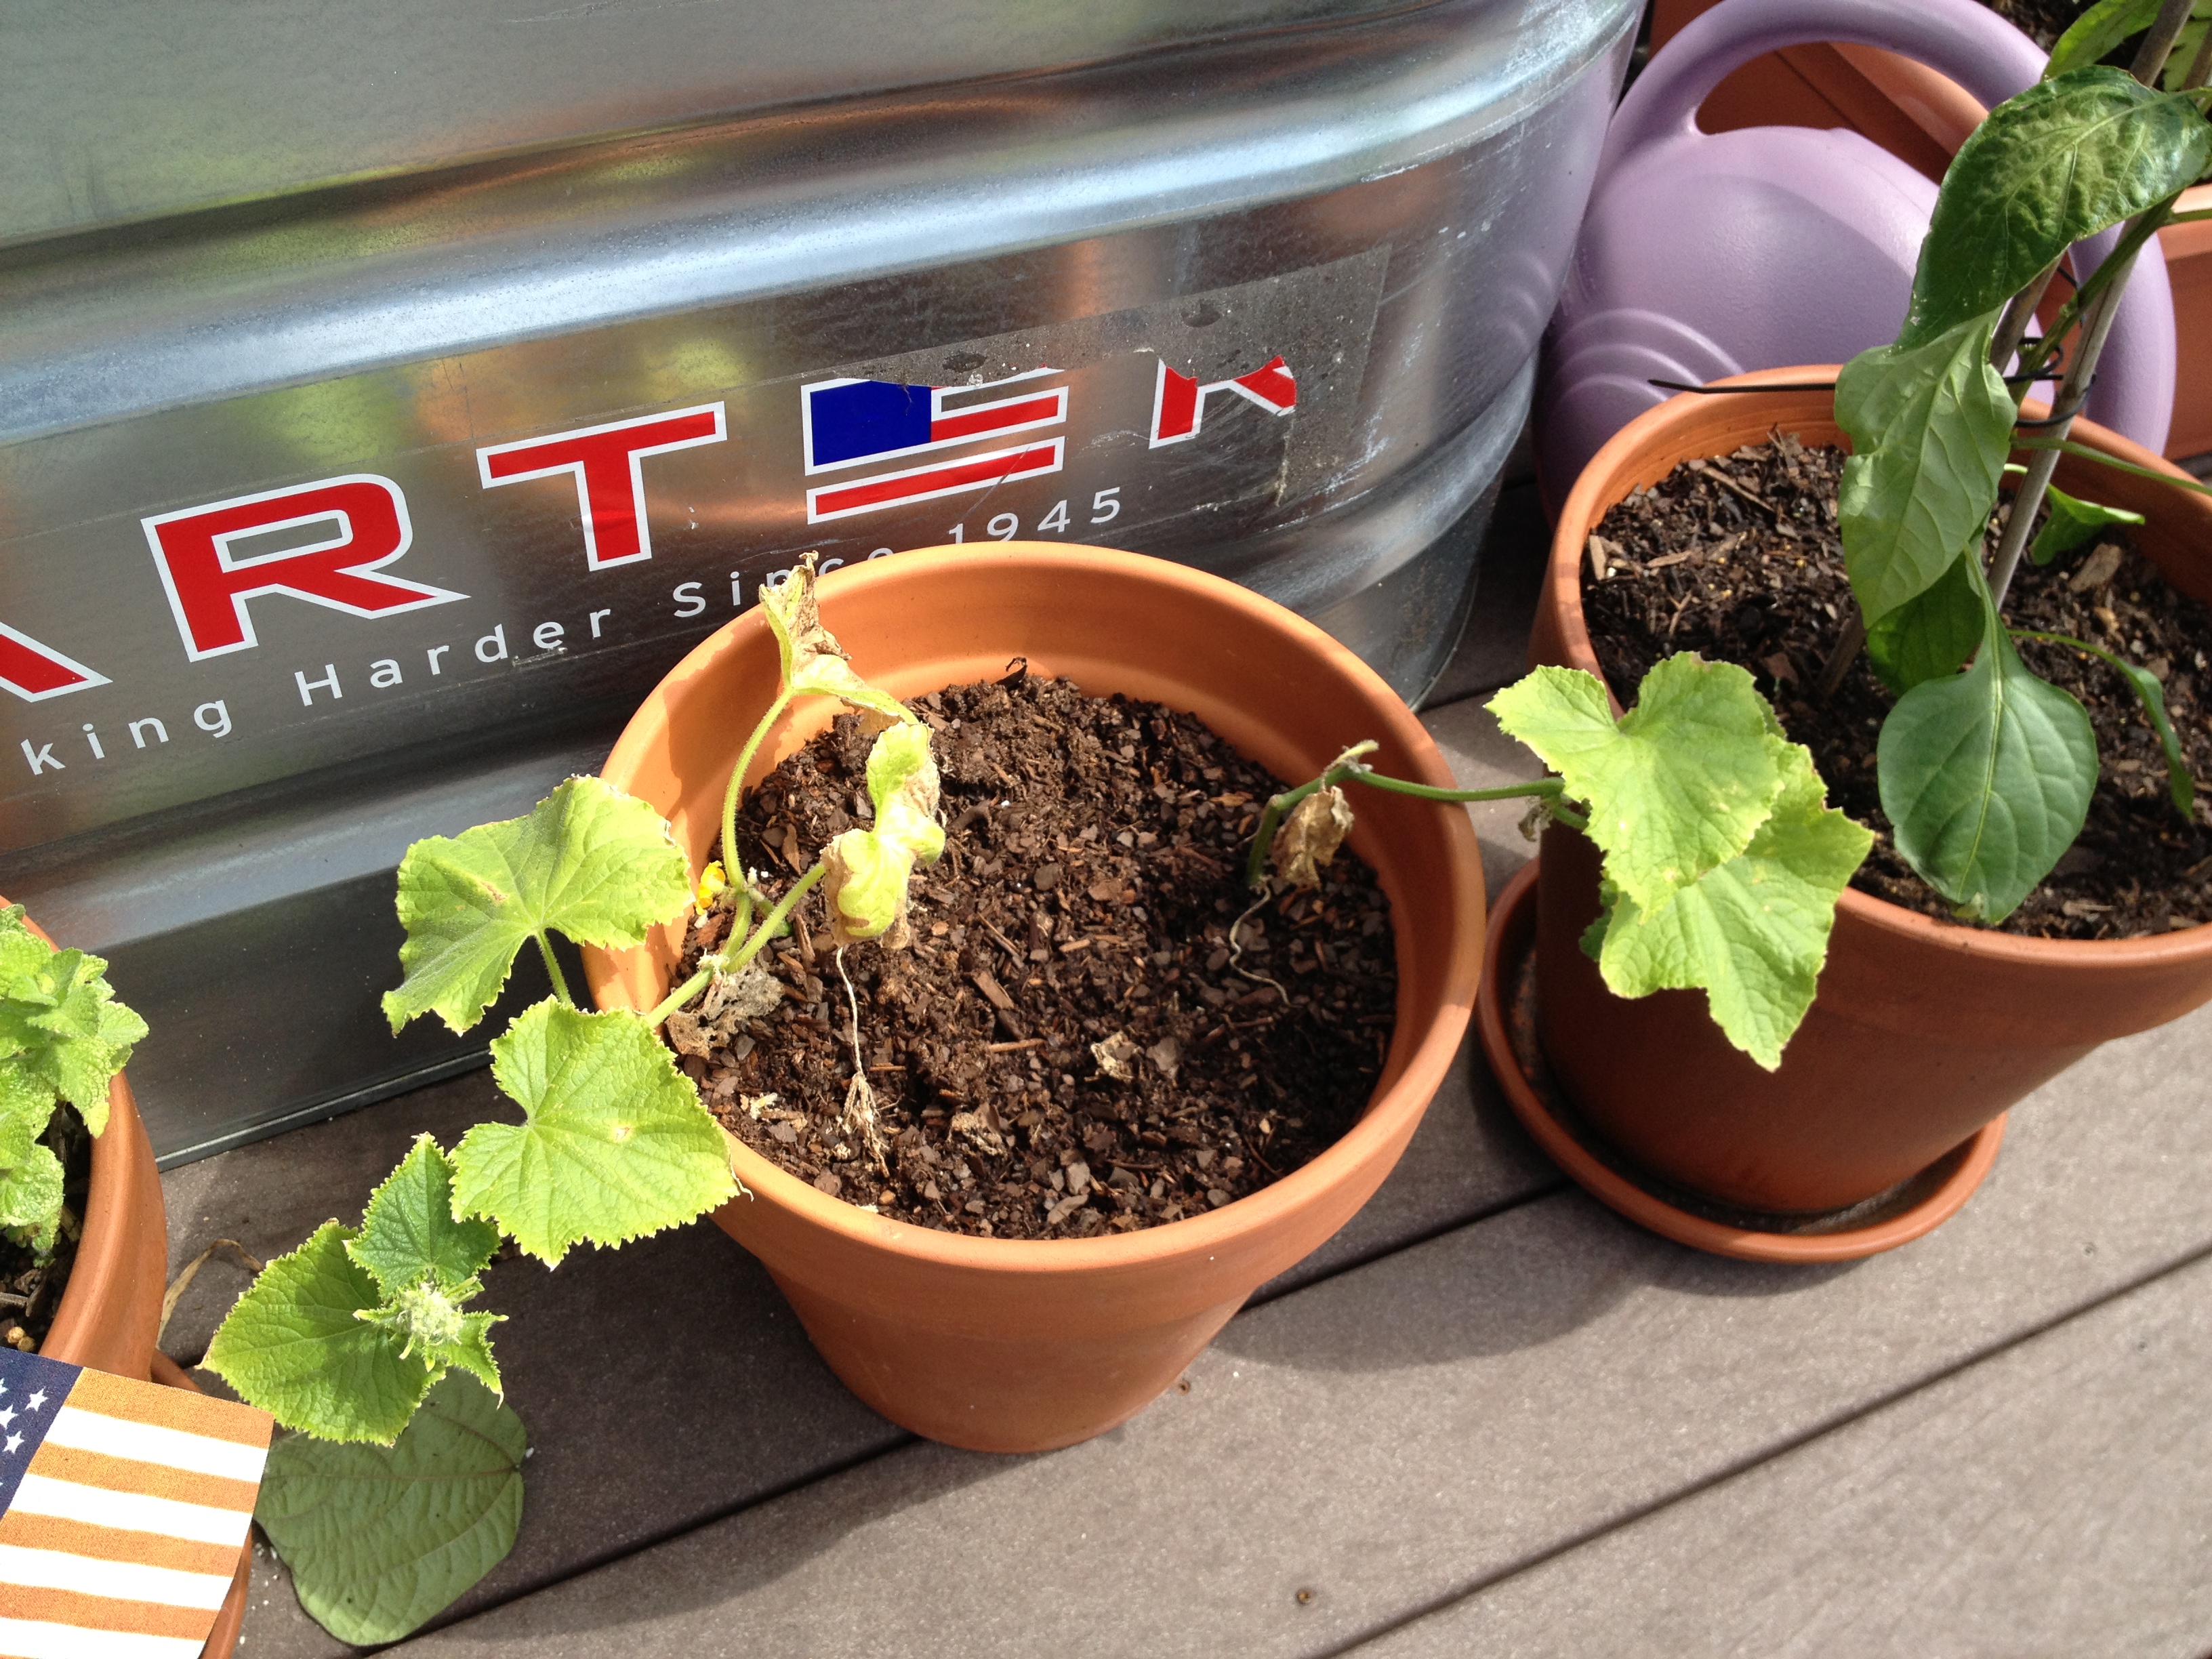 smaller plants and pulled them out. I had had them several inches apart, but more space would be better. Two of them had a few roots left, so I threw them into an empty pot I had. At first they shriveled, but then the raaaaains came. Lo and behold, they’ve rooted and I now have two more plants. Didn’t really expect that, very happy about it.
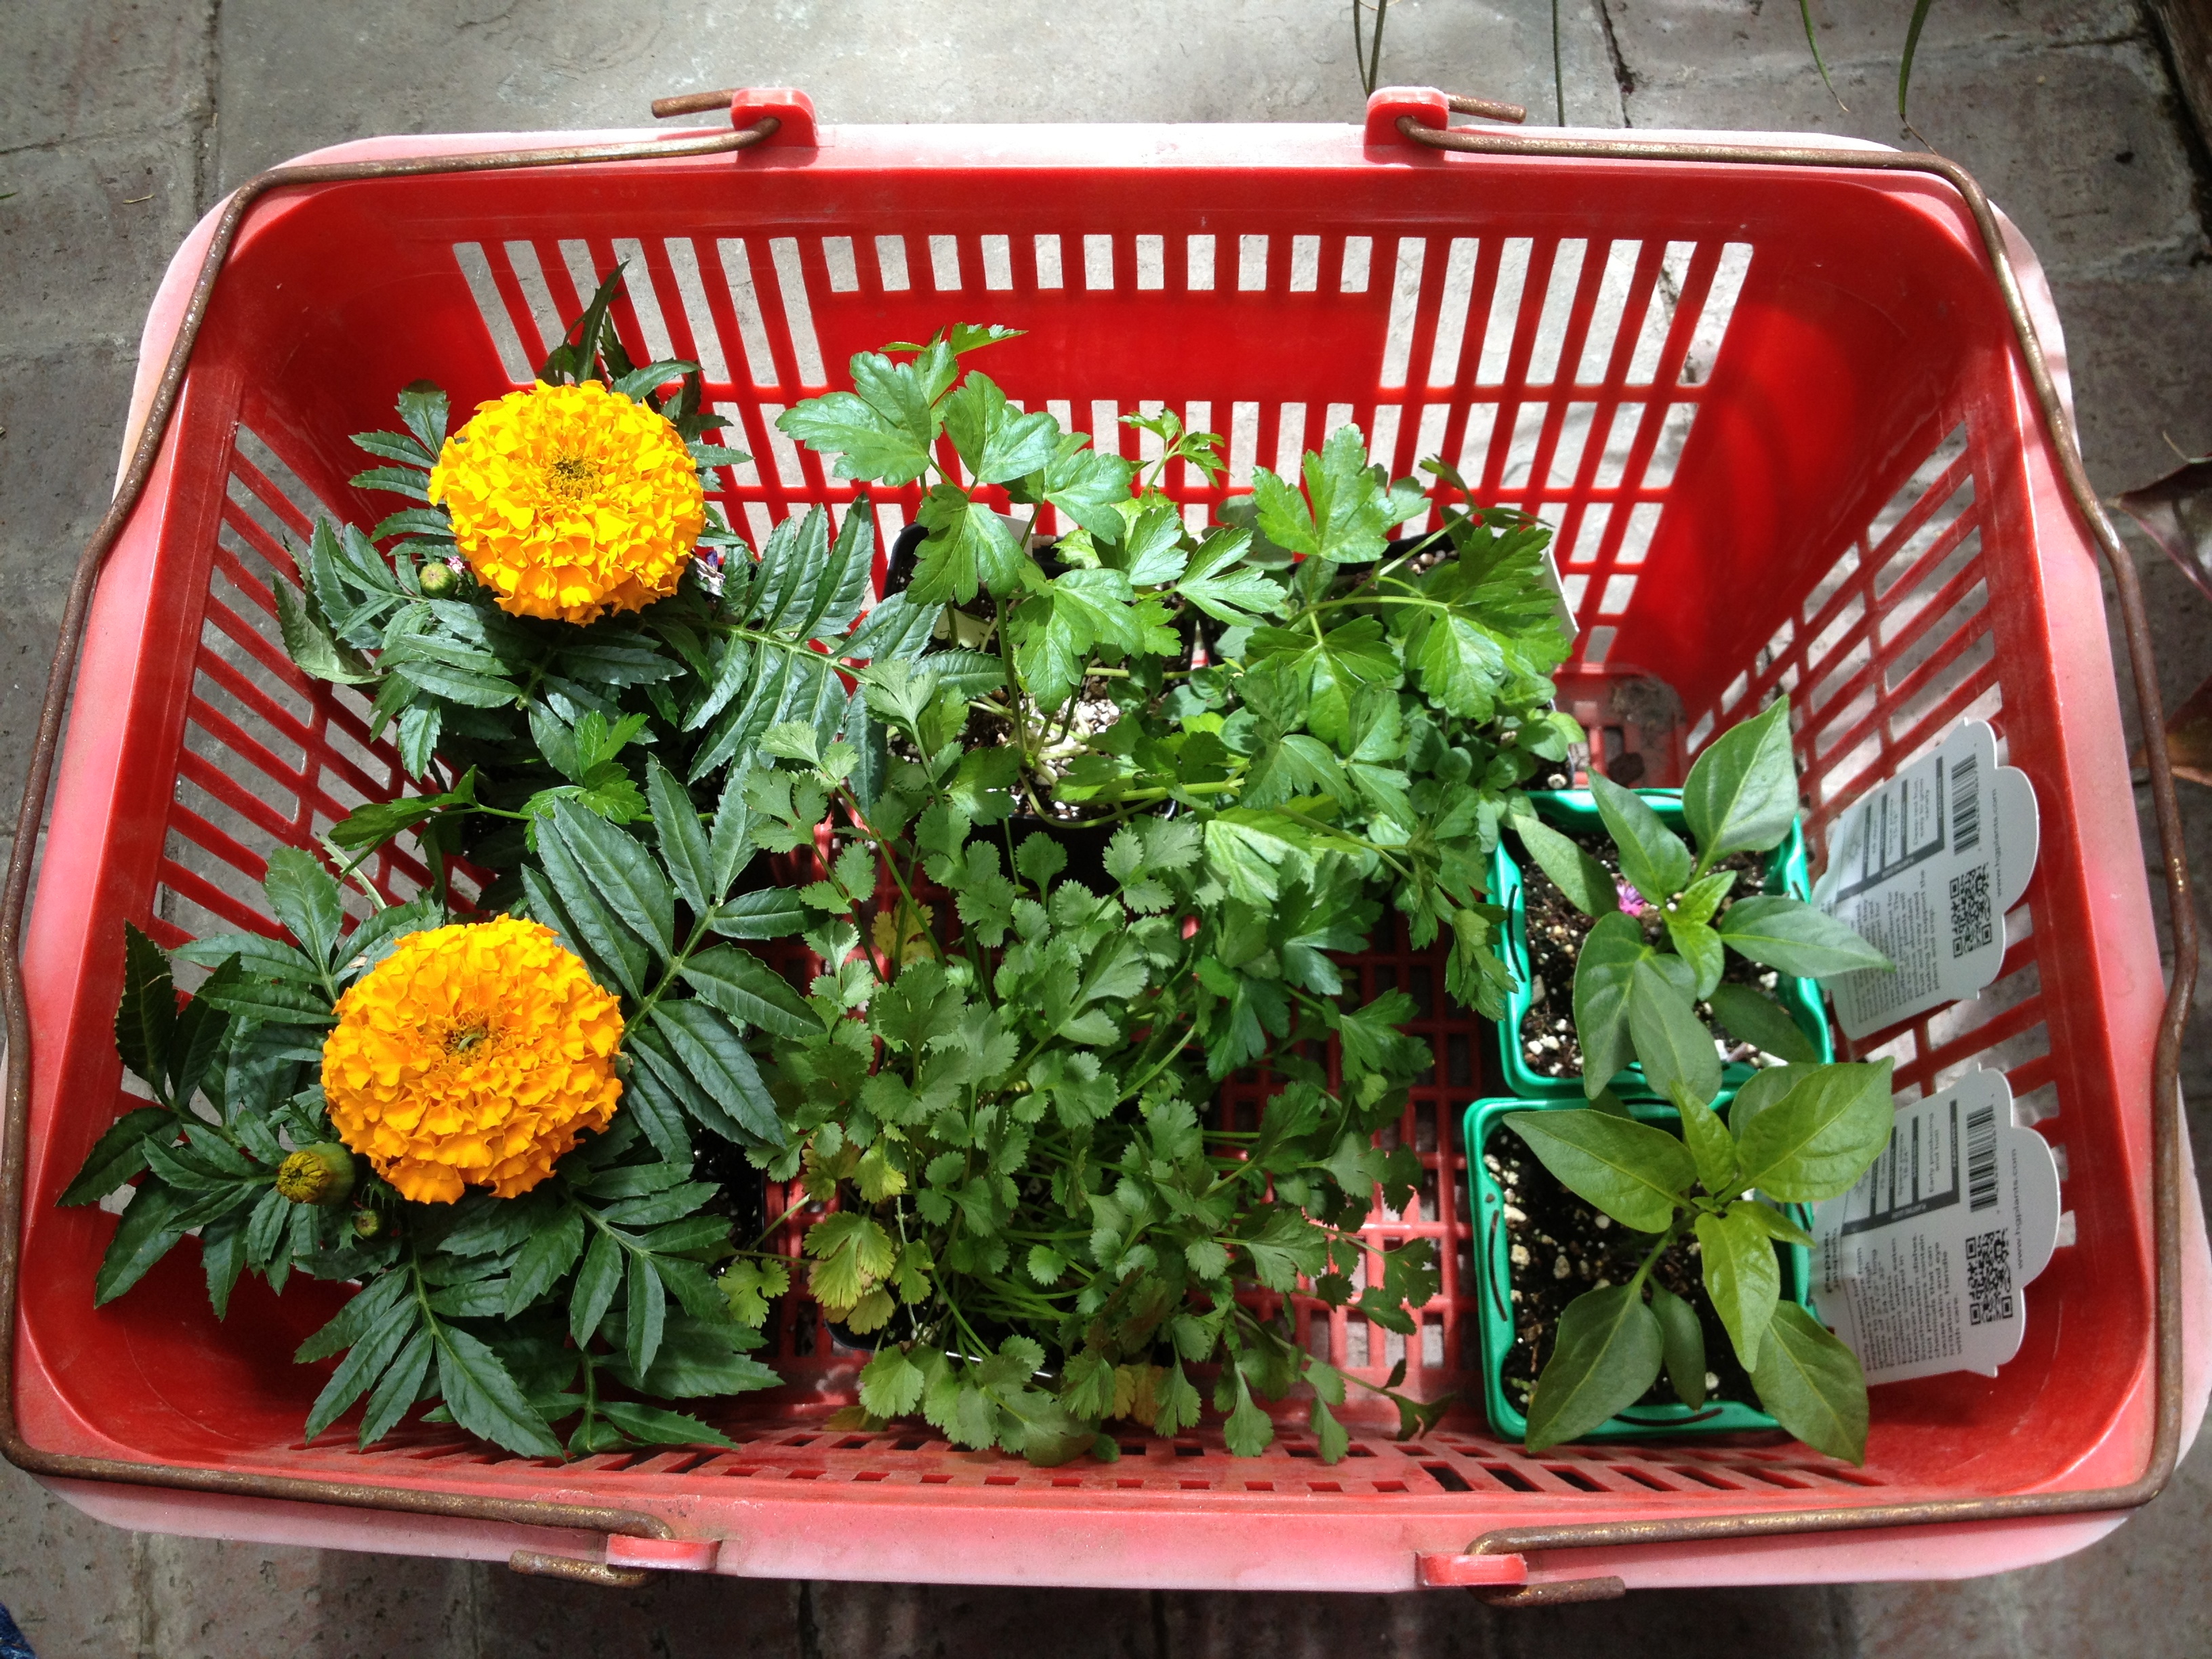
Next to the new cucumber plants is Ali’s former pepper plant. She had it inside for several weeks after she bought it and realized that it really wasn’t going to grow in her apartment. I adopted it and brought it upstairs. Yesterday I noticed that it had sprouted several new sets of leaves and is starting to bulk up. My two pepper plants (bell pepper and jalepeño) are also starting to grow new leaves and get….stocky…., but they’re both still a bit short. They area also both making peppers right now so I gave them some plant food, as I had read it’d be good to do once they start producing.
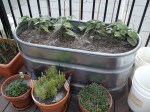
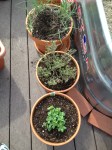
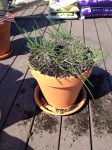
Speaking of rain, we got several days of heavy rains last week, thanks to the end of that hurricane and some storms that came to us from the midwest. I had collected five big buckets of water and several smaller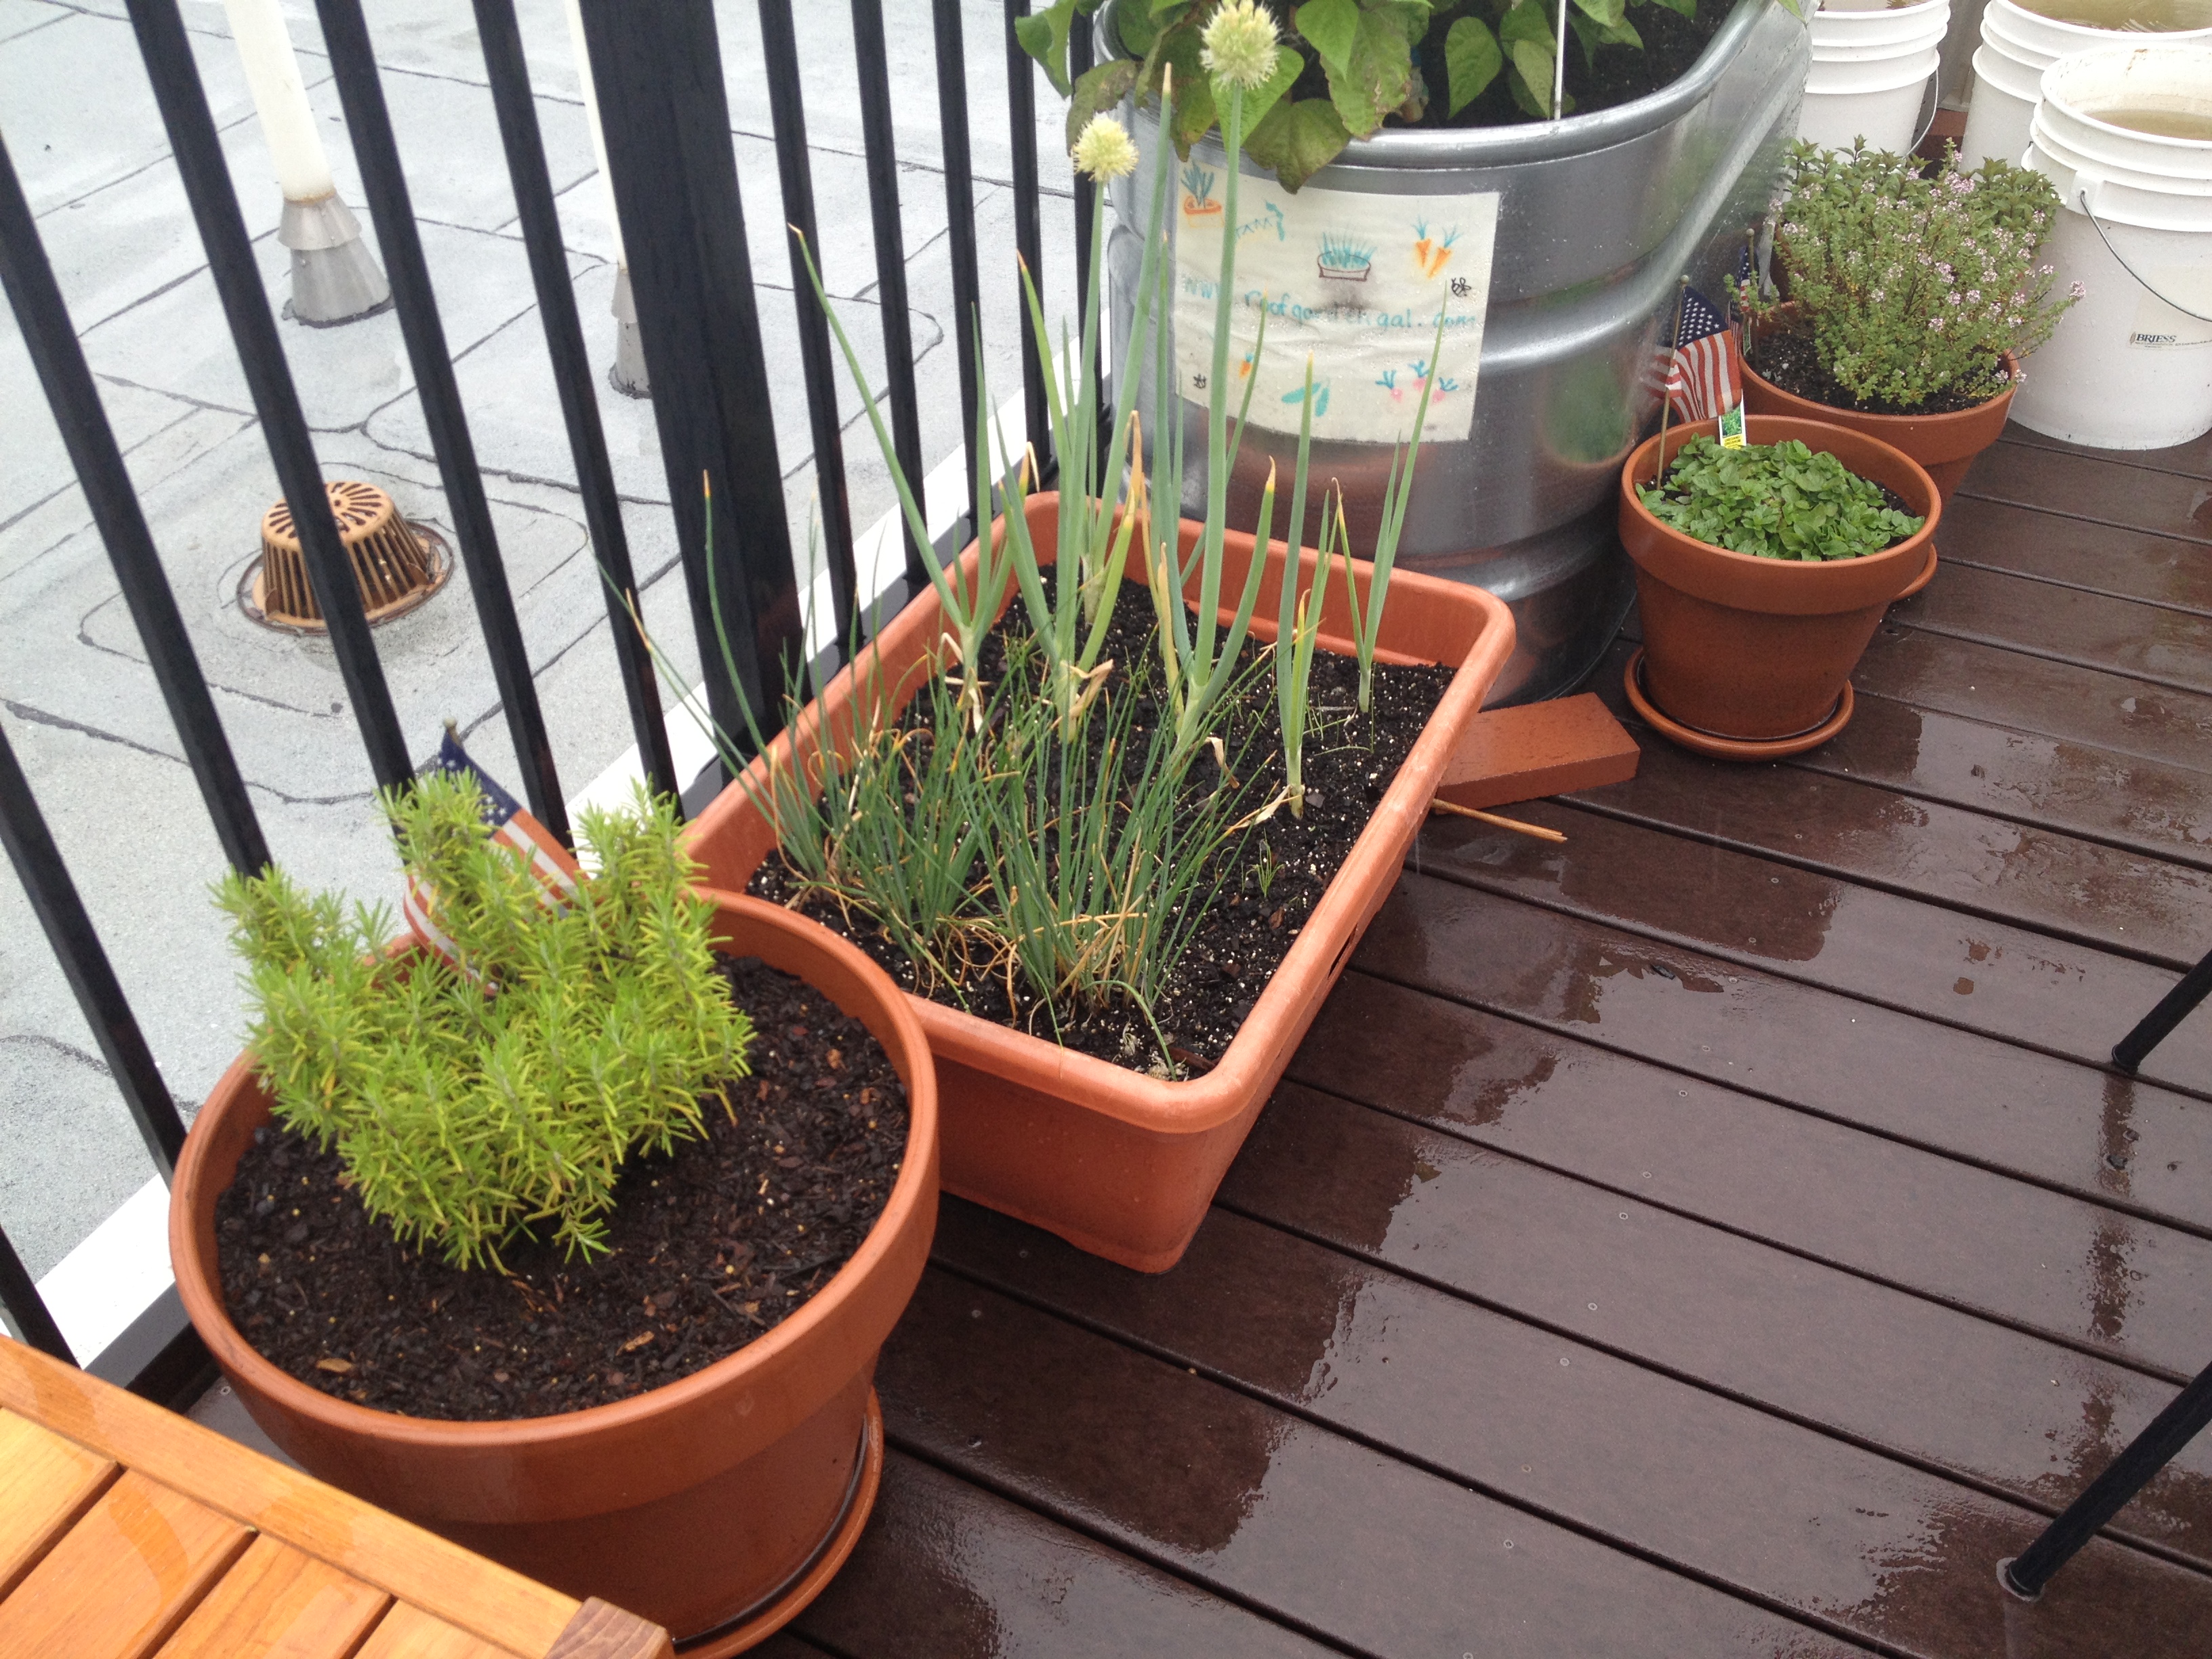 containers that were just sitting there, full, waiting to be used, but I wound up dumping them out because I didn’t need them and they were starting to get funky. I’ve only needed to water the terra cotta pots, not the square buckets or larger tanks. They’ve all been very nicely saturated for the last two weeks or so. I figured I’ll collect water later this week when we get more rain, which looks like it’ll be Monday through Wednesday, just in case. Here is the rosemary in the new large pot I got last week, and you can see the deck is wet. After three years, it was totally root bound in the smaller pot. I gave the plant a good trim and made rosemary simple syrup. It now has several new soft green leaves, just a few days later.
So about those pollinators….
-

- This guy spent a ton of time flying all over the garden. He was most pleased.
-

- Laaaaadybug
-

- I don’t know what the hell this is.
The cucumbers have been looking much better in the last three days or so. I hope that bee has been telling his friends to come over.
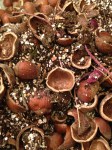
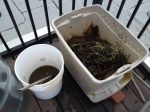
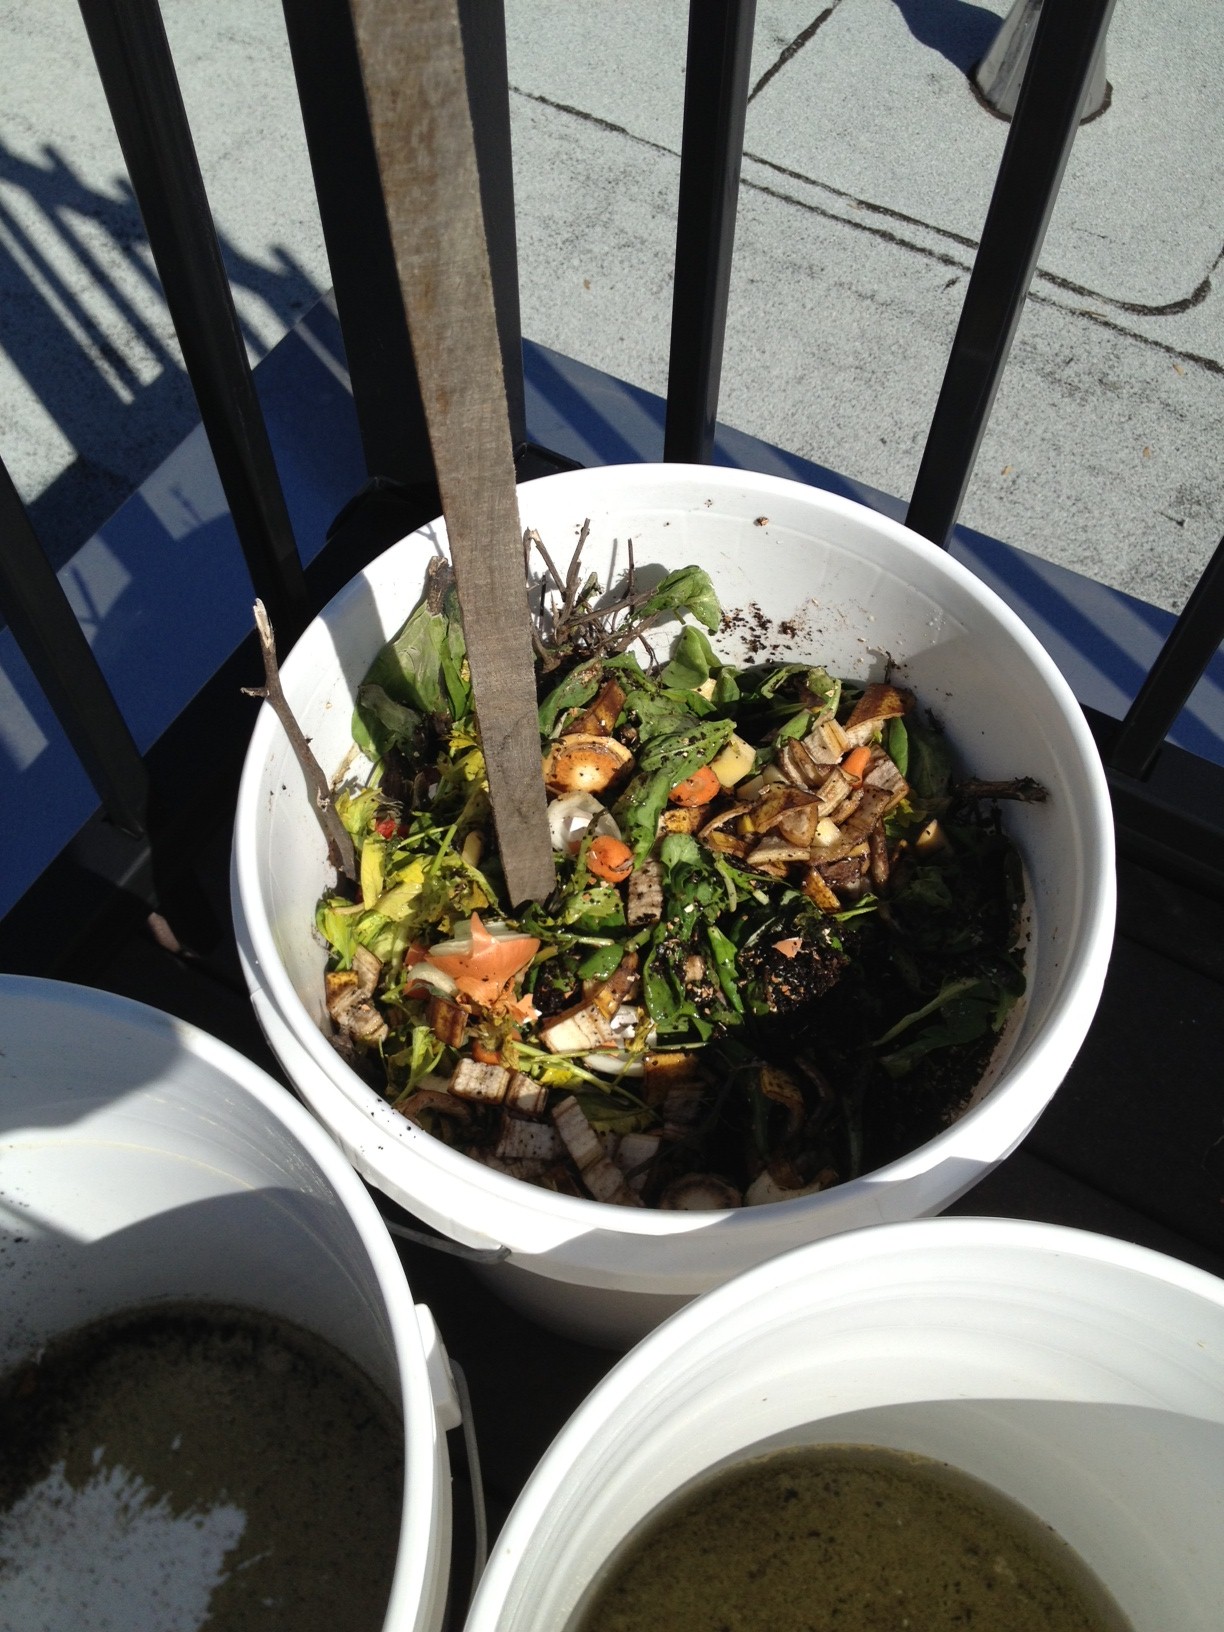
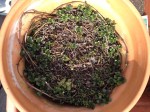
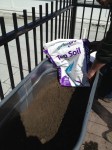
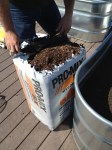
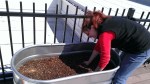
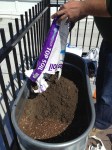
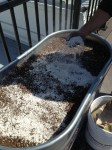
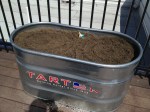
Finally, how could I not talk about my marvelous compost? The threat of high winds made me bungee cord all of the roof chairs to the fence and fold the tables down to protect them. I knew there was little I could do about the plants, though. Thankfully, the storm here wound up being a whole lot of nothing (but about 40 miles away at the distillery we had horizontal rains for a few minutes.) Anyway, after untying the chairs, I switched the compost bucket top with holes to the one without, bungeed it on, and rolled it around the roof for a bit to mix it better than I had been doing with just my prongy cultivator tool. Perfectly mixed! Looks like I’ll just need a few more weeks before I will be able to start to use it.
-
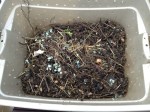
- Before tossing around the roof.
-

- Lid is secure, nothing falling out of the holes, perfectly mixed!