Tag Archives: garden plan
Video

FOUA, School Victory Gardens, and an Interview!

19 Jun

Have I mentioned I’m on the board of directors of Arlington Friends of Urban Agriculture? FOUA is new as a 501(c)3, though the group was formed in 2017 out of Arlington County’s Urban Agriculture Task Force in 2015. Our mission is to build and support a fair, equitable, and sustainable food system in Arlington. I love talking about urban farming and small space gardening, so it’s right up my alley, huh? Plus, I get to use one of my advanced degrees yay!

A few weeks ago, I talked to the Ballston BID about urban agriculture in the county. Honestly, I was pretty nervous about how it would come out, but due to the producer’s magical editing skills, I think it’s pretty good! Here it is, all 27 minutes of listening glory.

We hit the ground running this year when we took on the COVID-19 crisis. A combination of factors lead us to our Victory Garden project that includes the new home of the Plot Against Hunger program (formerly of AFAC, the Arlington Food Assistance Center) and our school garden program.

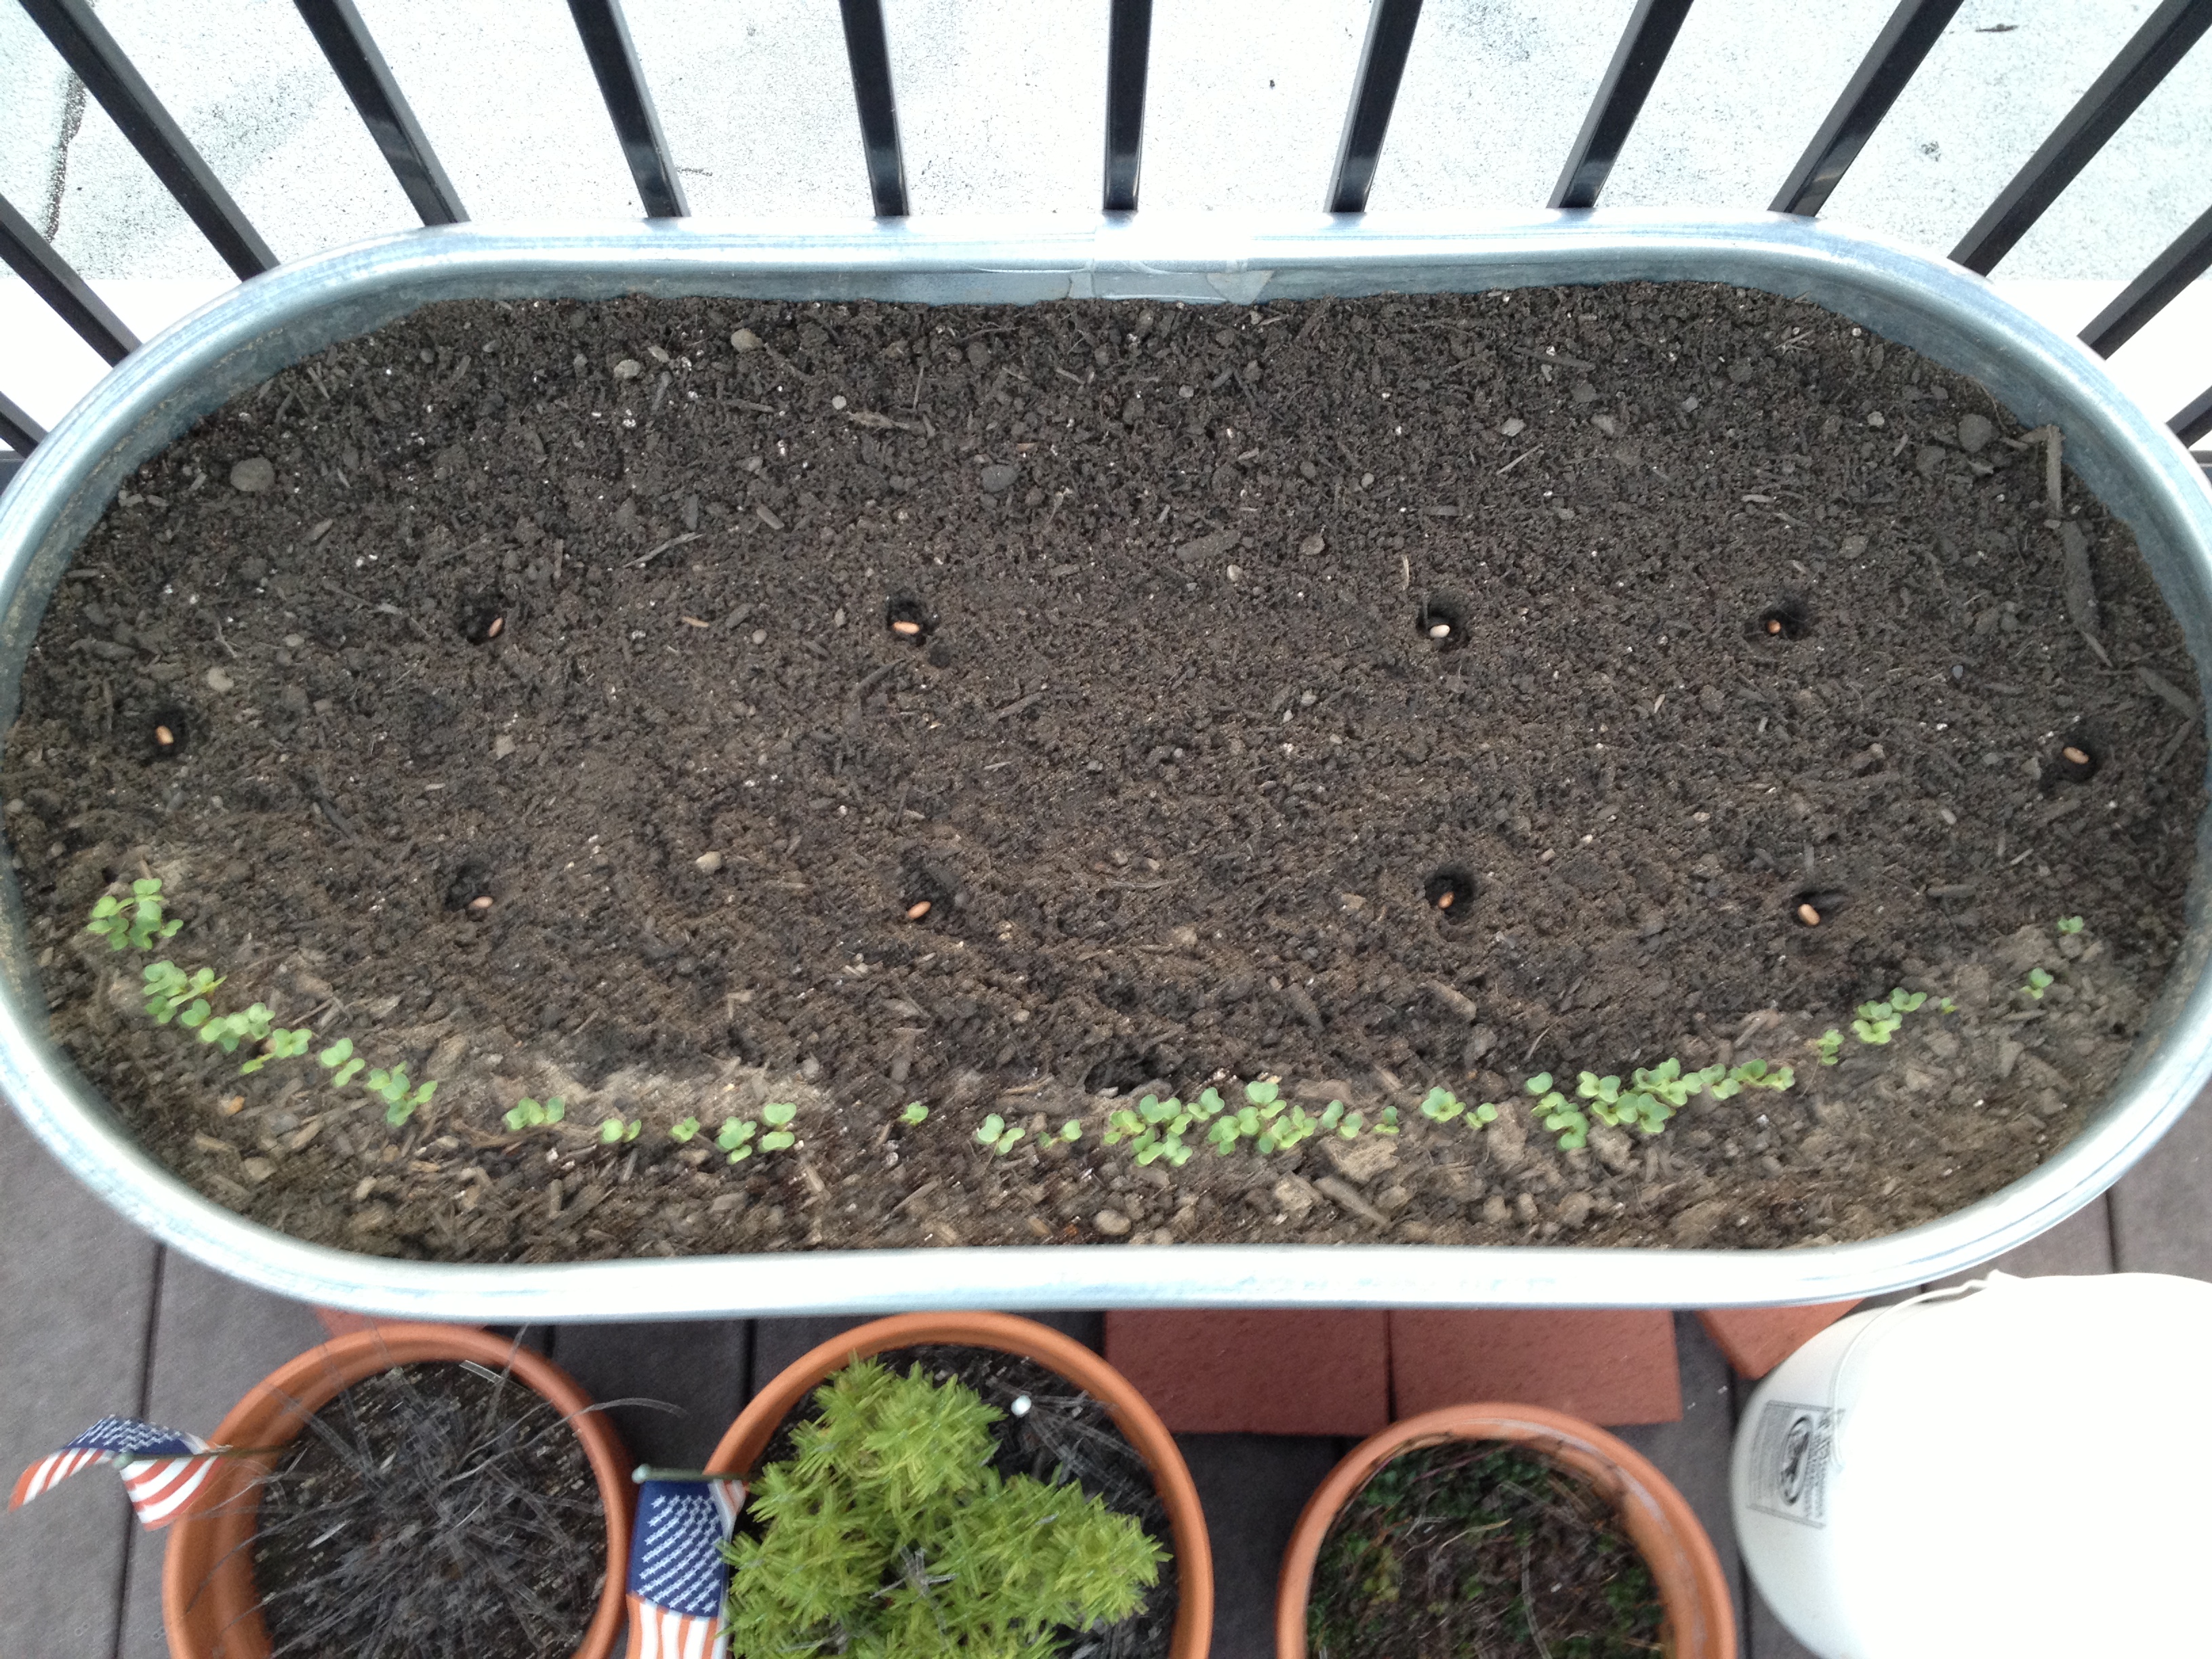
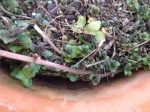
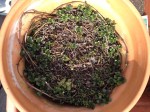
With the approval of Arlington Public Schools, we are working with Arlington Virginia Cooperative Extension and garden coordinators at existing gardens to provide administrative support, volunteer bodies, trained Extension Master Gardeners, and in a very happy and unexpected twist, funding. When schools closed in March because of the pandemic, gardens struggled. Right before most gardeners begin their spring planting, volunteers and students were not allowed on school grounds. We presented our plan to the schools superintendent that FOUA would support the gardens by turning them into production gardens (or aiming to increase production for those that already were) and donate produce to a number of local food pantries that have seen a sudden and incredible increase in need. Our goal is 2,500 pounds by the end of this season. We started with three gardens in early/mid May and have made a ton of progress so far. We’re beginning to donate from each of the gardens. Plus, next week we’ll be onboarding a fourth school garden!

Follow us on social media for updates, on Instagram, Twitter, Facebook, and now YouTube (please subscribe so we can eventually get our own username!) I’ll be posting photos and making videos on a regular basis. Here are the first two videos I put together.


More updates as the season continues and our donations pick up.

Big planting on a frost-free weekend

15 Apr

Seeds and plants and replants…BLAMO!

I put my seed tape to work this weekend. Using Farmer Russell’s earlier guides, I made little furrows to plant the seed tape, probably about 3/4″ deep. I kind of mixed the tapes up a bit, so I will have a few of each kind of carrot scattered all over. Covered those puppies up, and voila! Also planted basil in the middle “V” shapes in the carrots. Purple string beans in the other tank.

IMG_7385IMG_7384


On Sunday my friend and I went to a garden center to get some plants. To protect her anonymity, I will call her “ShmErin” here. (Her actual name may or may not sound similar…I’ve always wondered if articles that say names have been changed actually do use real names, and say that just to throw you off.)

IMG_7388

We each purchased a $20 for $40 Groupon deal from  Garden World of Virginia and  found some nice stuff. Also the staff was very helpful. Remember…SUPPORT YOUR LOCAL ECONOMY! I was fascinated by the water fountain things, but so were a pair of adorable twin two year old boys.

Aside from several bags of organic potting soil, I picked up a packet of cucumber seeds and live plants.

  • Oregano (to replace my dead plant)
  • Parsley (to replace the other dead plant)
  • Cilantro (for my rabbit, not me. I think cilantro tastes like soap. Ew.)
  • Red bell pepper
  • Jalepeno pepper
  • Two orange marigold plants that I don’t know what to do with yet.

IMG_7391

We went home and got to work!

First, I put the peppers in one of the old tomato boxes with the parsley and cilantro. Easy. Looks good. Then, I took a chunk of chives for ShmErin’s growing herb garden. I originally planted these chives from seed in 2011, so I was very happy that they were still alive and doing well and that I could share them. Then I moved the chives and onions to the second former tomato box so they are alone. Farmer Russell just posted a few words about companion planting on his Tumblr…gotta be careful with alliums. Some plants don’t mind being near them, others will die. I decided to just keep them in a separate container. I’ll probably plant a few more rows of green onions this week, too.  The ones in there now were also planted in 2011 and have come back each year. Also, he cautioned not to plant the marigolds near the beans. The will act as a natural herbicide and then…no more beans. They’re great near tomatoes, though! I will probably put them near the tomatoes. Next, several of my potted herbs needed a bit of a, shall we say…pick me up? I removed the thyme and chocolate mint from their containers, loosened up the roots, which were absolutely packed, added some new potting soil to the bottom of the pots, replaced the plants and filled in around them with more soil.

Finally, a row of cucumber in the back of the second tank. They will be trained up some bamboo sticks I have, and then eventually they can hang over the fencing. At least that’s the plan now.

Then, ShmErin watered! A lot. We carried up a ton of water. Either a ton or about 40 pounds in total. Then we celebrated with cocktails on the roof. Then I came up later in the evening and watered everyone one more time. Then it rained early this morning. That was awesome.

I felt like Mother Nature had approved of my planting. Win.

OCD gardener plants seeds!

10 Apr

Time for planting!

Organized planing!

All in a row!

Here are Farmer Russell’s plans for each of my tanks. They have a decorative element to the design, too.

First tank is tomato, carrot, basil.

first tank design

Second tank is cucubrits beans, nasturtium.

second tank design

For the carrots, I made seed tape. Last year I just dropped seeds into a little trough I made with my finger. It worked well, but I had to thin them on a regular basis. Tape is great for little tiny seeds that are hard to see once they go into the soil, and they’re spaced well enough that you have to thin much less and therefore waste fewer seeds. I had used seed tape in the past, but I hadn’t thought of using it for the roof. Seed tape is also expensive, and you’re limited to the varieties available. Russell suggested I make my own tape. I used this as a quick how-to. The whole thing was very simple.

You’ll need:

  • Seeds
  • Toilet paper
  • Wax paper
  • School glue, or just thin regular white glue with some water.

Take an 18″ piece of toilet paper, fold it in half, then in half again so it’s about 4.5″ long, then in thirds lengthwise. Open the paper and separate the layers making 6 strips.

Lay out a piece of wax paper. Put drops of glue about 1″ apart on the paper, then drop one or two seeds on each drop (I did only one.)

Carefully fold the paper over on the seeds and gently press, encasing the seeds.

Let the strips dry and then carefully peel off of the wax paper. You can roll them up and store them in a baggie or container.

To use, just make a little trench at the depth specified on the seed packet and lay the strip in it. Cover and water. The glue and toilet paper will dissolve.

%d bloggers like this: