Tag Archives: cooking

A Black Eyed Pea Story (with recipe!)

4 Jan

Happy new year! Did you know that it is thought to be good luck to eat black eyed peas (a subspecies of cowpeas) on New Year’s day? I grew black eyed peas for the first time this past summer.

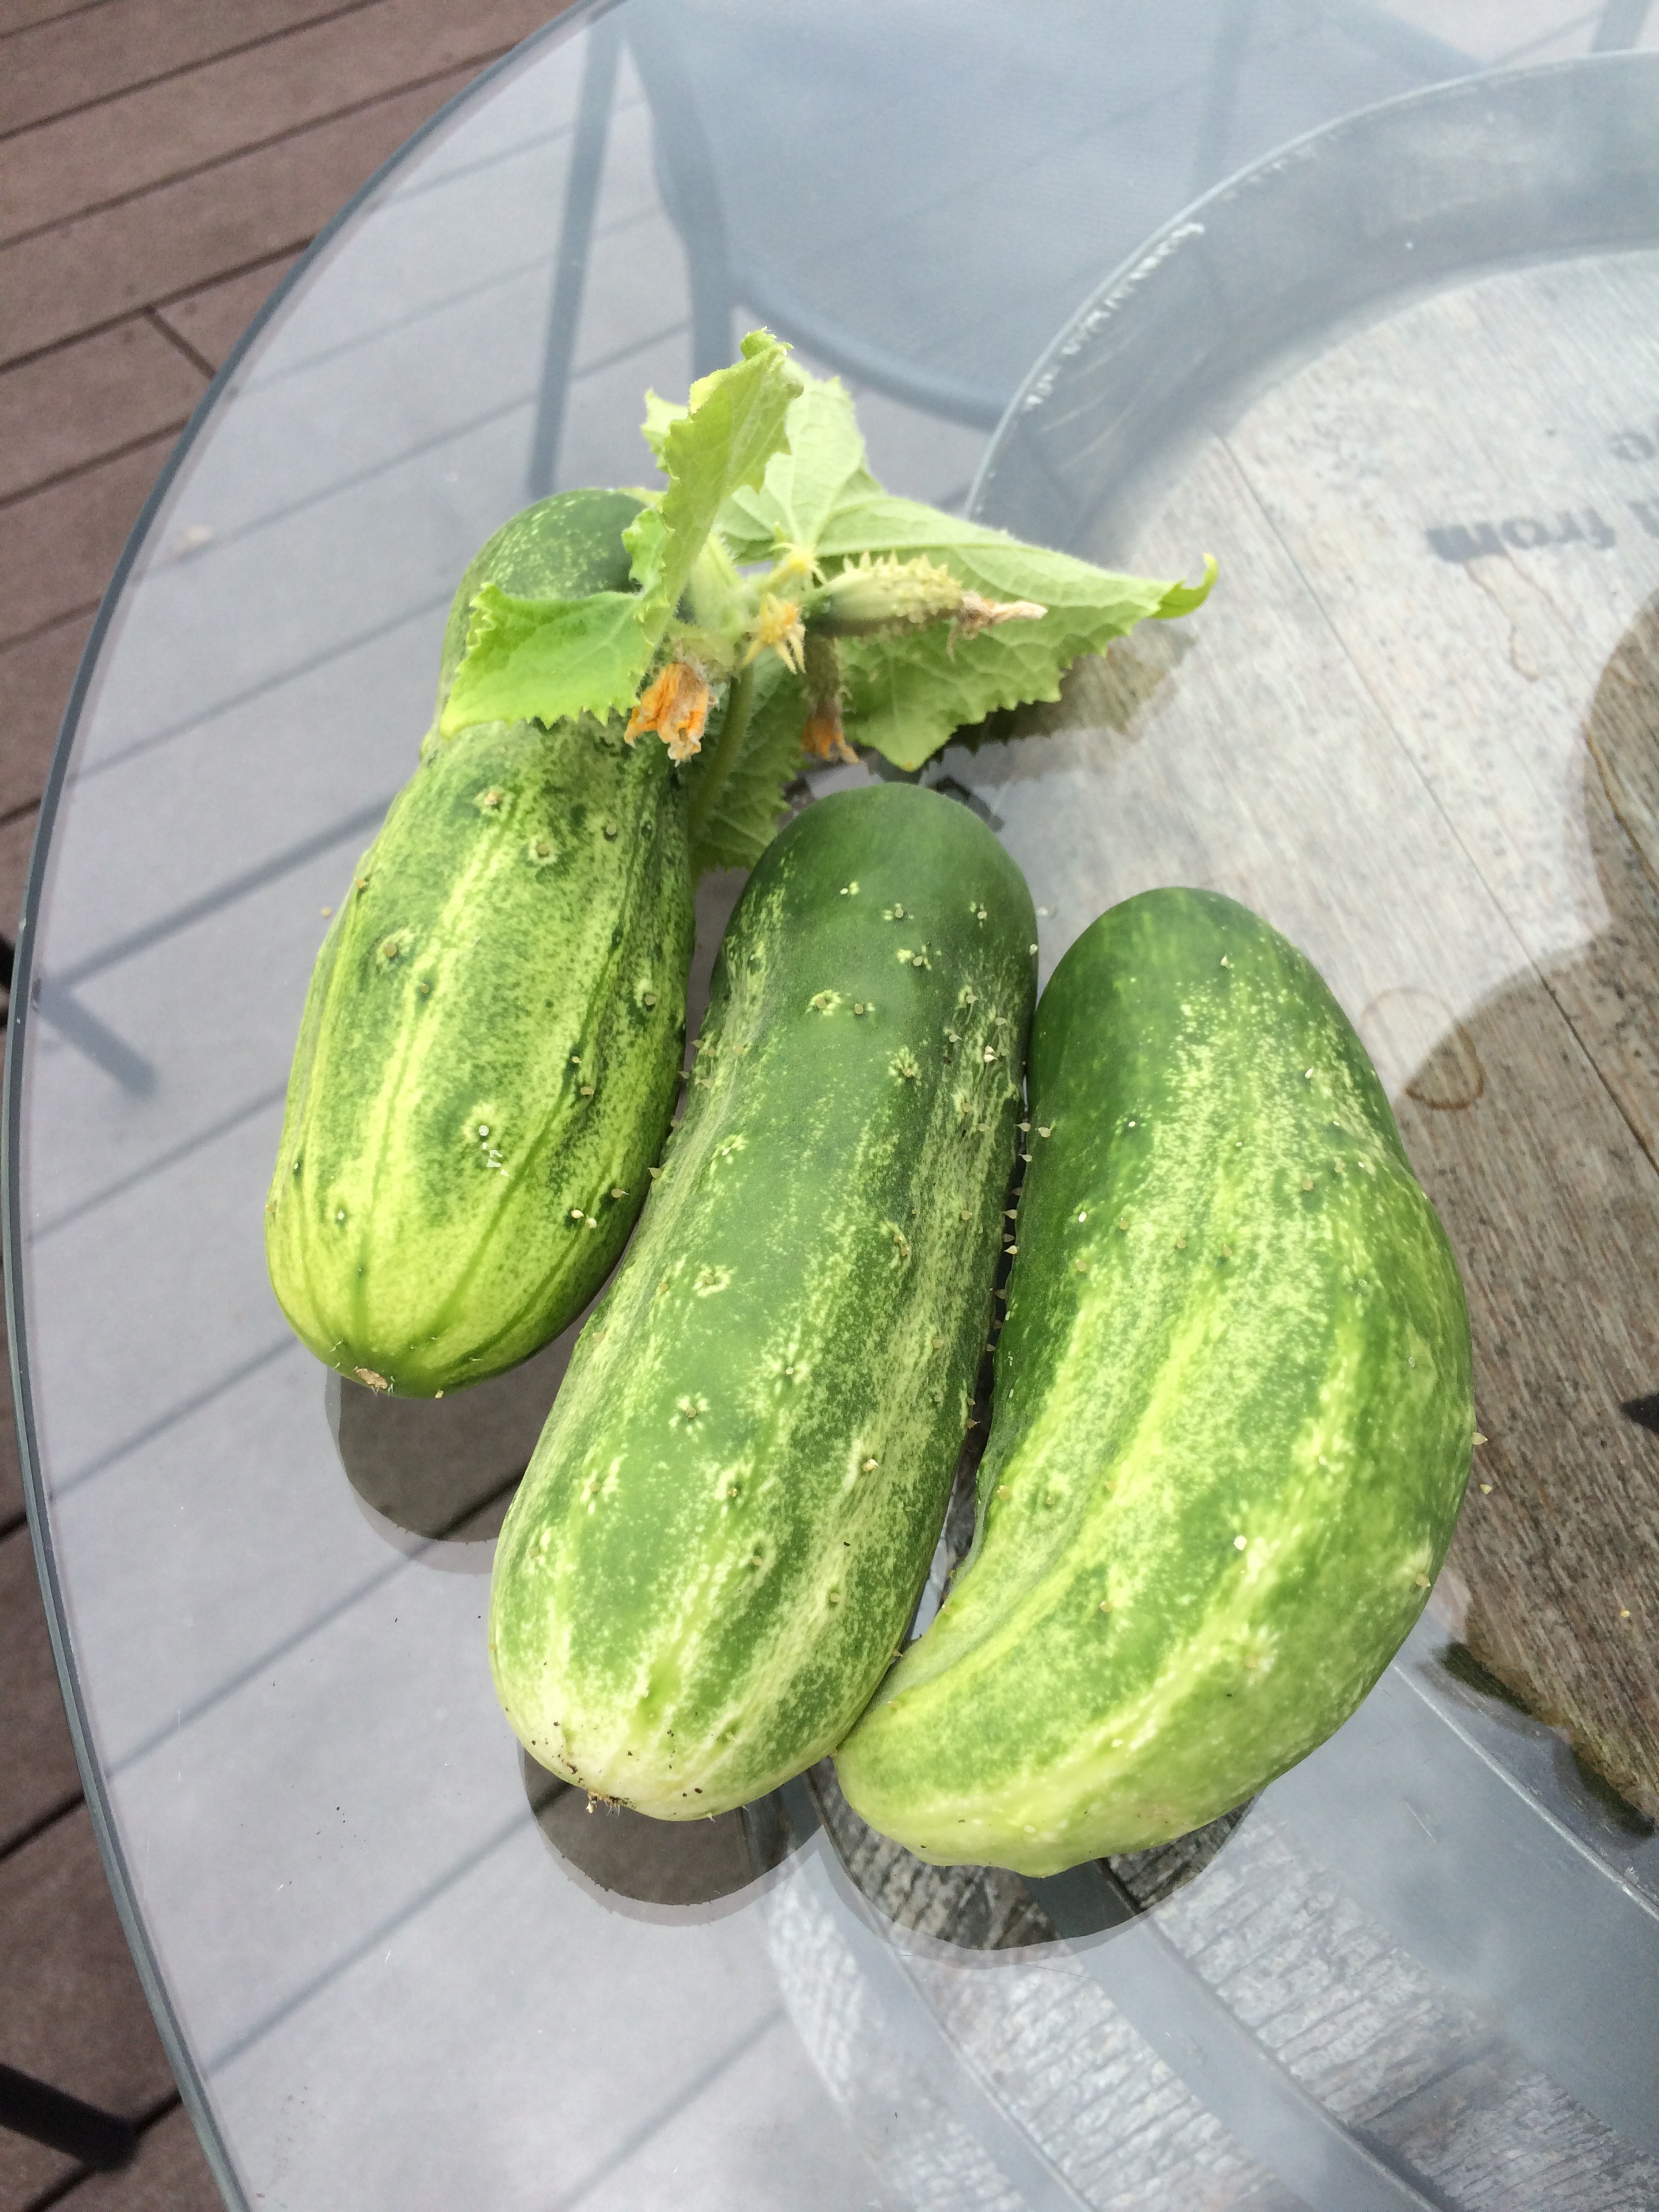
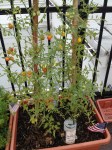
Late summer brought some jerk beetles to my cucumber and squash plants. Farmer Russell advised pulling the affected plants and replacing with black eyed peas ASAP. They’d help fix the soil, and then I’d be able to compost the plants and dry and eat the beans. They all sprouted within three days, and grew FAST. I tied them to the lattice that I used for the cucumbers.
photo-sep-11-11-03-31-am

photo-jan-04-11-45-36-amThe some pods were 7” long, though most were about 6”, with about 10-12 beans per pod. I let the pods stay on the plants and dry on their own before picking them. I wound up with about two cups of dried beans. I stored them in a jar with one of those silica desiccant packets.

I had rice and black eyed peas for dinner on New Year’s day. I made everything in my small crock pot and used chicken stock (salt free) that I made and pressure canned in August. Very happy with the results!

This made about 2 servings.photo-jan-04-11-55-14-am

½ cup dried black eyed peas, soaked overnight in water
½ medium onion, chopped
1 clove garlic, finely chopped
2 cups chicken stock
¼ tsp black pepper
1 tsp salt

Brown rice, prepared according to package directions
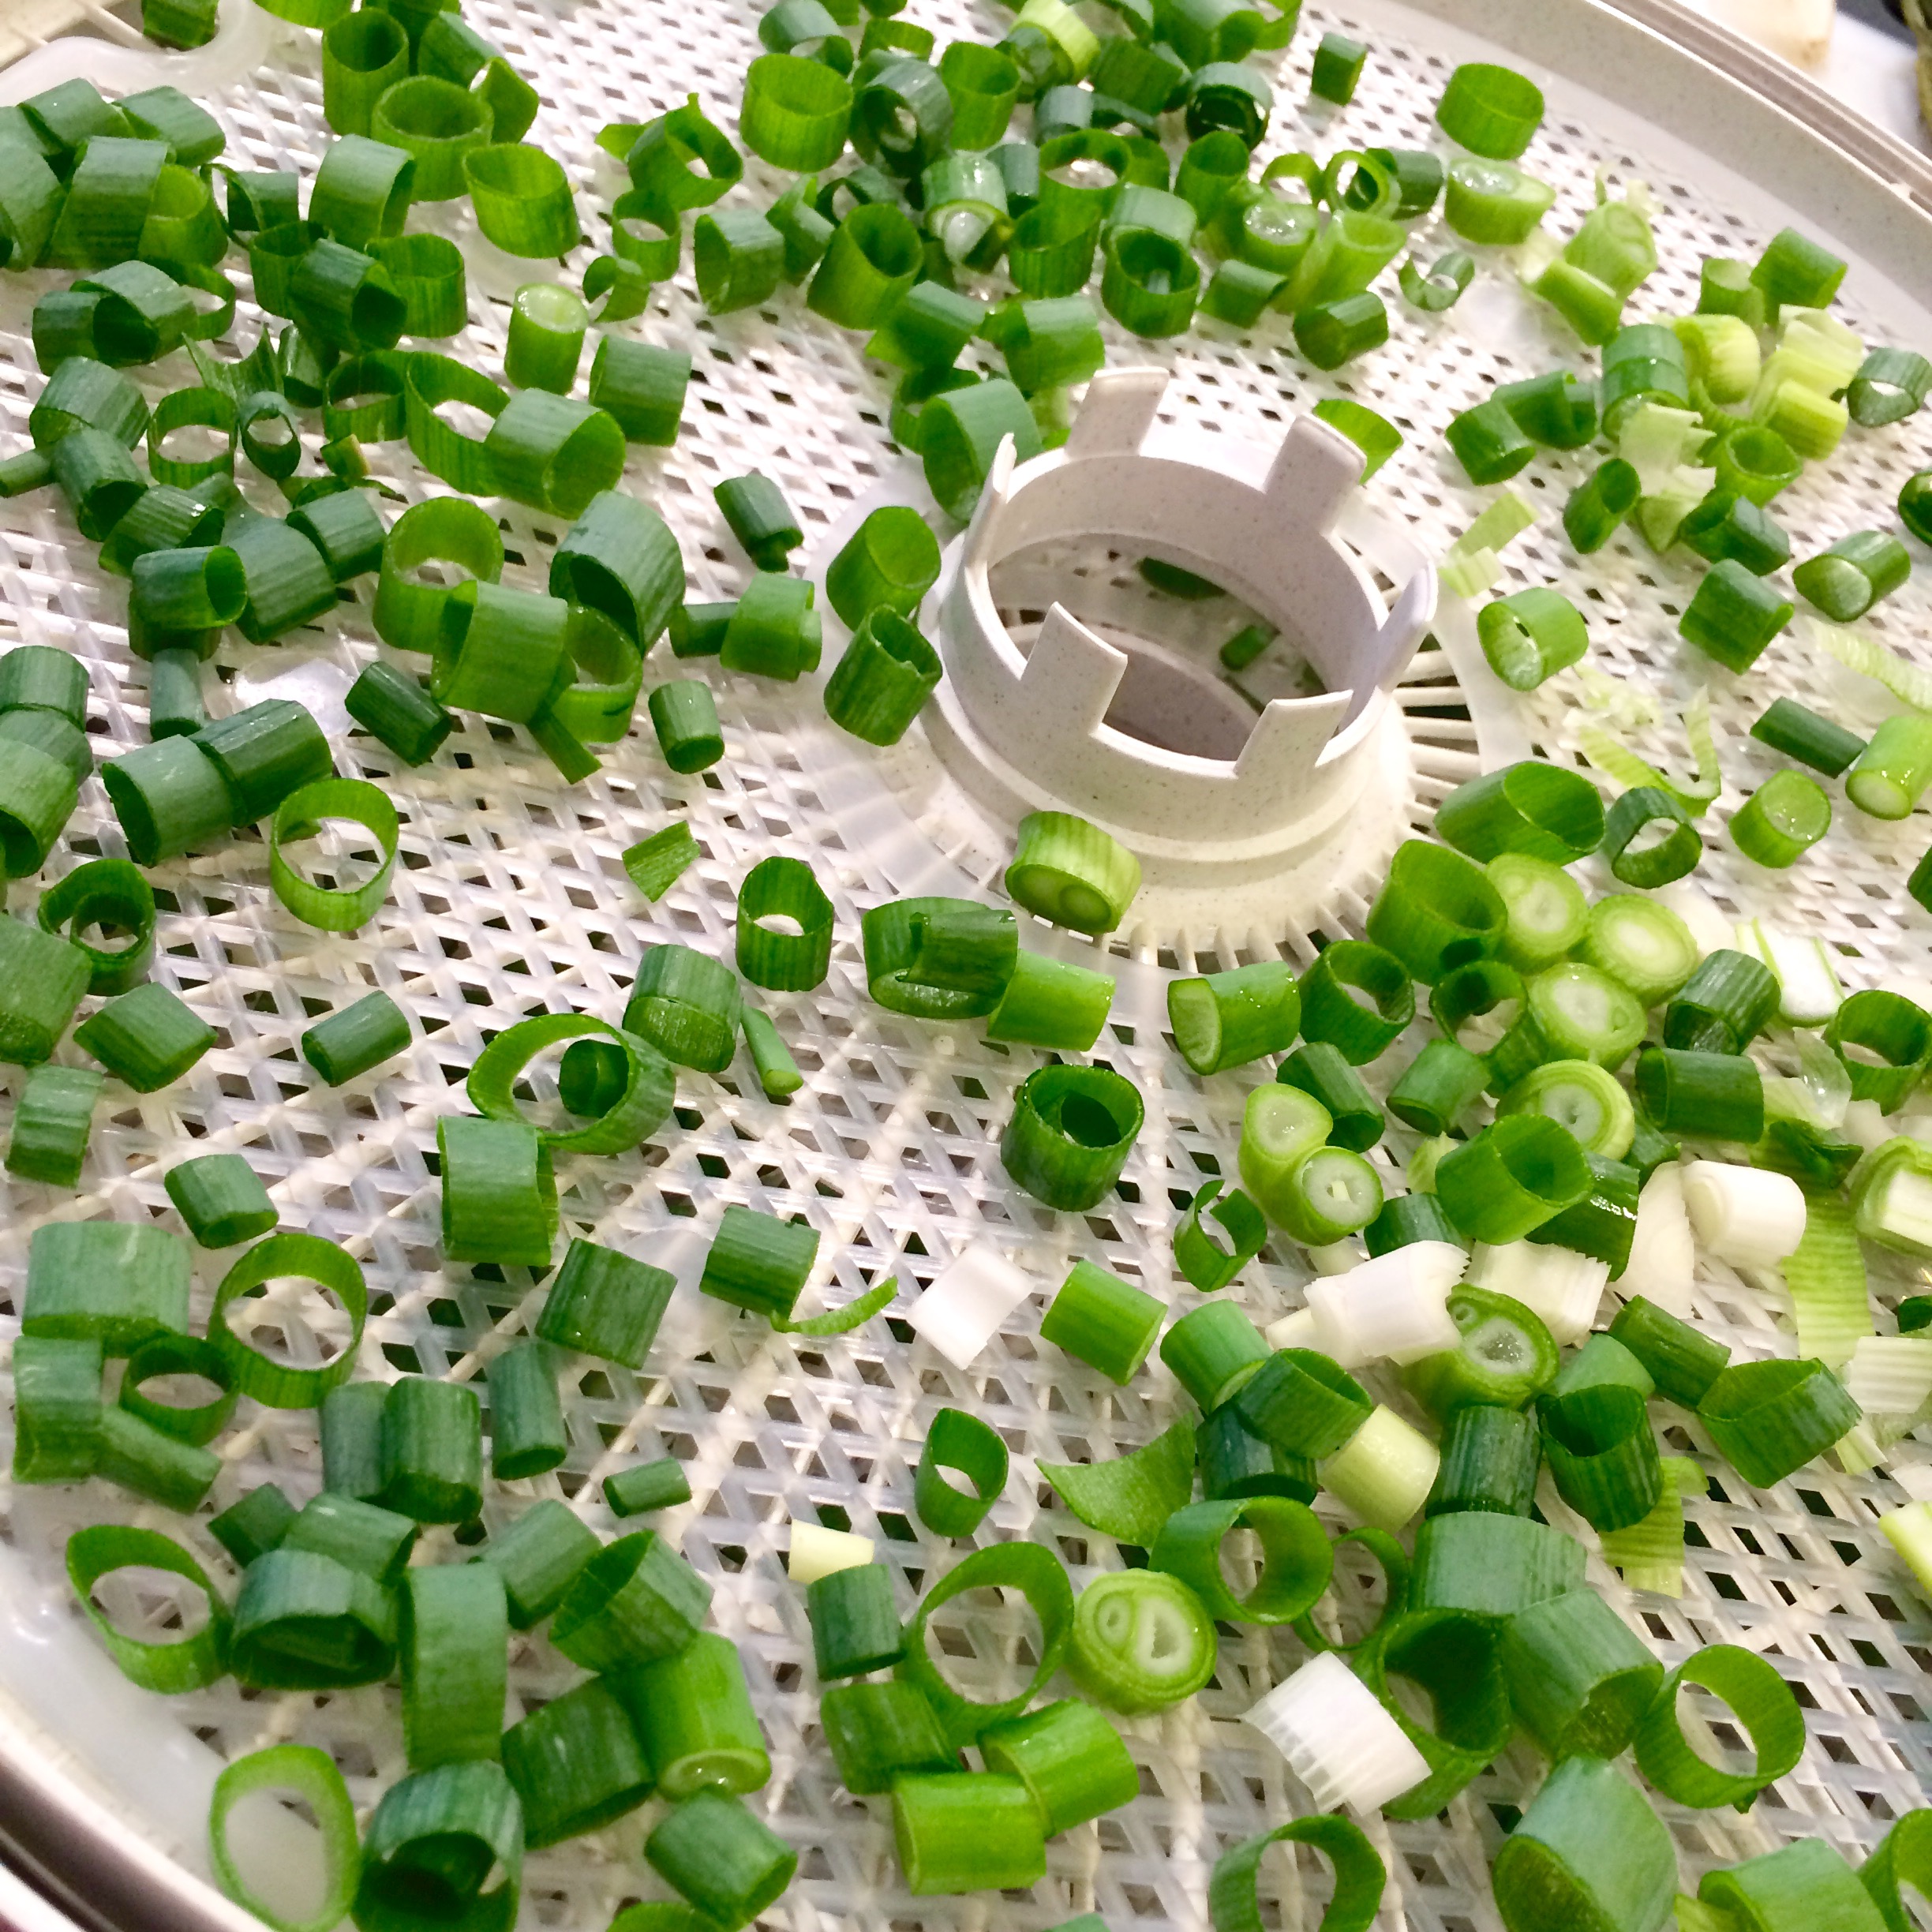
Green onion, chopped, or fresh chopped parsley for garnish

Drain black eyed peas, then add to a small crock pot with onion, garlic, stock, salt, and pepper. Set to low and cook for 6-8 hours until beans are tender. If you have excess liquid when beans are finished, you can add it to the brown rice when cooking. It will add some extra flavor.
Serve beans over brown rice and garnish with green onion or parsley.
photo-jan-01-8-17-13-pm-2

Fall Harvest Update

4 Nov

GREAT SUCCESS!

Radishes, kale, and carrots are happily growing upstairs! A few weeks ago we had a few unseasonably early cold nights, down to the low 30s. It would have been toast for everyone had I not covered up the tank with towels. Plastic would have been better, but I didn’t have any immediately available. One frost would have done it to them, and I know that others lost plants that weren’t covered. So, we continue to grow. Lots of rain a few weeks ago helped out a lot, too. Here are some recent photos of fall growth from the tank. The white bulbs are watermelon radishes, the red are “fire and ice” and are VERY spicy! The purple kale is really good, too.

Photo Oct 27, 5 45 15 PM Photo Oct 27, 5 42 55 PM Photo Oct 21, 4 35 26 PM Photo Oct 21, 4 35 07 PM


Photo Nov 04, 12 50 19 PMI moved the pots of herbs to a different part of the roof near the tomatoes. They have several hours of shade every day now, and I think they really like that more than full sun. They have even started to grow back! I think next year I’ll leave them in the same spot. Even herbs that are supposed to enjoy full sun seem to be doing much better.


Photo Oct 16, 3 59 14 PMI also pulled up the marigolds from the second tank which gave those sad pepper plants the sun they had been deprived of all year. They immediately started to make fruit, so now I have several tiny SPICY hot peppers. One of them I chopped up and have sitting in olive oil, so now I have some flavor to add to my dishes.


Photo Oct 27, 6 50 59 PMSpeaking of cooking….I sauteed the kale and radish greens with a bit of the garlic and spicy pepper. A squeeze of lemon juice and some freshly grated parm and it made a great addition to spaghetti! I’m really enjoying the fresh greens. The carrots aren’t growing as fast as I thought they would, but I’ve been feeding them to Dolley. I have heard no objections.


Oh, and I’ve been pickling the radishes, of course.Photo Oct 27, 10 08 33 PM

Of Pickles and Preservation

8 Jul

Good news, bad news.

First, the bad news, because it’s quick. Pepper plants never really took off. All three look scrawny, never settled in. Leaves are still green, but they just didn’t grow. Yeah, that scrawny thing in the middle is a pepper…that should have fruit on it by now. Because it didn’t grow, everything else around it had a chance to get big. Debating pulling them now.

Photo Jul 02, 4 14 17 PM

Now, the good news. I have lots of cucumbers, herbs, and onions! I actually discovered a few cucumbers today that I hadn’t seen before. I picked 7 of them last week, and I’ll probably get another 5 or 6 again this weekend. Might have been a few too many at once, sooooo……

IT’S PICKLE TIME!!!!

Photo Jun 26, 1 17 25 PM Photo Jul 01, 9 32 25 PM


This is the pickle recipe I put together after reading some others online:

1 1/4 cup water
1 1/4 cup apple cider vinegarPhoto Jun 26, 2 26 03 PM
1 T kosher or sea salt
1 T sugar (2 T if you like sweeter pickles)
1 tsp whole peppercorns
2 tsp dill, dried (or 1 T fresh, chopped)
3 cucumbers, 5″ to 6″ long, sliced into 1/4″ chips
1 large or 2 small cloves garlic, chopped

Microwave water and vinegar until hot, not necessary to boil. Add salt and sugar and stir until dissolved. Add peppercorns and dill. Allow to cool for a few minutes.

Layer cucumber slices and garlic in a sterilized 1 quart jar. Pour in brine mixture and tap the jar or gently stir with a skewer to remove most of the air bubbles. Seal the jar and refrigerate.

Pickles will be ready after 24 hours, but are tastiest after at least a week. This batch is two weeks now and is really good.
Photo Jun 26, 2 34 14 PM
Another fun preservation method, and possibly my favorite, is dehydration.

I planted the roots of organic green onions I had purchased from the grocery store, and a few weeks later I had huge green onions. One even split into two! I chopped those up into rounds and used the screens that fit on the trays to prevent smaller leaves from falling through. I set my dehydrator to 135 degrees, and after a few hours, I had dried onions that I can use for anything! Dip, soup, bread. Whatever.

Photo Jun 28, 8 42 50 PM Photo Jun 30, 3 07 34 PM


Photo Jul 01, 3 45 19 PM Photo Jun 30, 2 59 16 PM


I also made kale chips in the dehydrator. First time I’ve used it for kale. In the past I’ve made them in the oven, but it’s super hot out now IN JULY, so dehydrator it was. Am I growing kale on the roof? No, no I’m not. Kale has come in my CSA box from Great Country Farms in Bluemont, Virginia for the past month, and I finally got tired of it. Plus, chips last longer and are fun to eat! After cleaning them very well, I spun them dry and added some extra virgin olive oil. Then I spread them out on the trays and sprinkled on some sea salt. Wound up about 10 hours at 125, which I thought was a long time. Next time I’ll put it up higher. I did rotate the trays after a few hours.

Photo Jul 02, 9 59 47 PM

I’ve also been drying herbs. They take a few hours on about 110-120. Sage, rosemary, basil in this batch and yes, I did dry them all together. Used the screens here as well. Worked nicely. I’ve also dried mint and oregano.

Photo Jun 30, 3 02 57 PM (1)

I pick a peck of pickled peppers

24 Jul

IMG_8658Well, they’re not pickled just yet. This is last week’s pepper harvest. Banana peppers from ShmErin’s plant, bells from ShmAli’s, red jalapenos from my plant. The plant currently has about a dozen banana peppers ready to pick. I’ll do that tomorrow. The bell peppers are also doing well, but they’re not getting to, like, actual pepper size. The green peppers here are supposed to be red and the red ones are supposed to be green. Some picked too early (they were starting to get soft spots) and some too late. I have actually transplanted three of the plants…more on that in a day or two.

Here are the three plants that these peppers came from. The bell pepper has been getting really thirsty since this heat wave started. I’ve been bringing it water about 2x a day. It generally responds within about 15 minutes by waving “thanks” to me.

So about three weeks ago I asked my neighbor if she saw anyone taking my chocolate cherries. Although I’ve offered her tomatoes and herbs as she liked, she has repeatedly refused, saying I should enjoy the fruits of my labor. So, I couldn’t figure out who was stealing my cherries. Then, I noticed one of the other tomatoes on the other plant was half eaten. Then another. Could this be the elusive soft-bellied tomato pecker that Alton Brown and neighbor McGregor talked about in Good Eats episode 6, season 6, “Tomato Envy”?

Cucumbers were moving along really nicely for several weeks. I decided to pick off the little baby cucumbers once I saw one or two nice sized ones growing on each plant. It really seemed to help them along. Rather than having the plant focus on a dozen babies, I encouraged them to just pay attention to a few. Seemed to work well. I actually picked enough to not know what to do with them at one point. We sliced them up and nommed on them while biking one day. Great snack! I wound up making a cold cucumber soup. Easy and totally delish. Used cuces and onions from the garden.

But, all good things must end. After picking a whole bunch of beans one day, I noticed that most of the leaves were starting to yellow and the beans themselves weren’t looking great. The cucumbers in the tanks were also not so hot anymore, probably because it has been so hot. I’ve been bringing each tank a full 5 gallons every day, plus more for the smaller pots, but with almost a week of temps near 100, it just wasn’t working. Sadly, this tank is nearing its end.

My compost had been growing weird things…I was advised against nibbling on these mushrooms, as they are toadstools and will kill me. I’ll skip them. I also saw a number of larvae squirming around here and there. So, I got another bucket and divided the compost in half, adding several days of rabbit litter to each one. Today, both bins are doing well, no mushrooms, and no wiggly things.

Finally, some lovely garden photos…

IMG_8601

2012 Recap – It’s Tomato Time!

21 Mar

The pride of the garden….the tomato.

cherry tomato on rooftop

I mentioned in my “About” section that my grandfather, who grew up on a farm in southern New Jersey, insisted that we didn’t have enough tomato plants and would add them to my mother’s rock garden, our front landscaping, and other various flower beds around the house where tomatoes….just don’t go. He also tried to grow them on fire escapes on the commercial building the family owned in lower Manhattan. Even without his additions, we always had nice tomatoes from our garden.

In 2011, I had four tomato plants, as you may remember from earlier photos. I went with red and yellow cherries, red grapes, and some other larger purple-y fruit. The three smaller plants did much better, but it was still a lot to work with. In 2012, I decided to stick with the small fruits, so I had only one cherry plant and one yellow pear tomato plant. They were all quite sweet and delicious, unlike anything from a plastic container at the grocery store.

These photos are from early May to mid June, 2012.

Yeah, so I picked off those suckers when I saw them. Didn’t really have any problems with bugs on the plants.

These photos are from early July to mid July, 2012. More on those glass bottles in my next post.

I was able to pick dozens of tomatoes every week starting about this time. My brother also got me a pasta machine for my birthday last summer. BAM! This is early August, 2012. I hand made or grew this entire meal….except for the cheese. (No cows on the roof just yet.)

IMG_4925

My tomatoes seemed happy on the roof. I’m pretty sure they’d appreciate some more root space, but all in all, I think this was a successful venture. They were still producing fruit into October, and then a few pathetic little ones after that every now and then. These photos are from mid to late September, 2012.

2012 Recap – The Radish Diary

5 Mar

I decided to break up the 2012 updates by vegetable. Today, I will gloat about my red globe radish success. Spicy radish success. The seed packet said they are 28 days until harvest, and by golly, I think I picked the first one at 28 days. I was able to get two rounds of beautiful, crispy, super spicy beauties out of the 1’x1′ space they were allotted in 2012. Some nutritional info about these babies.

These photos are from mid April to mid May, 2012

I think I left the square empty for about a week or before replanting. Ate most of them raw with a bit of salt. Some on crusty bread with some butter. Some pickling addition in there, you’ll see in the second gallery. In addition to the radishes themselves, we also enjoyed the leaves chopped up in salad for a little punch with every forkful.

Radishes were successful. I was pleased. I will do them again in 2013. Don’t need a lot of space, grow quickly, pack a tasty bite.

These photos are from mid May to early June, 2012.

%d bloggers like this: