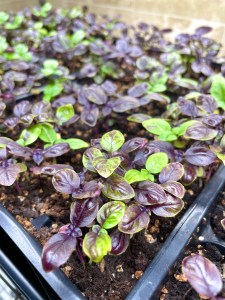
Tag Archives: herbs

Ah, ah, ah, ah. Stayin’ Alive, Stayin’ Alive.

3 Apr

Our herbs, that is!

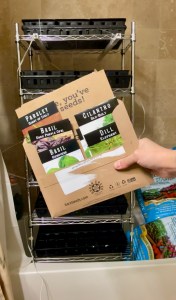
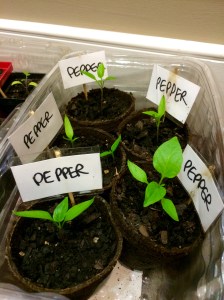
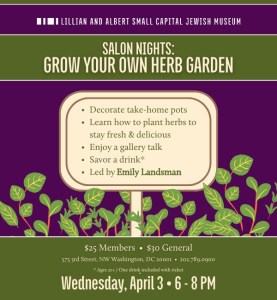
Class is tonight, and I’m very excited! I think we’ll have a good size class. It’s not just about planting herbs to use in cooking, but part of the activity will be decorating the planters. Yes, full grown adults will be using paint markers, hot glue, giant rhinestones, and I don’t even know what other art and craft supplies are waiting for us. There’s something soothing about each aspect of tomorrow evening: the plants, the markers, the conversation, the wine…. 🍷

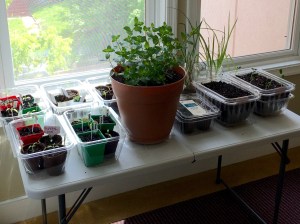
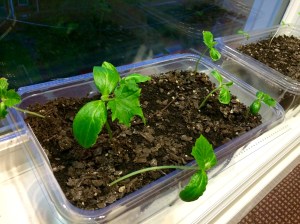
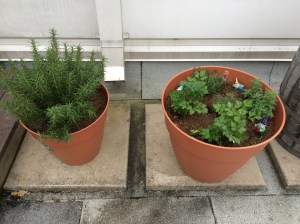
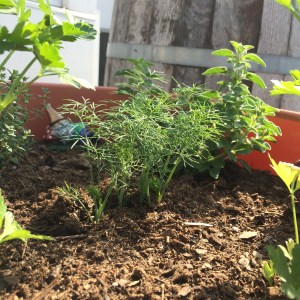
But bringing a bit of green into an apartment is always nice. Keeping it alive and healthy is an ongoing chore/battle/challenge/task, depending on the level of obligation you feel. Regardless of your love for your little pot of herbs, they’ll all need light, water, and food. Here’s a brief primmer on each. I’m going to include a few links here and there. I’ll grab them from a few places online, but I don’t have any relationship with any of these place and don’t make any money from any links. That would be super, but I don’t.

Light

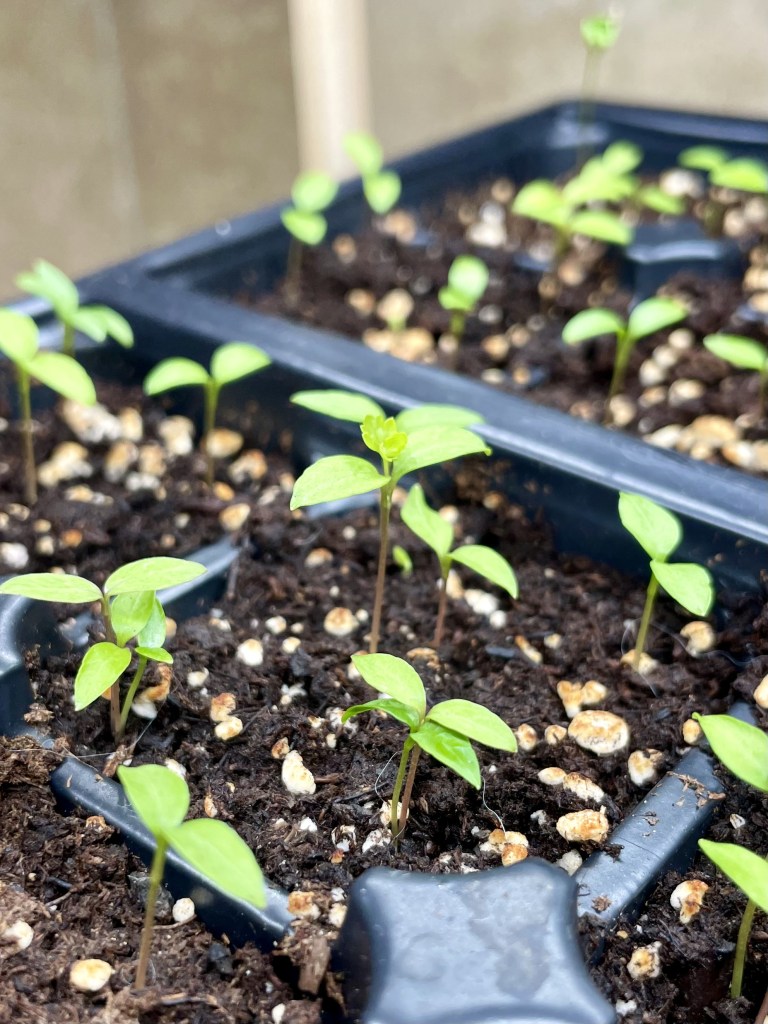
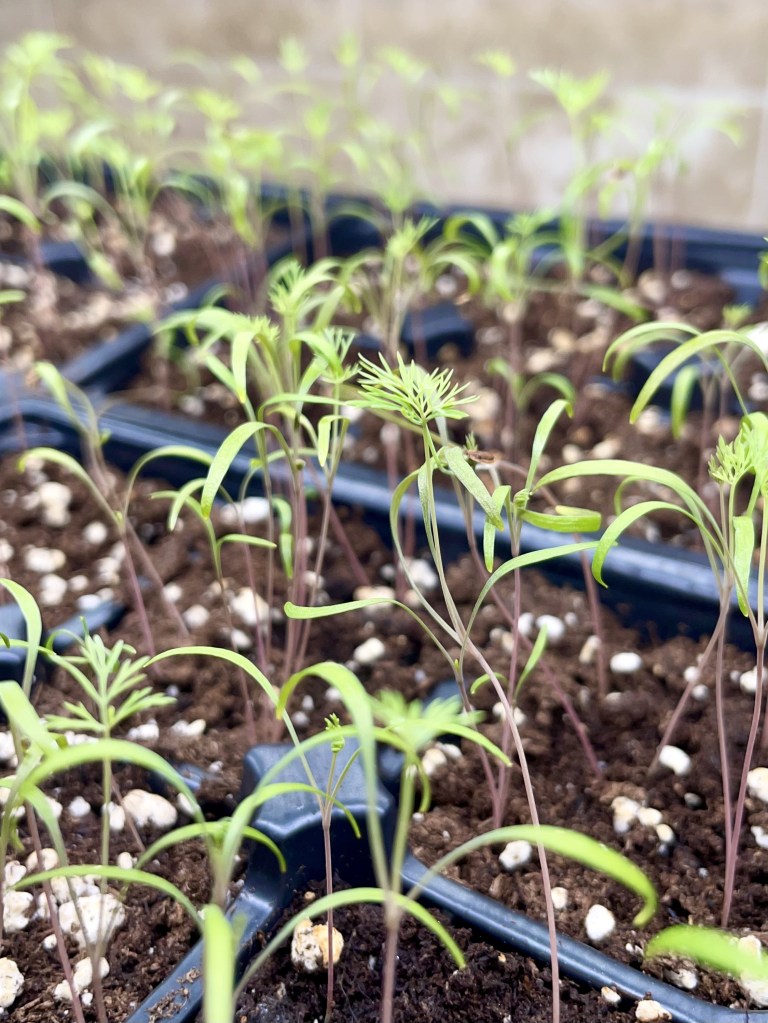
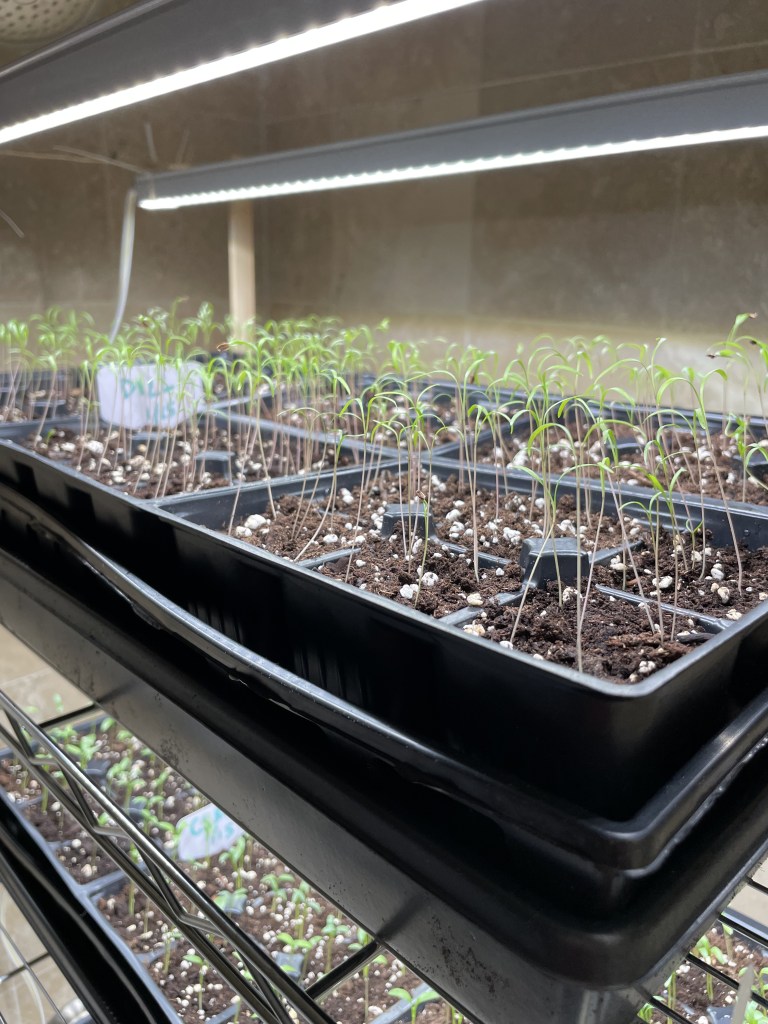
A sunny window probably won’t be enough light for most herbs. Even a bright south facing window would only work for part of the year. Most glass will block out some of the sun’s rays. If you’ve ever tried to grow basil inside and you wound up with loooong stems and just a few leaves facing the outside, it was searching for more light! For the most control and flexibility in where you place your herbs, I’d highly recommend grow lights. 12 hours a day is fine for year-round growth, but even 8 hours is ok. Then they’ll need some time to sleep. Lights that offer a full spectrum of light that mimics the sun are your best bet for your indoor adult herb garden.

Many lights now have built in timers that will automatically cycle on and off, but you can also pick up traditional timers that you plug in to the socket and then plug your light in. I really like using bluetooth timers. They connect to my wifi and then I control them with my phone. I have several sets around my home and can control each one precisely.

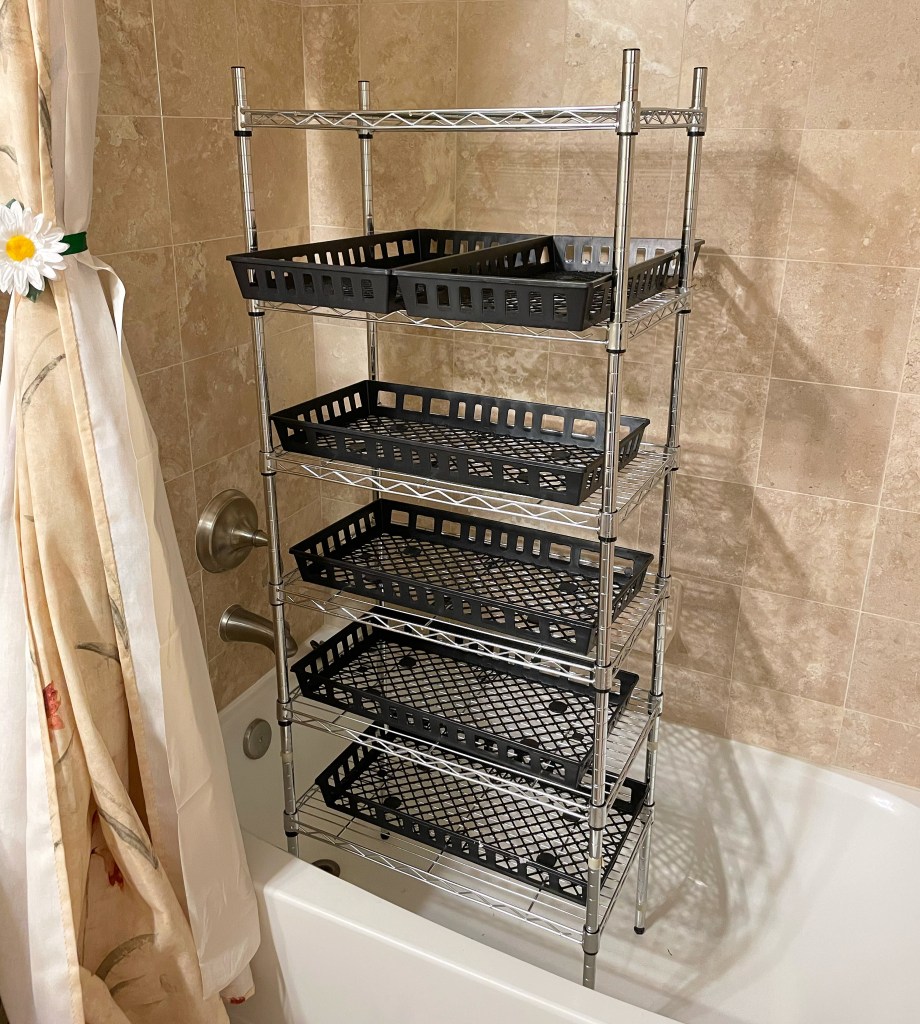
You don’t have to get too complicated here. There are many inexpensive options, including clip on lamps, long strip bulbs that will fit under a shelf, hanging fixtures for tall structures, and floor lamps.

Water

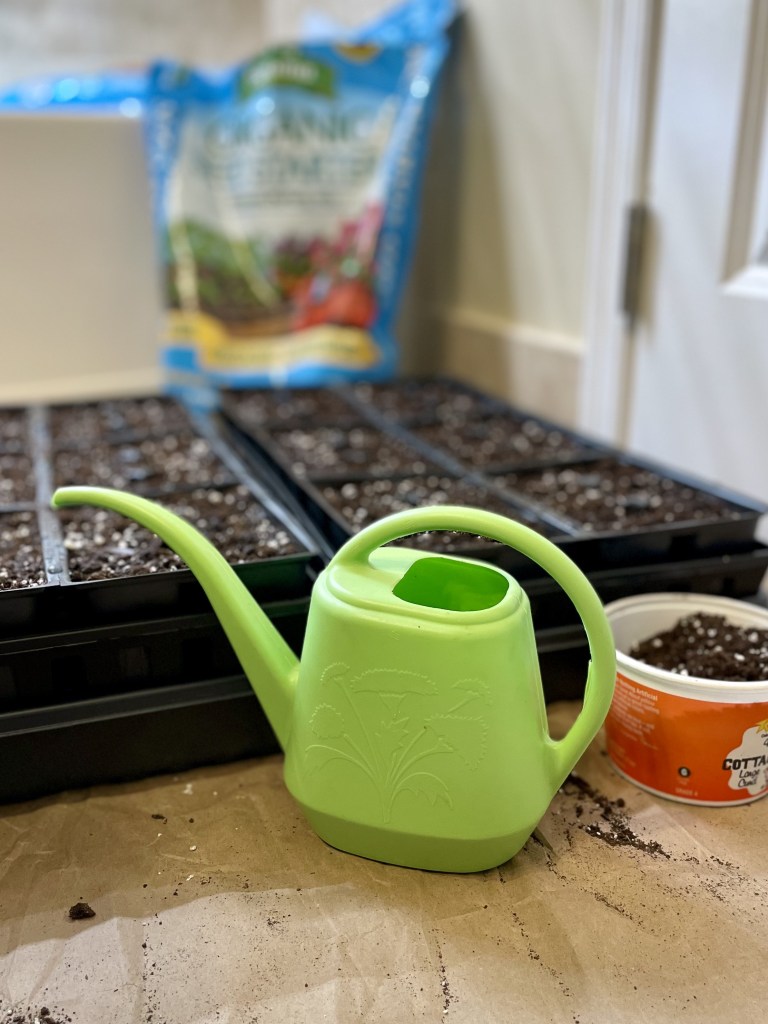
Drainage is key. The pots we have selected for our herbs have good drainage at the bottom, but in general you don’t want to overwater. Root rot means death! Water every three to four days, depending on how dry your room is, but wait until the top inch or so is dry before watering again. If your soil feels like a wrung out sponge, that’s perfect! If your soil still feels a little damp at day 4, check it again in 12 hours, and then 12 hours after that. Be slow and consistent in watering. Too much at once will immediately flow through your pot and make it seem like you’ve over watered, when in fact your soil just isn’t able to absorb it all. Too little won’t soak through to your roots. You can divide your watering into two “sips” with a few minutes apart to help absorption. If you see droopy leaves, your little guys are thirsty. Water in several sips over about 30 minutes and then wait a few hours. They should start to perk up.

Food

Plants need not just water, but some food, too. You should feed your guys every 2-4 weeks or so. You can use an all purpose liquid plant food during a regular watering time, diluted to about half of the recommended strength. Liquids are immediately available to plants, instead of a slow release pelleted food that will have to slowly break down in your soil over time. You can buy a little bottle and it will last a long time! Here are some options. Again, I have no connections to any of these links, they’re just examples of the brands.

  • I used this organic fish fertilizer to grow our herbs. It’s amazing, but extra stinky. It’ll be fine if you’re not growing 6 flats, though! Great for other houseplants, too. Again, I dilute it to about half the recommended strength.
  • I haven’t use this particular type of Espoma food, but I really like their other products, so I’d probably give this tomato and vegetable food a try . I use many of their foods and fertilizers for outdoor gardening, and used their seed starting mix for our herbs.
  • Here is a pump food. Apply right to the soil, then water over it. No separate measuring.
  • I haven’t used this brand myself, but I know people like it a lot.

Next post…how to harvest!

Deliciously Stinky Fishy Fertilizer

13 Mar

I knew this stuff was going to smell, but wow. At the advice of one of my garden wizard friends, I fed my babies. I should have thought of it, but I did not. I’m glad I have her to coach me. So, two weeks ago I mixed up some organic liquid fish fertilizer at 1/2 strength and then soaked the cell flats for about an hour at a time in the solid trays to bottom water before putting them back in their mesh trays for proper air flow.

We’ve had two feedings so far, and all of the herbs have responded very well. Everyone is perky and we’ve had significant growth since then, so I think we’ll be ready to go right on time. They’ve had a nice watering since then, as well. That will probably be all for feeding before they go to their new homes, but we’ll see. The ProMix soil I’m planning to use to pot them doesn’t have food, so I might wind up using something different.

Tickets are now on sale for my Herb Garden class at The Lillian and Albert Small Capital Jewish Museum on April 3! You can decorate a fun planter and take these babies home with you to grow and enjoy in your meals.

True Leaves!

7 Feb

I feel like a proud parent. My little guys are starting to show their true leaves! When seedlings emerge, the first set of leaves is called the cotyledon. Those are basically the embryonic leaves that they start out with. True leaves are the first “real” leaves and will look like tiny versions of the adult plant. SO ADORBS! I only see one parsley, but they’re a bit slower anyway so I’m not worried.

I also added a fan to make sure the air moves around and I don’t have a moisture issue. It’s also important to keep the plants moving a little bit all the time so they get strong and don’t get super leggy. As the little guys grow I’ll start watering a little more frequently. Problem with this fan is it only goes back and forth horizontally, and it is also REALLY strong. I move it daily and rotate the trays, but I don’t think I’ll be able to keep it up. I tried keeping the shower curtain closed to create kind of a wind tunnel thing, but it wasn’t ideal. Also the fan tripped the GFCI outlet twice turning on and off. SO…I’m in the market for two smaller fans now.

Welcome new seedlings!

29 Jan

Lots of progress! We’ve sold several tickets for the April 3 herb garden class already, so everything seems to be moving along nicely.

On January 15, I planted a full flat each of cilantro, dill, and parsley. I started with these three because they’re usually slower to germinate than basil, which I wound up starting on January 19. A little tricky with everything on the bathroom floor, but it worked out. I filled the trays with seed starting mix right to the top, tapped to settle, and the topped them off. Heavy water and let extra drip through to the bottom solid tray. Then I made holes in the soil and planted 5-8 seeds in each cell and covered each tray with a piece of heavy plastic to keep in moisture. As soon as I saw little green popping up a few days later, I removed the plastic.

Two weeks later, everyone has sprouted and is looking great! I noticed right away that the dill seedlings were all leaning towards the one light I set up for them. I quickly go to work adding a second light to each shelf so they won’t have to strain as much to get to the light.

I’ve been spraying them with a spray bottle so I don’t overwater and kill the seedlings, but yesterday I gave everyone a good full water and they all seem to be happy. Without a full greenhouse type cover, I’m concerned about moisture levels. I will just keep an eye on everything.

Here’s a little “tour” from last night. Now I’m just waiting for those first real leaves to grow, hopefully this week.

Seed Starting Update: Lights!

9 Jan

Lights are installed! Zip ties came with the lights. I used 6 of the 8 2′ long strips I bought, which will be one per flat. Connected them all together and installed the timer that I’ll control on my phone. The top shelf will be two flats of basil because I couldn’t fit enough shelves on for the six flats and I didn’t want to have anything on the floor of the tub. It’s fine. The curtain still closes without touching anything. (Yay curved shower curtain rod!)

I got 5 bags of Espoma seed starting mix from Esbenshade’s Garden Center near Lancaster, PA. They had the best pricing, even with shipping. Arrived quickly. Looks like they have really good online reviews, too. At the volume I’ll need, I could have made my own, I suppose, but this will just be easier and cleaner. The flats of trays came from True Leaf Market. Pretty cool.

Just waiting for the solid drip trays to arrive today. Then I can get going! My goal is to have everything ready to go by Jan 17, but I’ll be at least a week earlier than that. Not sure if having an extra week is a good thing or not! Class is on April 3. Gotta think this through.

Seeds from Baker Creek. I’ll have one tray each of parlsey, dill, cilantro, basil, and purple basil. I started a few 3 year old packets about three weeks ago as something I could coo over while I waited for all of my supplies to arrive, and had a pretty good showing from the purple but meh from the Genovese. I’ll replant them into larger containers soon. But fresher seeds for this year should have better germination.

Here’s a little IG reel thingie. I’m not great a this, please bear with me!

Let’s Grow Some Herbs!

2 Jan

I’m going to be teaching an indoor herb garden class in April. Folks will decorate their own pots, pick their herbs, and learn how to harvest and care for their plants indoors!

Here’s my math. Everyone will get to pick three plants. Assuming all 40 class slots fill up, that’s 120 in total. I’m starting one flat of parlsey, dill, cilantro, basil, and purple basil. Each flat here will have 36 cells, plus I’ll do one extra 6 cell of each as insurance to make sure I have enough for everyone. That’s potentially 216 babies to care for! After the class, I will donate some of the remaining seedlings to Plot Against Hunger gardeners.

I’ll be growing in my guest bathroom using this wire rack. For weeks I couldn’t figure out how to set up this whole system, as I never grown on this scale before. Duh. Wire racks! Then ones I already had were juuuuust a smidge too big for the bathtub. So, I bought a small rack and planned to keep two flats on each shelf width-wise. Then I realized I had a tall rack in a closet. I took that out and added one shelf from the new small rack and voilà! They’re 8″ apart now, so I’ll see what the final distance winds up being. I will probably need to adjust the distance to the lights a few times. I decided not to use the bottom shelf/tub floor for the sixth tray or to build a little holder thing for lights on top, so I’ll keep the two basils together on one shelf. I’ll zip tie lights to the underside of the shelves and connect all of the lights in a chain.

This week I’m expecting delivery of the lights, seeds, Espoma seed starting mix, sheets of 2.25″ cells, and the solid trays these mesh trays will sit in. I’m not going to use heat mats, as the room should get pretty warm if I close the curtain and door. Humidity should be ok without covers, but just in case, I can wrap the whole rack in some plastic I’m holding on to from another project. My goal is to have it all set up and running by Jan 17, which will give me about 11 weeks before my class.

I’ll update each step, maybe with a video or two.

Indoor update!

11 Mar

Since losing my garden last year, I’ve focused a lot more on indoor plants. This winter, however, I wanted to start some miniature tomato and pepper plants. I bought some grow lights and made this little set up. They were inexpensive and super easy to set up. I’ll probably move them around in a bit. They are connected to a timer, so I don’t have to remember to turn them on an off every day. 


The plants seem to LOVE the lights. I have to work on transplanting them all to larger containers. I’ll take care of that this weekend. The yellow fly tape is TERRIFIC. The fungus gnats are annoying, but they’re not interested in anything besides the plants.

I started everything from seed in late Jan. (I always mark dates on the tags when I start.) Here I have micro tom tomatoes from Baker Creek, several kinds of purple and green basil, parsley, hot jigsaw peppers, and hot Peruvian aji peppers, and some dwarf sweet alyssum. The wheatgrass in the corner is for my bunny, Miss Elliott Hopsalot. I have a lot of that lining the windowsill, too.

Some of the basil will be donated to the Central Library’s Plot Against Hunger garden to go into the tanks in a few weeks. 

Finally! Let’s Get Started!

1 Jun

This year was going to get off to a late start no matter what. We’re still waiting on roof and deck repairs (see previous post from February), but now we have a construction start date! Besides that, we had nearly a month of rain and unseasonably cool temps, including a few late frosts into May. Little guys wouldn’t have had a chance.

But, we went from 50ish degrees and raining last Sunday to sunny and nearly 90 last Thursday! I hope the cold is finally behind us. Last week I bought new pots and potting soil. Wound up with a bit of a different plan than I had a few months ago, but I think this will be just fine.

First, I started my seedlings off in March, a bit late, knowing that I’d probably not be able to plant them for a few extra weeks because of the roof construction. Some were in peat pots, some were in plastic pots I’d saved from the past, all into salad containers for ease of movement and watering. I put them on a table in the hallway because that part of the building gets a lot of sun. Peat pots are great because they are super cheap and you can just plant the whole thing when the time comes. The plant’s roots will come right through, so there’s much less of a chance of transplant shock. However, they do dry out much faster than plastic pots. New chocolate mint, too. I saw it while shopping for new pots and I just couldn’t resist. Also, some green onions I got in the grocery store that I resprouted.

Photo May 08, 1 54 41 PM

This year I also used salad containers. Just filled them with potting mix and planted cucumbers in one, Mexican gherkins in another, and basil in the last one. All three types of containers wound up being terrific in the end.

Photo May 21, 8 29 03 PM Photo May 21, 8 29 55 PM

I moved everyone upstairs to the elevator landing for about a week before moving them outside. It was much warmer up there, and I was able to get them right on top of the windows. Then outside for a few days, checking to make sure they were not drying out or limp. Because they are right against the building, they got a good amount of shade, too.

This past weekend was planting time. Each teeny tiny tomato went into a 26 quart pot with two little basils, except for one that got parsley. Not sure if the parsley is going to make it, but if not, I could always put another parsley in there. Right now I have one yellow pear tomato, two red cherries, and two roma plants. I’m considering keeping one of the extra romas I still have for another pot. Really want to make up and then can some paste, ketchup, and tomato sauce this summer.

Photo May 30, 7 06 24 PM Photo May 29, 4 44 54 PM

I also have a new large herb pot with two parsleys, dill, oregano, and thyme. Mint, of course, has its own pot. My mother bought me a gigantic rosemary plant that got its own 26 quart pot, too.

Photo May 30, 7 06 19 PM Photo May 24, 3 30 38 PM Photo May 31, 5 10 56 PM Photo May 24, 6 54 15 PM


Into one tank, 7 cucumbers, 3 Mexican gherkins, and two bell peppers. I bought two pieces of lattice trellis things specifically for the climbing things so they don’t have to lay on the fencing anymore. Notice in this photo the tank is not in it’s normal spot! It’s right in front of the entry door for now. Argh. Anyway, the second tank still has some carrots and kale from last year, but I’ll eventually put the rest of the peppers in there, including one hot pepper. Might get a second hot pepper.

Photo May 30, 7 08 29 PM Photo May 30, 7 16 37 PM

Haven’t planted the sweet peas yet. Might do that in the second tank with the peppers.

Now that I have something to write about, I’ll be updating again on a regular basis.


Fall Harvest Update

4 Nov

GREAT SUCCESS!

Radishes, kale, and carrots are happily growing upstairs! A few weeks ago we had a few unseasonably early cold nights, down to the low 30s. It would have been toast for everyone had I not covered up the tank with towels. Plastic would have been better, but I didn’t have any immediately available. One frost would have done it to them, and I know that others lost plants that weren’t covered. So, we continue to grow. Lots of rain a few weeks ago helped out a lot, too. Here are some recent photos of fall growth from the tank. The white bulbs are watermelon radishes, the red are “fire and ice” and are VERY spicy! The purple kale is really good, too.

Photo Oct 27, 5 45 15 PM Photo Oct 27, 5 42 55 PM Photo Oct 21, 4 35 26 PM Photo Oct 21, 4 35 07 PM


Photo Nov 04, 12 50 19 PMI moved the pots of herbs to a different part of the roof near the tomatoes. They have several hours of shade every day now, and I think they really like that more than full sun. They have even started to grow back! I think next year I’ll leave them in the same spot. Even herbs that are supposed to enjoy full sun seem to be doing much better.


Photo Oct 16, 3 59 14 PMI also pulled up the marigolds from the second tank which gave those sad pepper plants the sun they had been deprived of all year. They immediately started to make fruit, so now I have several tiny SPICY hot peppers. One of them I chopped up and have sitting in olive oil, so now I have some flavor to add to my dishes.


Photo Oct 27, 6 50 59 PMSpeaking of cooking….I sauteed the kale and radish greens with a bit of the garlic and spicy pepper. A squeeze of lemon juice and some freshly grated parm and it made a great addition to spaghetti! I’m really enjoying the fresh greens. The carrots aren’t growing as fast as I thought they would, but I’ve been feeding them to Dolley. I have heard no objections.


Oh, and I’ve been pickling the radishes, of course.Photo Oct 27, 10 08 33 PM

Of Pickles and Preservation

8 Jul

Good news, bad news.

First, the bad news, because it’s quick. Pepper plants never really took off. All three look scrawny, never settled in. Leaves are still green, but they just didn’t grow. Yeah, that scrawny thing in the middle is a pepper…that should have fruit on it by now. Because it didn’t grow, everything else around it had a chance to get big. Debating pulling them now.

Photo Jul 02, 4 14 17 PM

Now, the good news. I have lots of cucumbers, herbs, and onions! I actually discovered a few cucumbers today that I hadn’t seen before. I picked 7 of them last week, and I’ll probably get another 5 or 6 again this weekend. Might have been a few too many at once, sooooo……

IT’S PICKLE TIME!!!!

Photo Jun 26, 1 17 25 PM Photo Jul 01, 9 32 25 PM


This is the pickle recipe I put together after reading some others online:

1 1/4 cup water
1 1/4 cup apple cider vinegarPhoto Jun 26, 2 26 03 PM
1 T kosher or sea salt
1 T sugar (2 T if you like sweeter pickles)
1 tsp whole peppercorns
2 tsp dill, dried (or 1 T fresh, chopped)
3 cucumbers, 5″ to 6″ long, sliced into 1/4″ chips
1 large or 2 small cloves garlic, chopped

Microwave water and vinegar until hot, not necessary to boil. Add salt and sugar and stir until dissolved. Add peppercorns and dill. Allow to cool for a few minutes.

Layer cucumber slices and garlic in a sterilized 1 quart jar. Pour in brine mixture and tap the jar or gently stir with a skewer to remove most of the air bubbles. Seal the jar and refrigerate.

Pickles will be ready after 24 hours, but are tastiest after at least a week. This batch is two weeks now and is really good.
Photo Jun 26, 2 34 14 PM
Another fun preservation method, and possibly my favorite, is dehydration.

I planted the roots of organic green onions I had purchased from the grocery store, and a few weeks later I had huge green onions. One even split into two! I chopped those up into rounds and used the screens that fit on the trays to prevent smaller leaves from falling through. I set my dehydrator to 135 degrees, and after a few hours, I had dried onions that I can use for anything! Dip, soup, bread. Whatever.

Photo Jun 28, 8 42 50 PM Photo Jun 30, 3 07 34 PM


Photo Jul 01, 3 45 19 PM Photo Jun 30, 2 59 16 PM


I also made kale chips in the dehydrator. First time I’ve used it for kale. In the past I’ve made them in the oven, but it’s super hot out now IN JULY, so dehydrator it was. Am I growing kale on the roof? No, no I’m not. Kale has come in my CSA box from Great Country Farms in Bluemont, Virginia for the past month, and I finally got tired of it. Plus, chips last longer and are fun to eat! After cleaning them very well, I spun them dry and added some extra virgin olive oil. Then I spread them out on the trays and sprinkled on some sea salt. Wound up about 10 hours at 125, which I thought was a long time. Next time I’ll put it up higher. I did rotate the trays after a few hours.

Photo Jul 02, 9 59 47 PM

I’ve also been drying herbs. They take a few hours on about 110-120. Sage, rosemary, basil in this batch and yes, I did dry them all together. Used the screens here as well. Worked nicely. I’ve also dried mint and oregano.

Photo Jun 30, 3 02 57 PM (1)