Seeds and plants and replants…BLAMO!
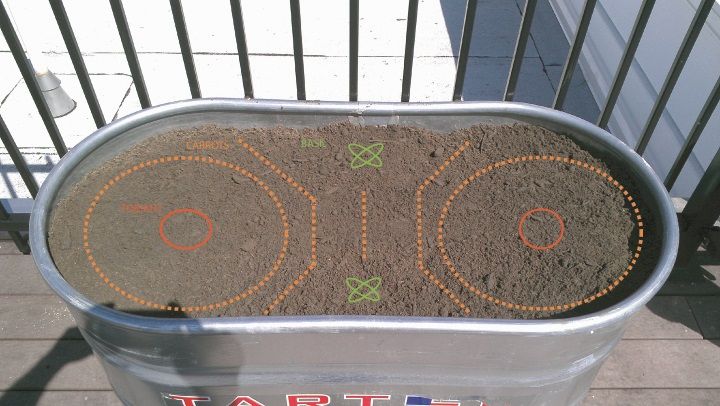
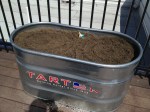
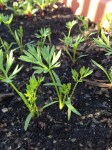
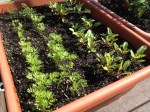
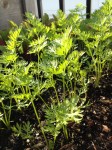
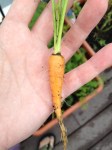
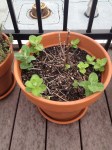
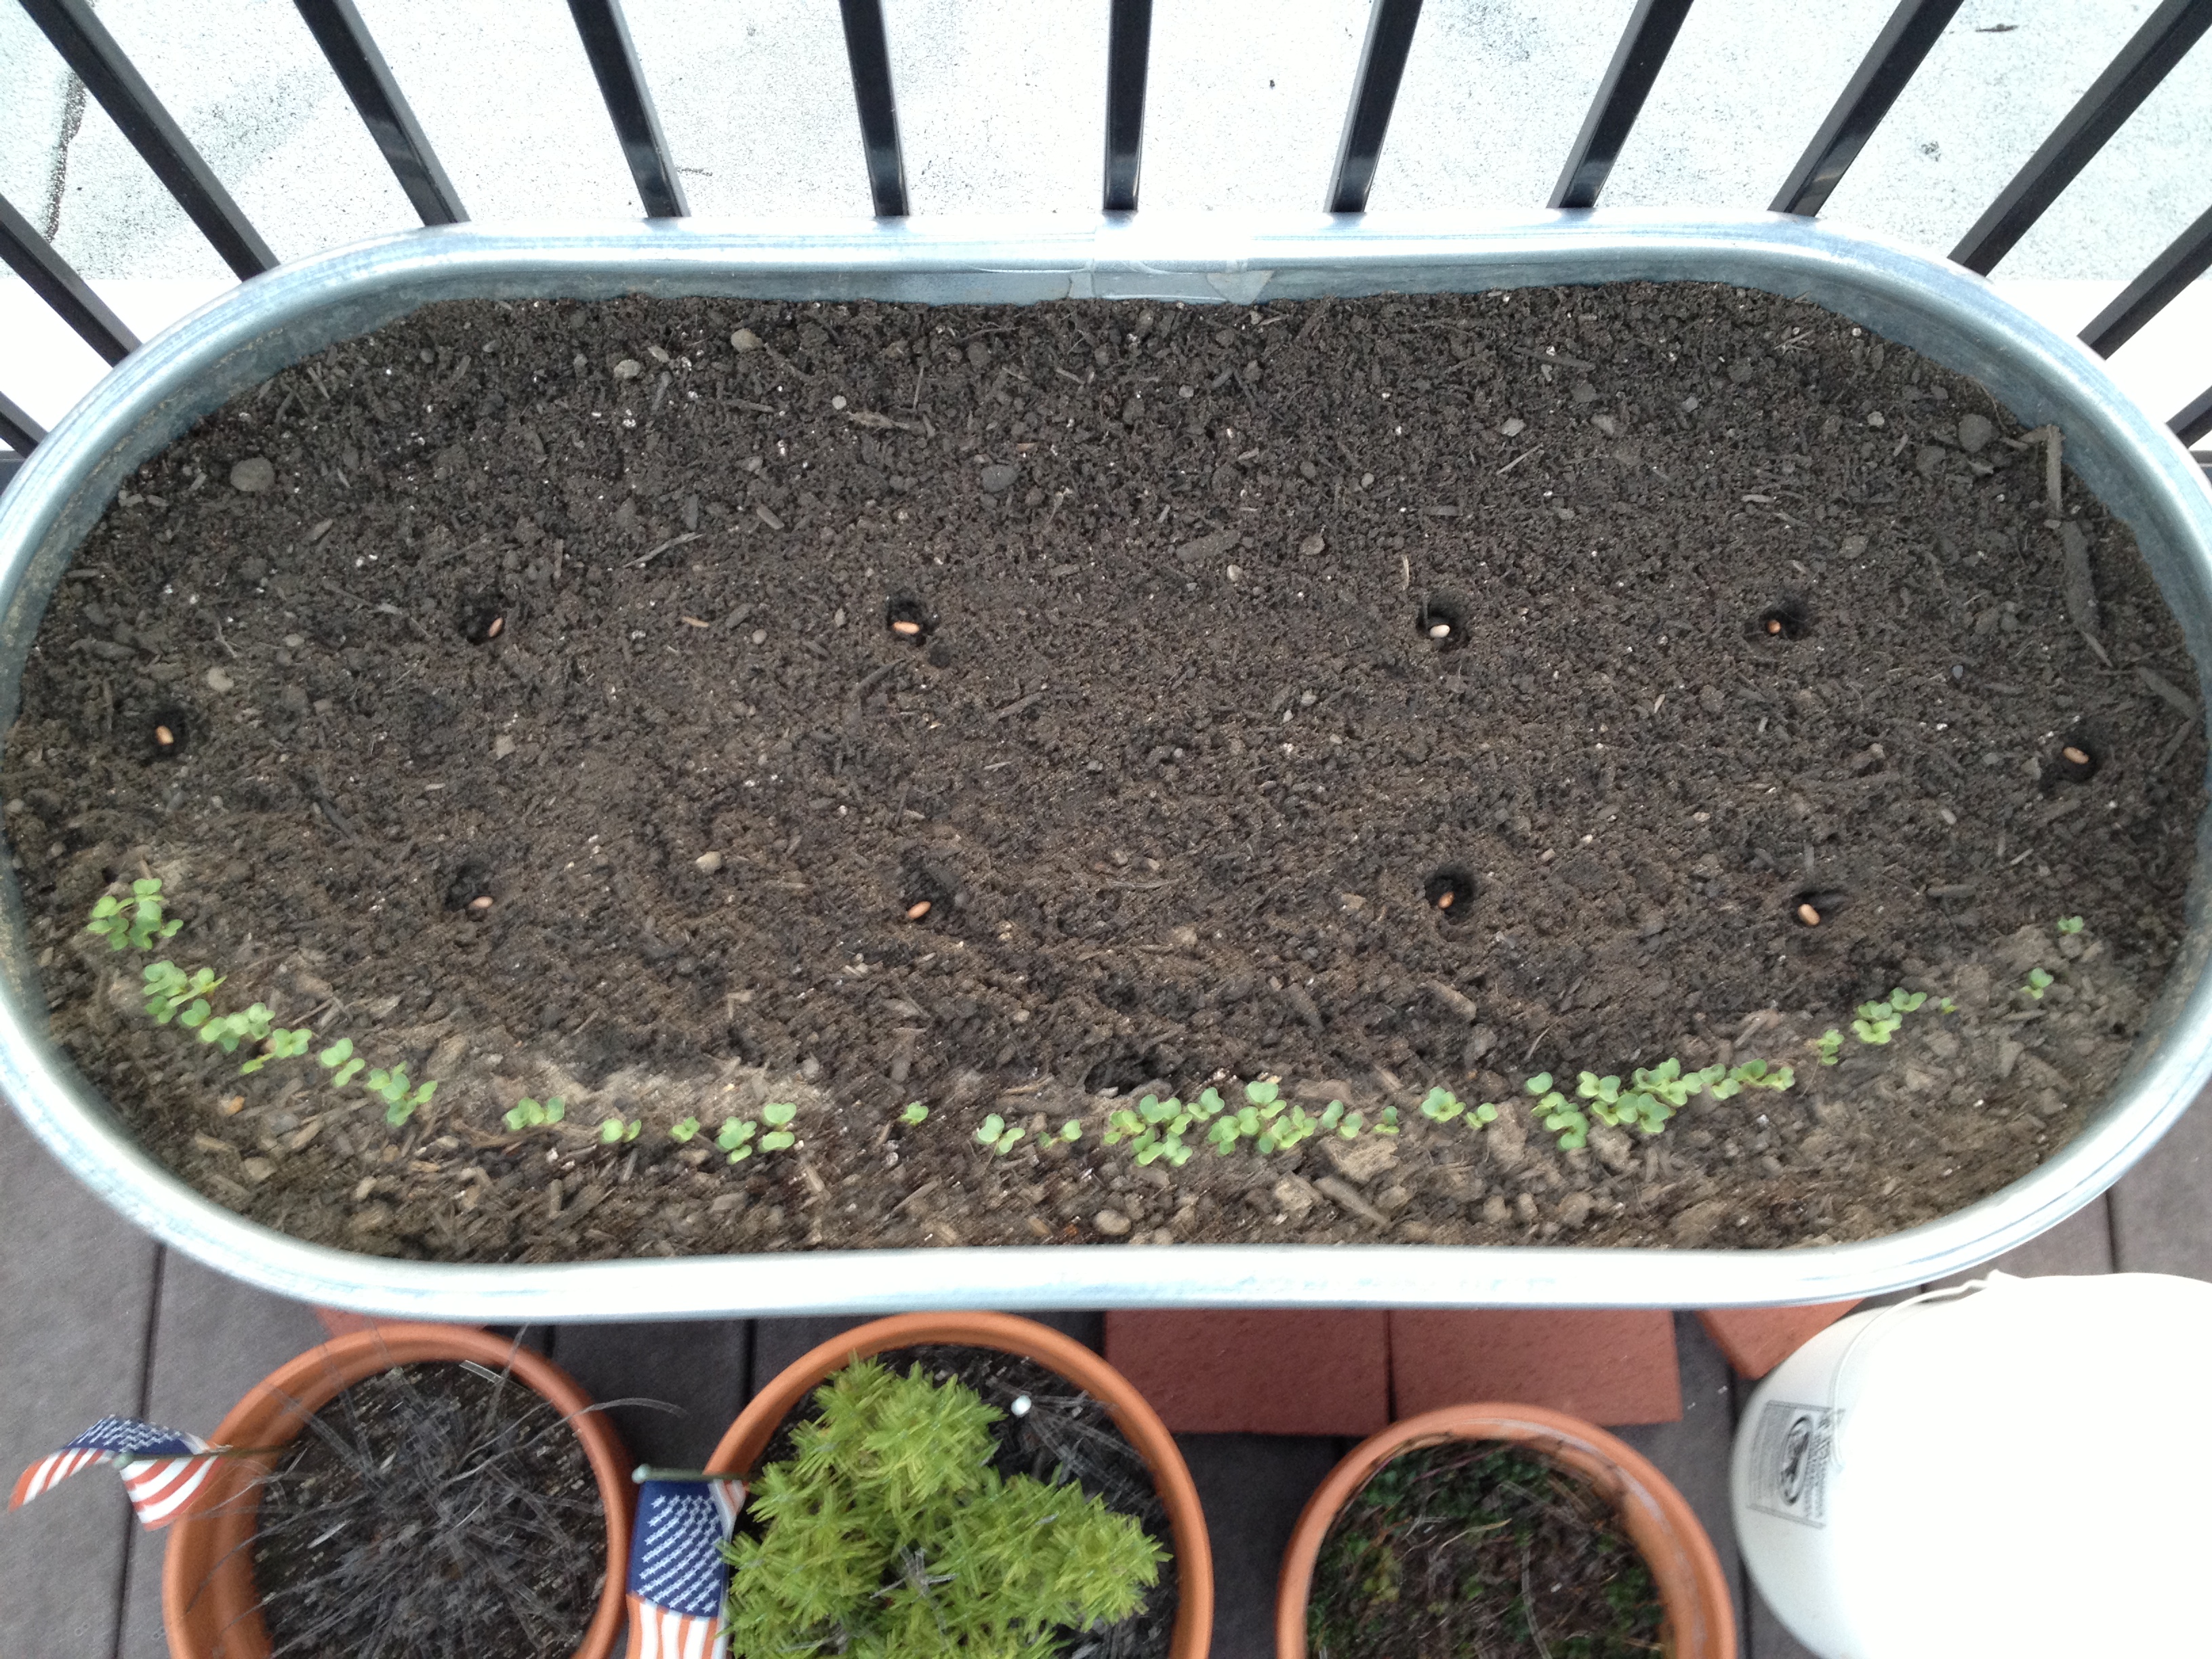
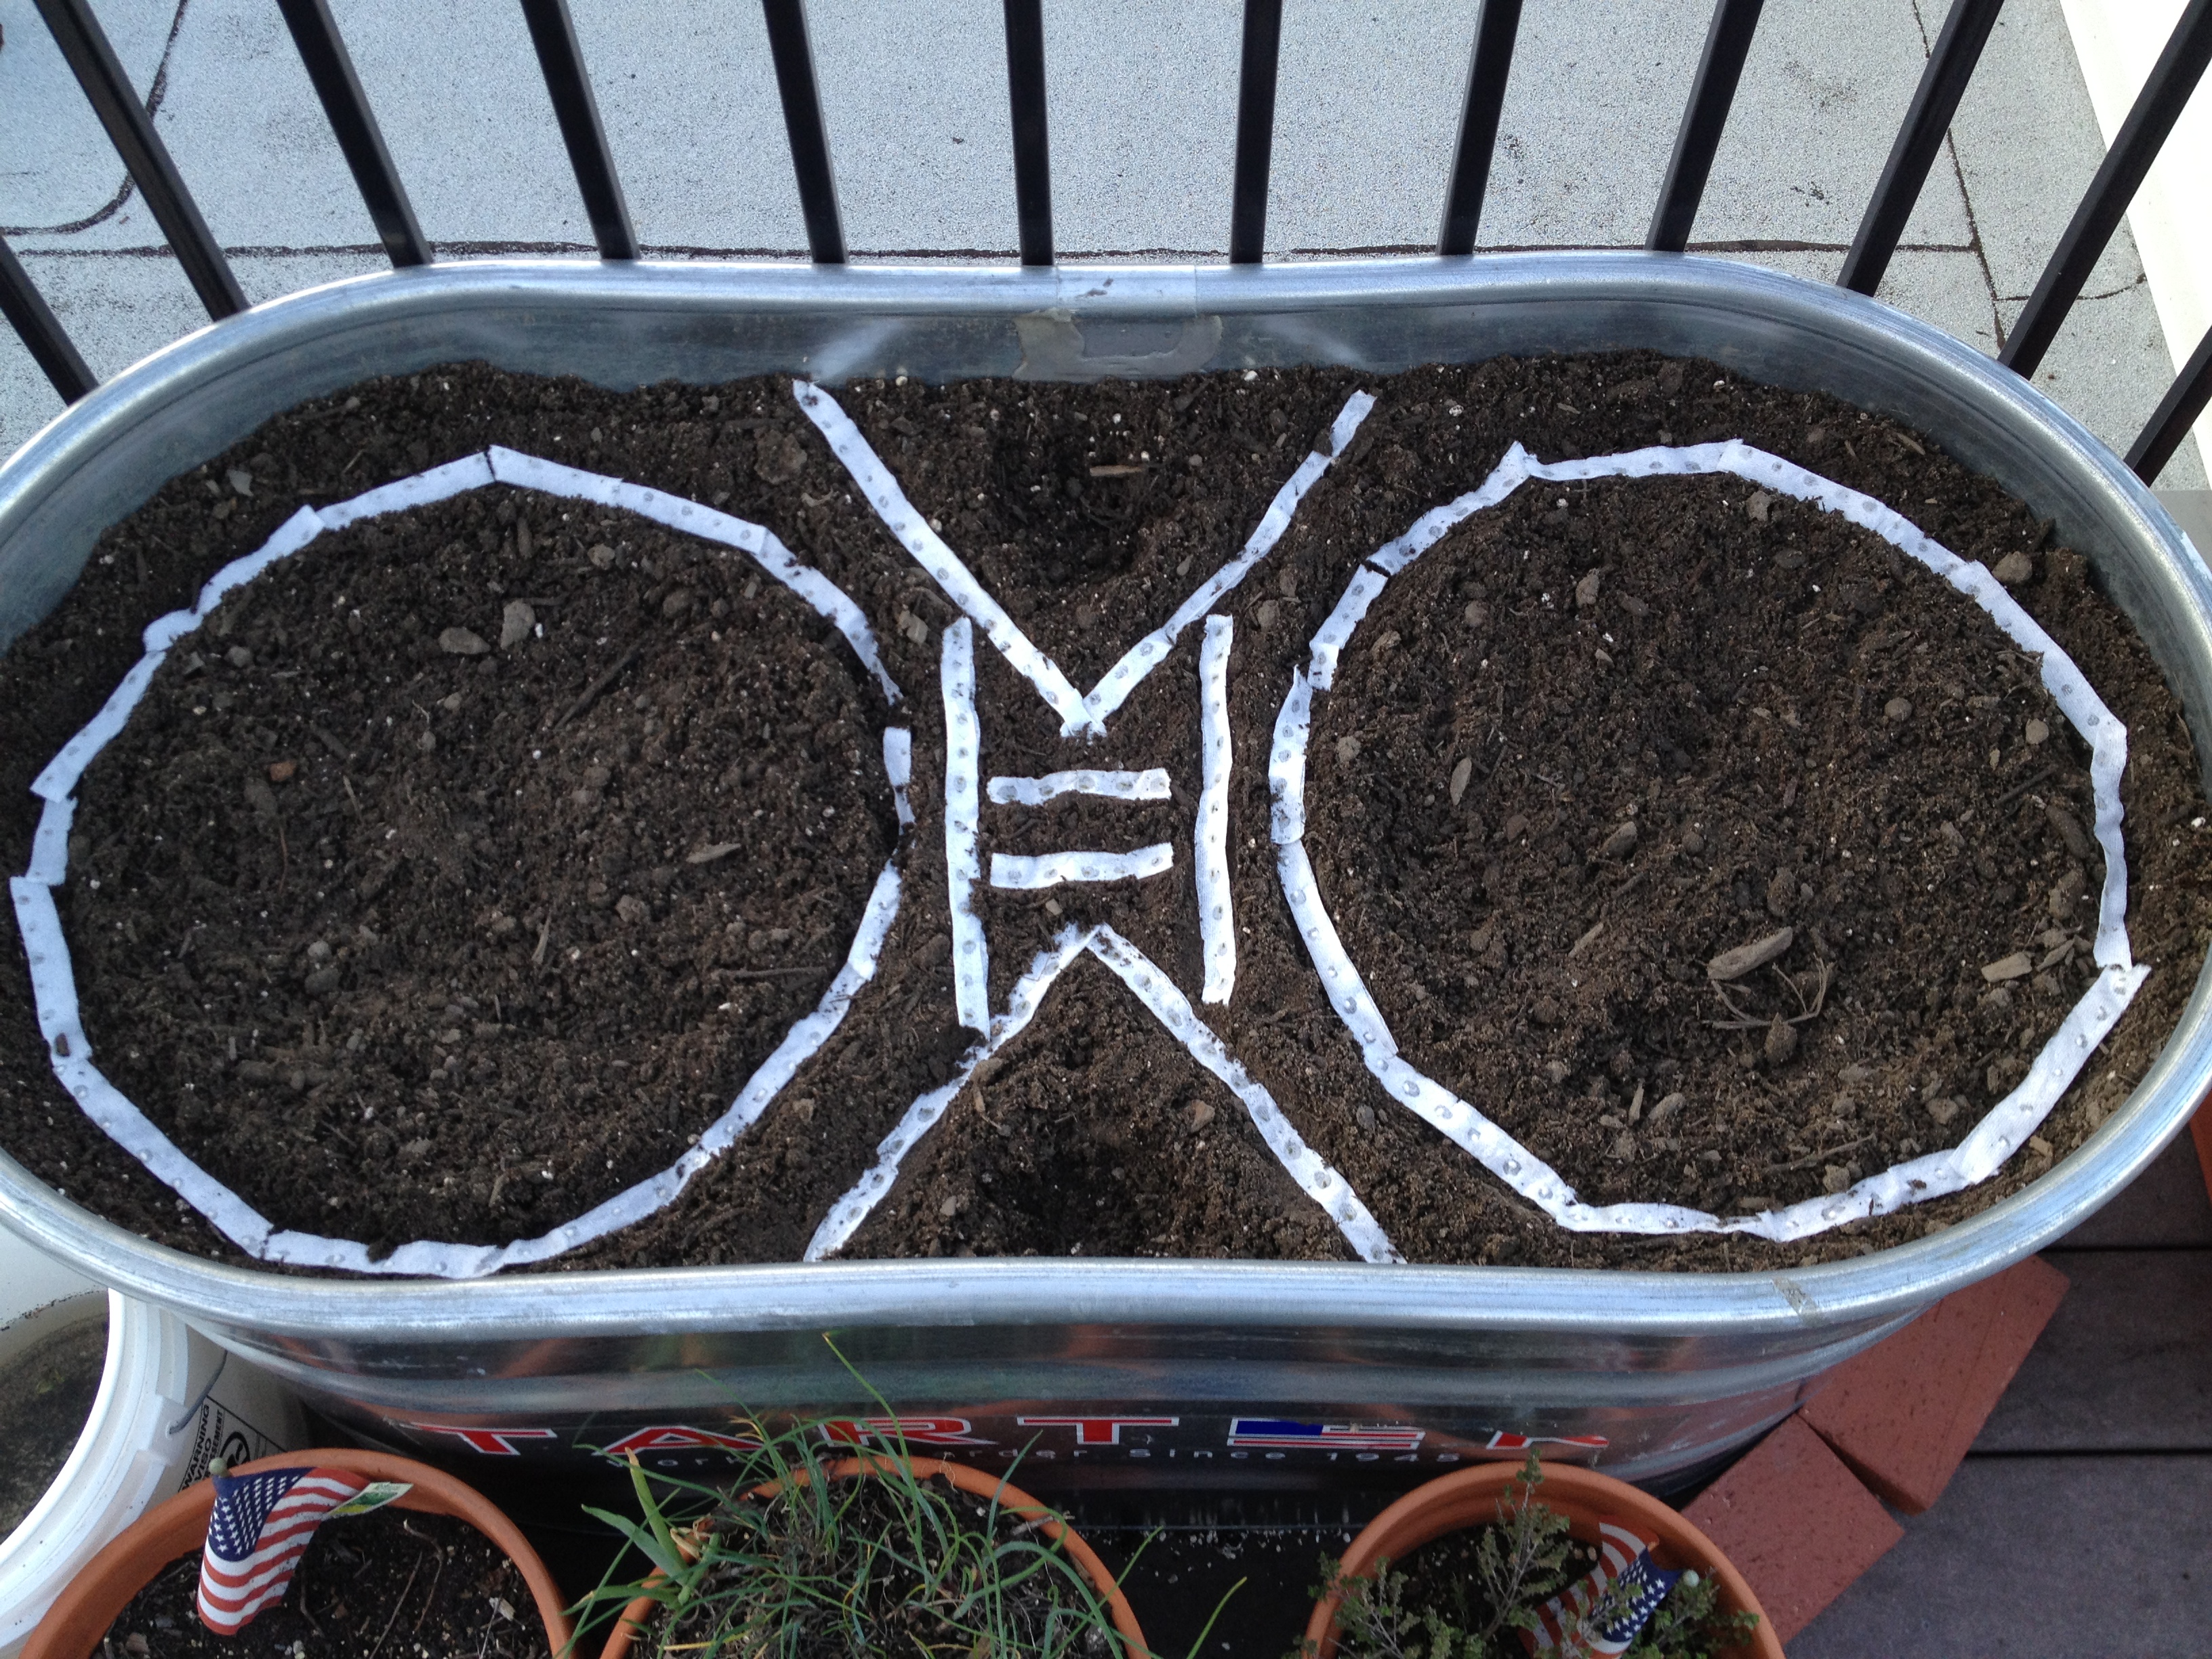
I put my seed tape to work this weekend. Using Farmer Russell’s earlier guides, I made little furrows to plant the seed tape, probably about 3/4″ deep. I kind of mixed the tapes up a bit, so I will have a few of each kind of carrot scattered all over. Covered those puppies up, and voila! Also planted basil in the middle “V” shapes in the carrots. Purple string beans in the other tank.
On Sunday my friend and I went to a garden center to get some plants. To protect her anonymity, I will call her “ShmErin” here. (Her actual name may or may not sound similar…I’ve always wondered if articles that say names have been changed actually do use real names, and say that just to throw you off.)

We each purchased a $20 for $40 Groupon deal from Garden World of Virginia and found some nice stuff. Also the staff was very helpful. Remember…SUPPORT YOUR LOCAL ECONOMY! I was fascinated by the water fountain things, but so were a pair of adorable twin two year old boys.
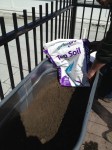
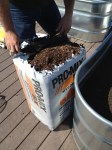
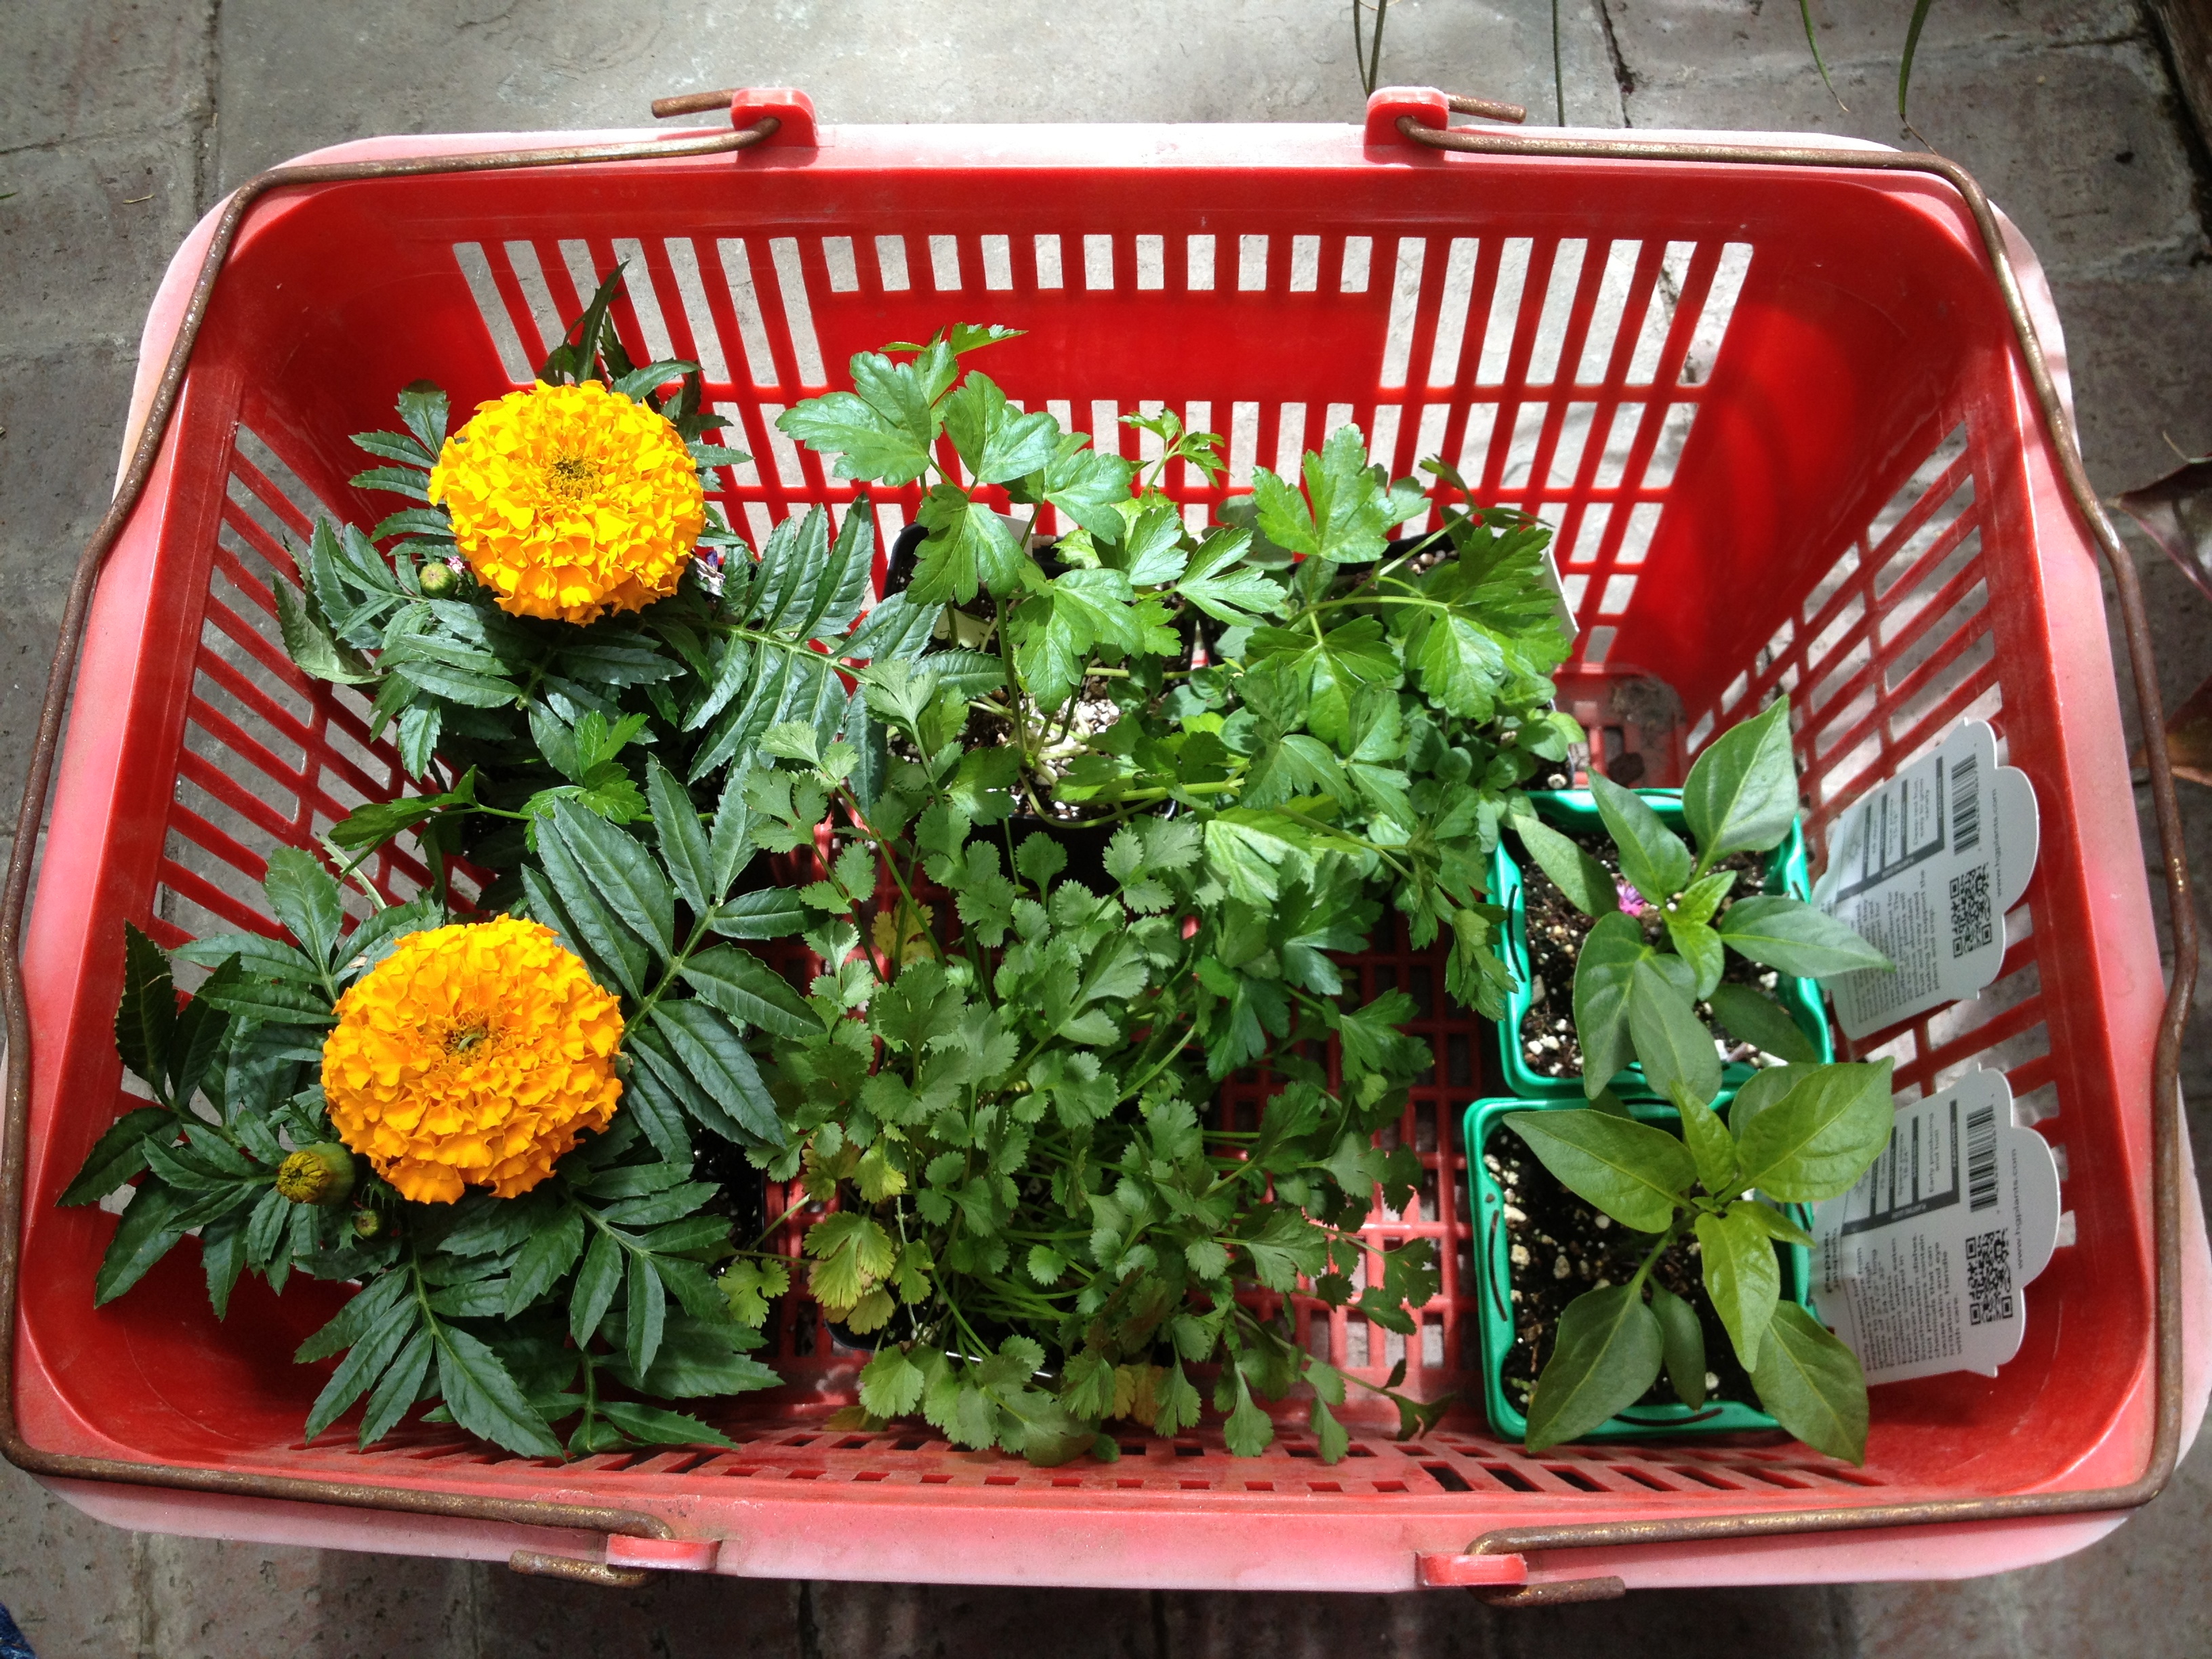
Aside from several bags of organic potting soil, I picked up a packet of cucumber seeds and live plants.
- Oregano (to replace my dead plant)
- Parsley (to replace the other dead plant)
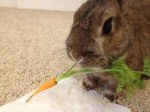
- Cilantro (for my rabbit, not me. I think cilantro tastes like soap. Ew.)
- Red bell pepper
- Jalepeno pepper
- Two orange marigold plants that I don’t know what to do with yet.
We went home and got to work!
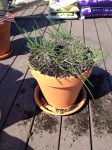
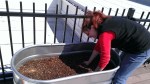
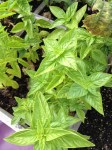
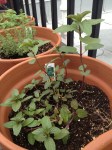
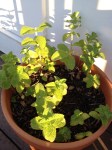
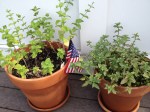
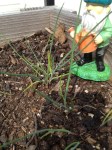
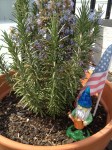
First, I put the peppers in one of the old tomato boxes with the parsley and cilantro. Easy. Looks good. Then, I took a chunk of chives for ShmErin’s growing herb garden. I originally planted these chives from seed in 2011, so I was very happy that they were still alive and doing well and that I could share them. Then I moved the chives and onions to the second former tomato box so they are alone. Farmer Russell just posted a few words about companion planting on his Tumblr…gotta be careful with alliums. Some plants don’t mind being near them, others will die. I decided to just keep them in a separate container. I’ll probably plant a few more rows of green onions this week, too. The ones in there now were also planted in 2011 and have come back each year. Also, he cautioned not to plant the marigolds near the beans. The will act as a natural herbicide and then…no more beans. They’re great near tomatoes, though! I will probably put them near the tomatoes. Next, several of my potted herbs needed a bit of a, shall we say…pick me up? I removed the thyme and chocolate mint from their containers, loosened up the roots, which were absolutely packed, added some new potting soil to the bottom of the pots, replaced the plants and filled in around them with more soil.
-

- Where does everyone go?
-

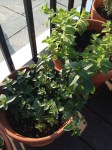
- Shmerin’s new chive plant…a chunk of one of mine.
-
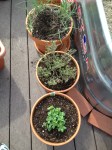
- New and replanted.
-

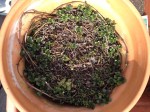
- Happy chives and onions in their own larger space.
-
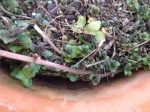
- This mint is looking for a new place to grow!
-
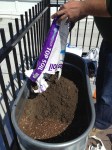
- I had about 2″-3″ of space in the pot, so I raised the whole thing up.
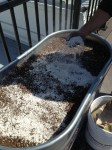
Finally, a row of cucumber in the back of the second tank. They will be trained up some bamboo sticks I have, and then eventually they can hang over the fencing. At least that’s the plan now.
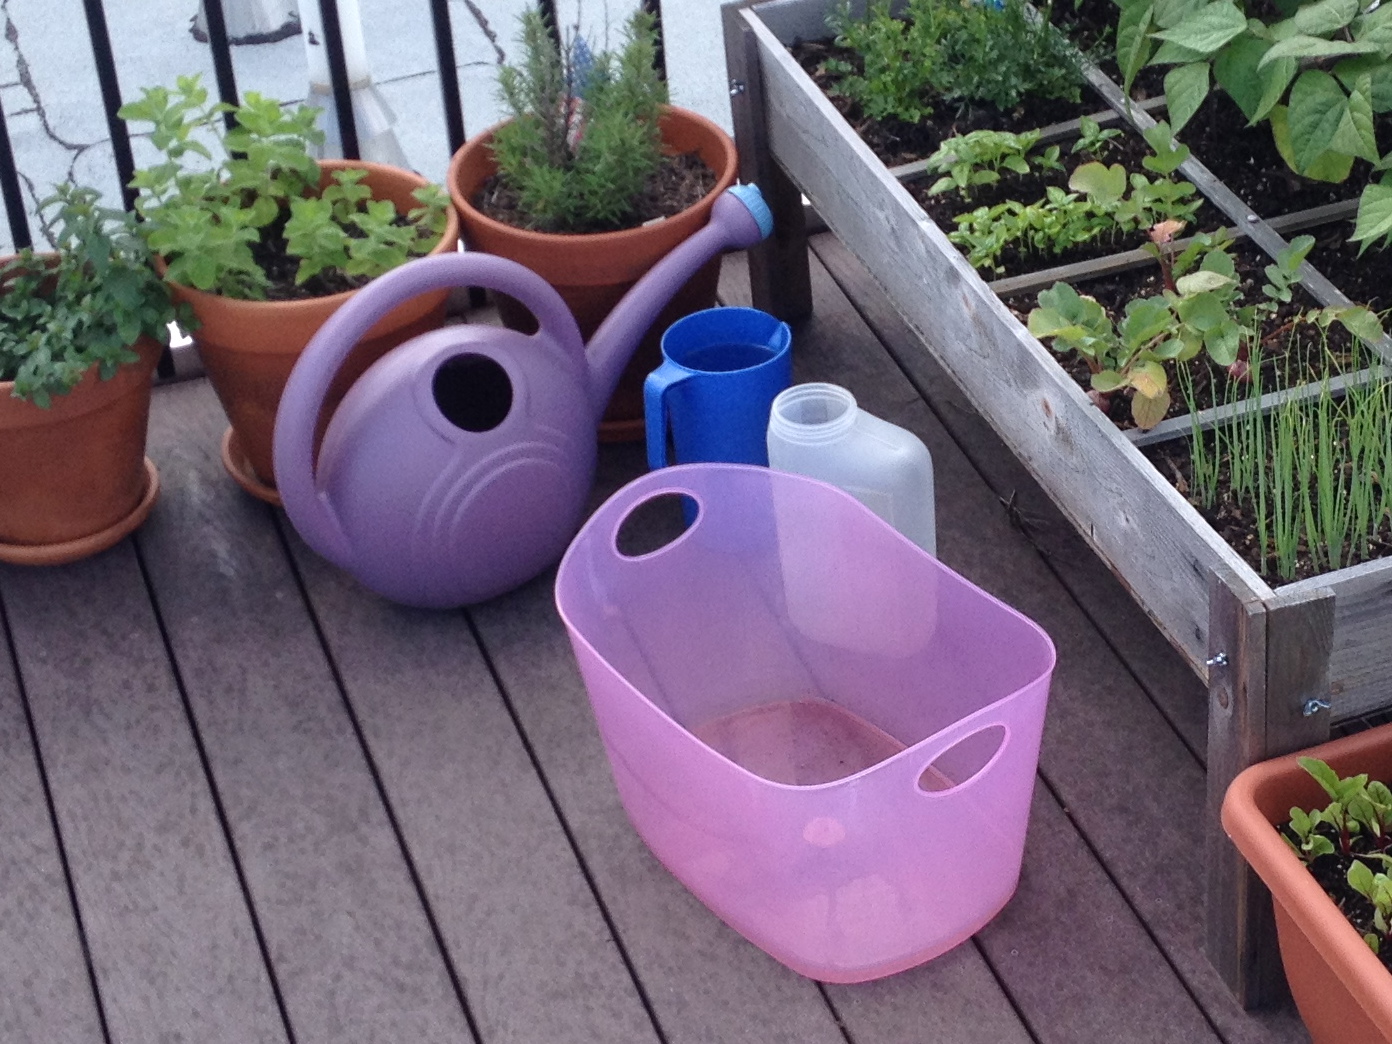
Then, ShmErin watered! A lot. We carried up a ton of water. Either a ton or about 40 pounds in total. Then we celebrated with cocktails on the roof. Then I came up later in the evening and watered everyone one more time. Then it rained early this morning. That was awesome.
I felt like Mother Nature had approved of my planting. Win.
-
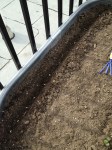
- Cucumber seeds.
-

- Watering everyone in.