Welcome to 2013! This will be a bit of a long post, but it’s somewhat instructional.
I began construction on the new, improved roof garden yesterday. With the help of Richmond, VA based Farmer Russell, a sustainable agriculture consultant and recently reformed farmer (who is new to Tumblr,) I have made some significant upgrades to my growing spaces. A bit about the expert brain I’m going to be picking this season (so you know my info below is legit, finally.) My friend Farmer Russell has been sustainably growing gourmet produce for the more the a dozen years. He has run CSAs in the Richmond area and has spent the last two years providing James Beard nominated chefs with the the finest in farm to table produce. He is now sharing his years of hard won wisdom with everyone from backyard gardeners (like me!) to farmers looking to grow more sustainably on thousand acre spreads and organizations looking to learn more about how local food and conscientious consumption can impact their community throughout the mid Atlantic.
He also makes some really good home brew and talks about it on Twitter. Mmmm…beer.
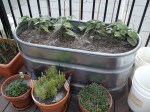
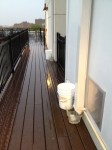
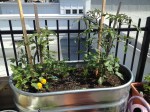
Anywhoo, here is the finished garden after we cleaned up. So far, so good!
If you’ve read my previous posts, you know that my two biggest issues were space and water. My plants really weren’t in containers that were deep enough for their root systems to properly expand. It caused the plants stress and basically stunted their proper growth. Also, water. >sigh< These new containers should really take care of both problems. We calculated these weigh approximately 160 lbs each, so that’s like a person size, but spread out over a much larger area. With the right amount of water, each should weigh about 220-240 lbs, which, again, is spread out over a large area. (1 gallon of water = appx 8 lbs.)
I started off with two 2’x2’x4′ 100 gallon galvanized stock tanks from Southern States. They are about $90 a piece, which is actually cheap when you consider that the two buckets I’ve had my tomatoes in for the last two years were around $60 each. Also from Southern States I picked up a big thing of ProMix growing medium for about $37. Everything had to picked up at the store. Total was about $227
Then, a visit to Home Depot…
- Two bags of lava rocks at $3.87 each
- Six bags of top soil (this wasn’t the brand, but the price is the same, $1.37)
- Two bags of humus & manure for $2.97 each.
- Two tomato stakes because I had two already but really thought four would be better, considering how big the plants got last year.
- 12″ terracotta pot and saucer to temporarily replant my chives. The most expensive part of this trip, at around $8
- Bunch of bricks I’m not going to use. I thought I would elevate the tanks, but that would have just created some pressure points in the tank and on the deck. Farmer Russell told me not to get them, in his defense. I still thought it was a good idea. I was not correct. But, now I have some bricks.
Home Depot total with tax: $48.84.
Total, before plants: $325, including VA sales tax. Yours may vary slightly, especially if you don’t get those stupid bricks. Argh.
Then we got to work!
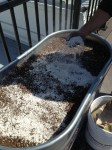
We removed the metal plug from the drainage hole in the tank. Really, that’s a great feature. I’ve seen a few posts where people drill additional drainage holes into the bottom and sides of the tanks, but all you’re doing is damaging the coating which can lead to rust and leaching of whatever might be in the metal. Keep the coating in tact! Farmer Russell says just remove the plug and follow the steps below to properly layer and you’ll have no problem.
In order, then some pictures.
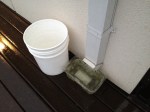
- Lava rocks piled on top of the drain hole. For drainage and improved water flow on the bottom of the tank.
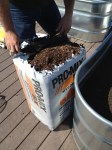
- Styrofoam. Also for drainage and reduces weight. We went about 1/3 up the tank with this styrofoam, which I just happened to have saved in big sheets from some furniture I bought a few years ago. (HA! AND YOU CALLED ME A HOARDER! WHO’S LAUGHING NOW?) You can also buy a big bag of peanuts from an office supply or shipping supply store, but why not reuse what comes in the mail and packaging materials?
- Remainder of potting mixture from the old buckets. Reusing what I can!
-

-
Drain is in the shadow, but it’s there.
-

-
Lava rocks
-

-
Breaking up styrofoam. Most of it stayed inside the tank, some of it stayed on my hands.
-

-
Almost finished filling with styrofoam…
-

-
Reusing the potting mix.
-

-
Second tank with rocks and styrofoam.
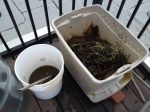
We also found some grubs in one of the tomato pots. They made their way down there some time over the winter. I insisted that we toss them. Then I threw up a bit in my mouth.
-

-
Grubs. >barf< Considering how badly I want bugs in my garden….
-

-
Styrofoam at the bottom here, too.
-

-
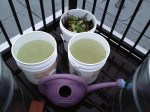
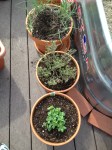
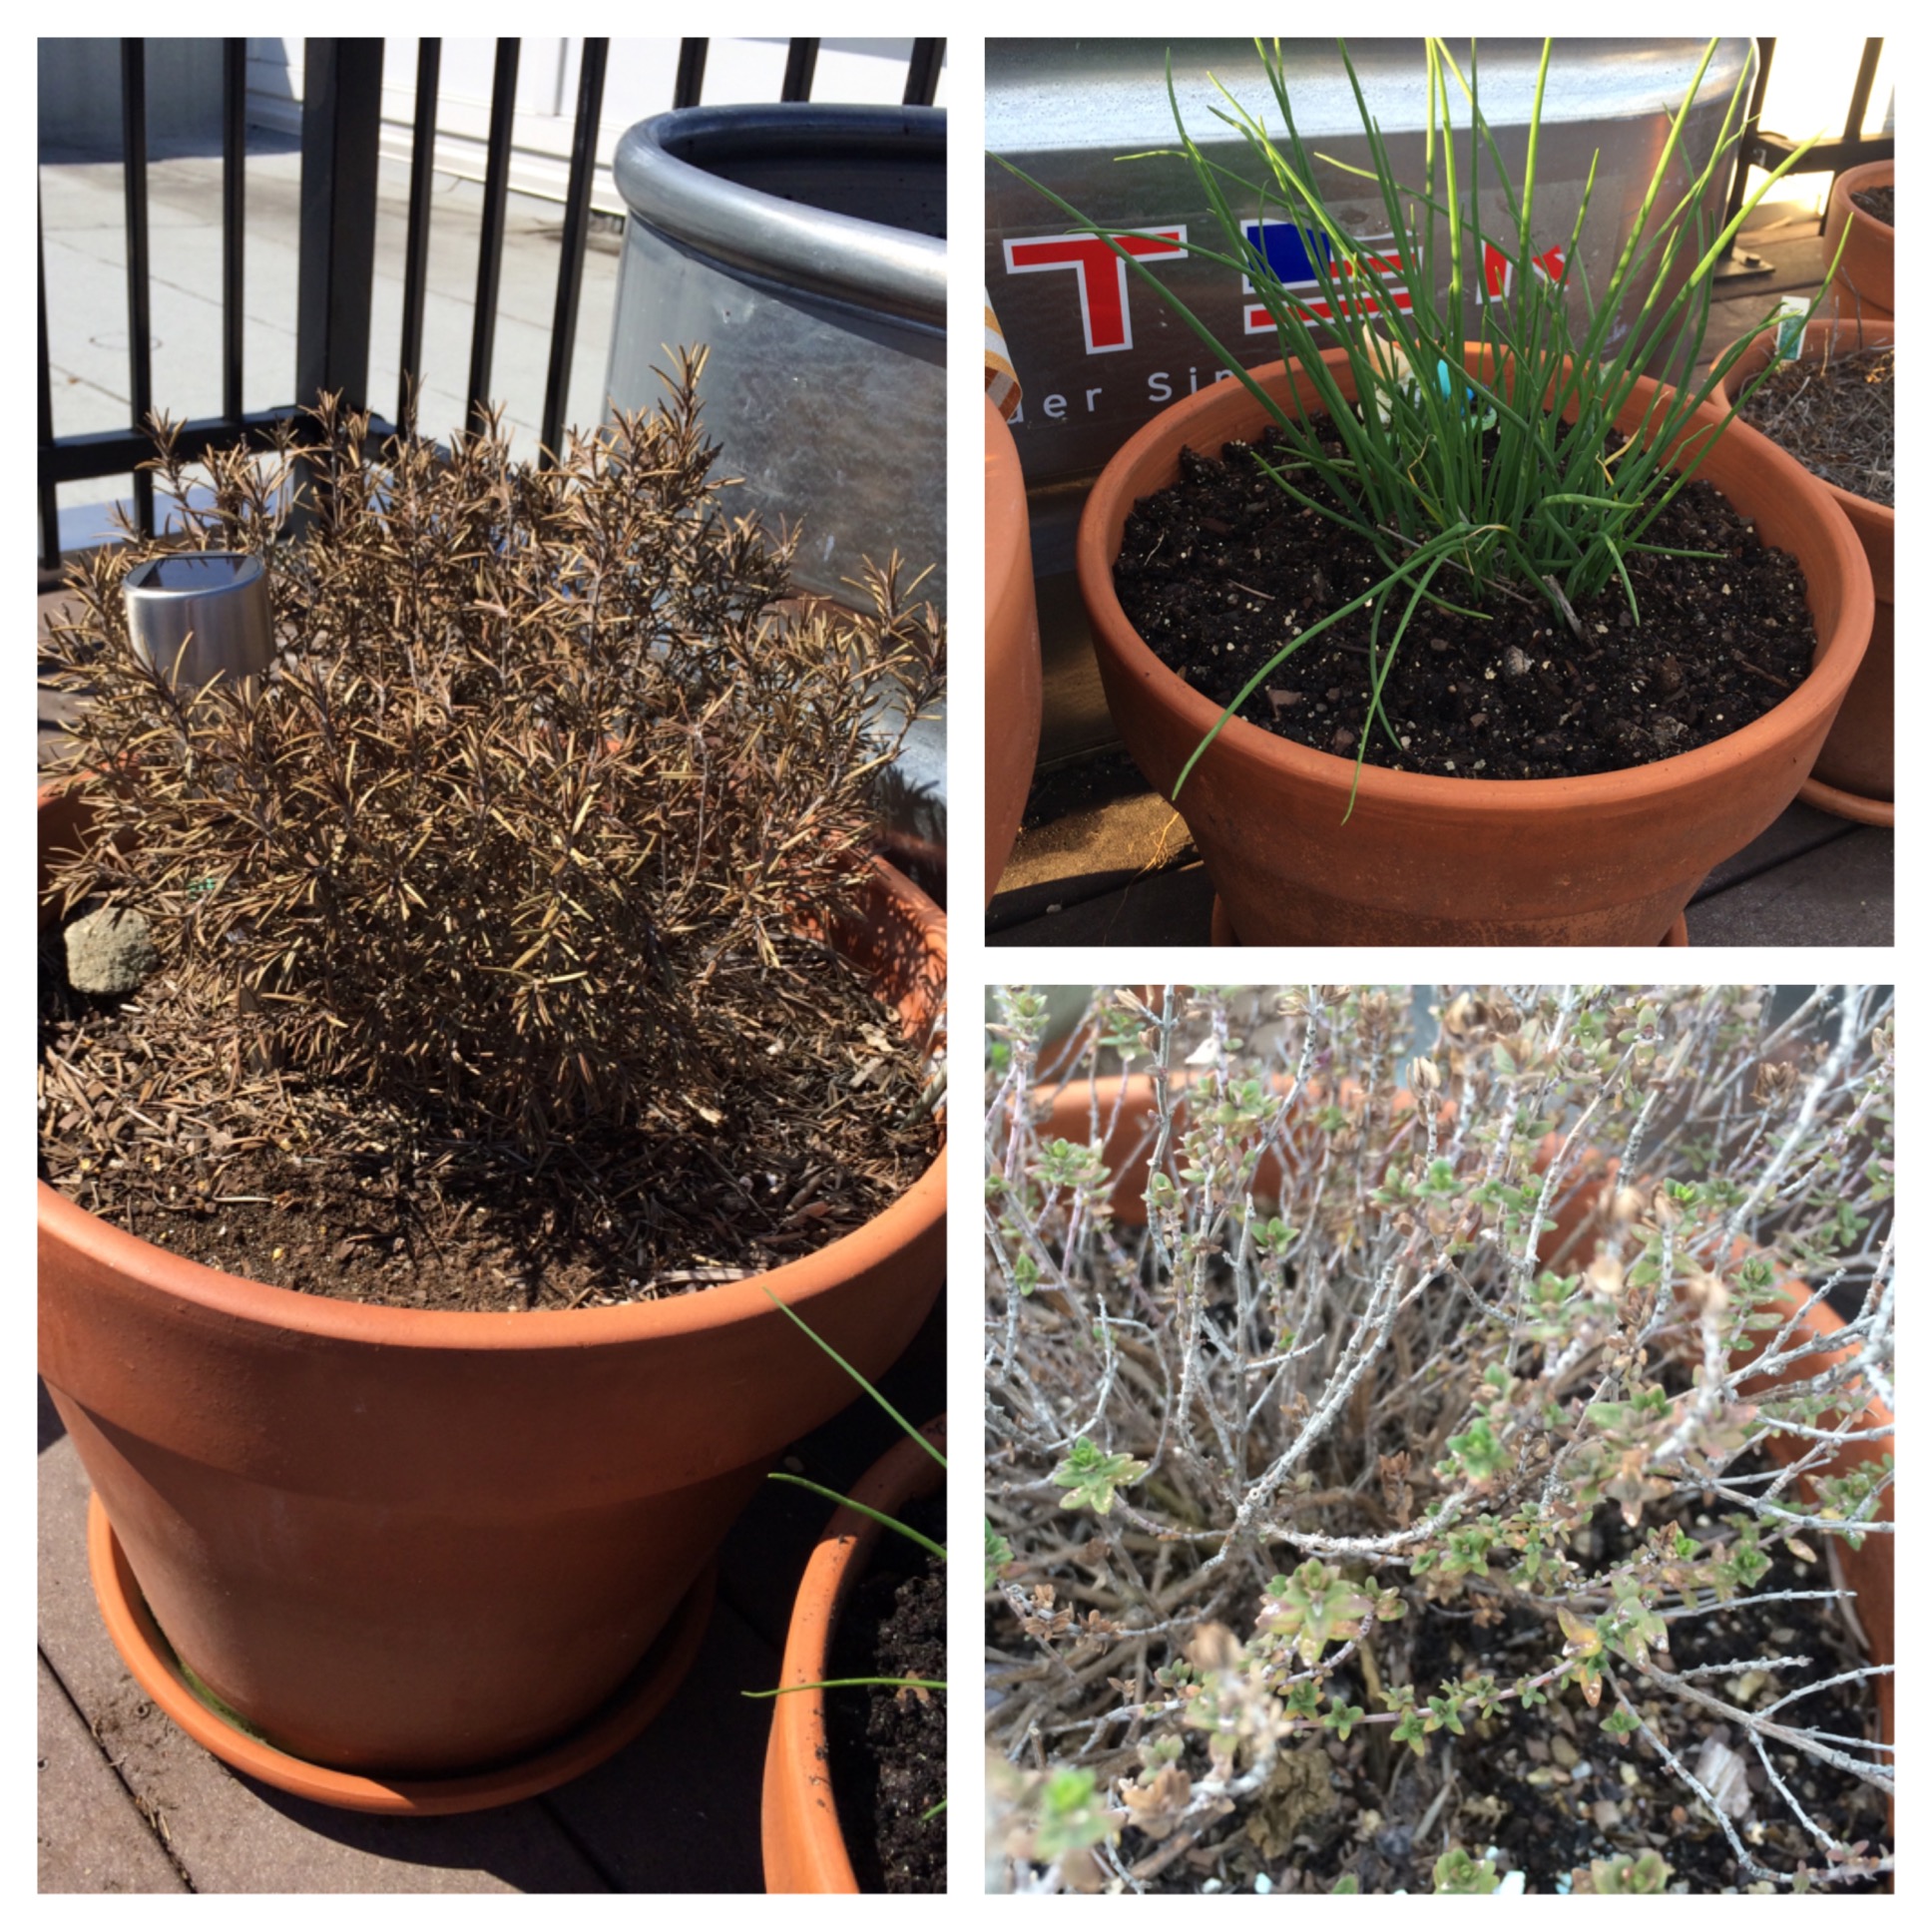
Temporary home for chives and onions that came back this year.
-

-
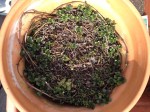
Emptying the ceder box into the tank.
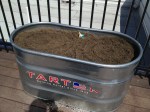
Next, add the following layers, making sure each one is free of clumps and even.
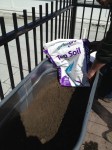
- Layer top soil
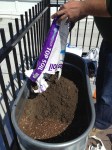
- Layer promix
- Layer top soil
- Layer humus/manure
-
-
Top soil
-
-
Promix
-

-
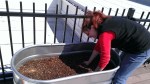
Break it all up…
-
-
No clumps! (Wow my hair is red…)
-
-
Top soil
-

-
Humus/manure
Then…
- Layer of promix
- Layer of oyster shell – don’t need a lot and it will slowly add calcium and other good stuff over time.
- Layer of top soil
-

-
Promix
-
-
Oyster shell
-

-
Top soil
-

-
I got in there, even with the manicure.
Don’t mix the layers now. The mixture will settle and compact on its own, and the plants will be able to break it up.
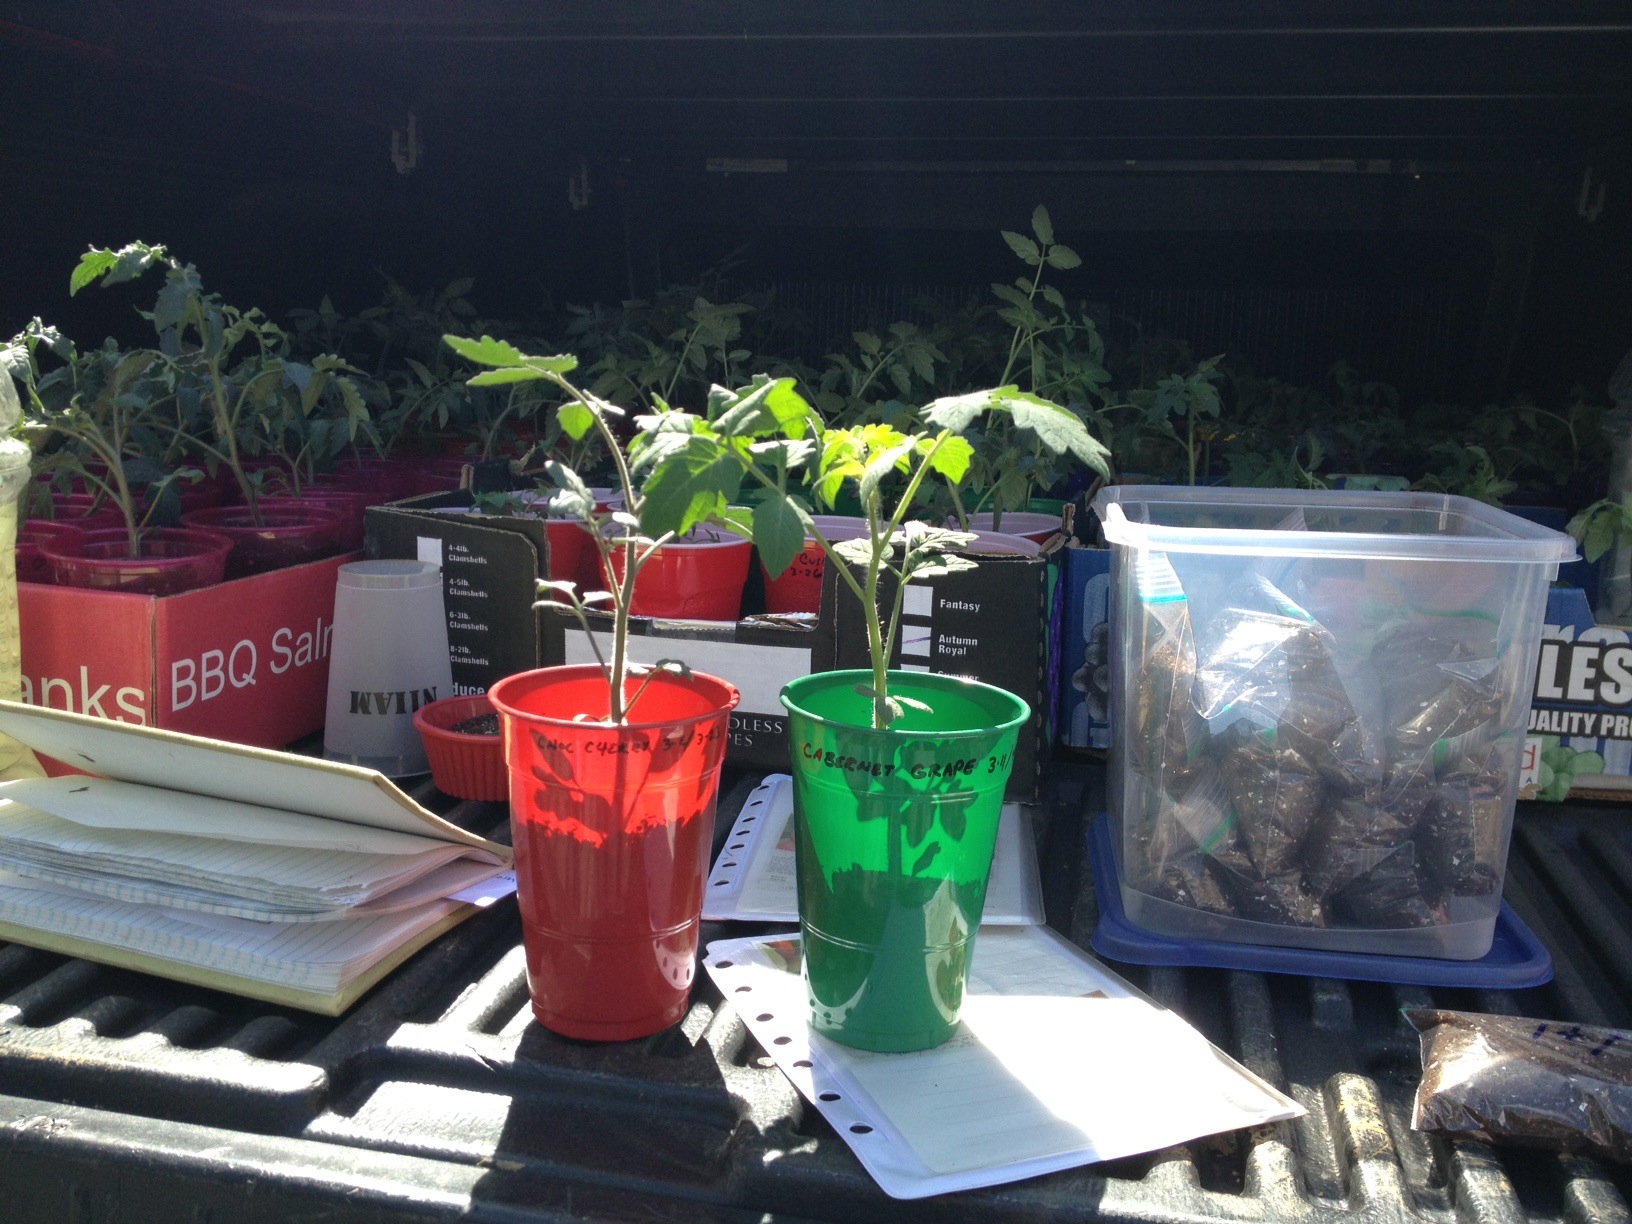
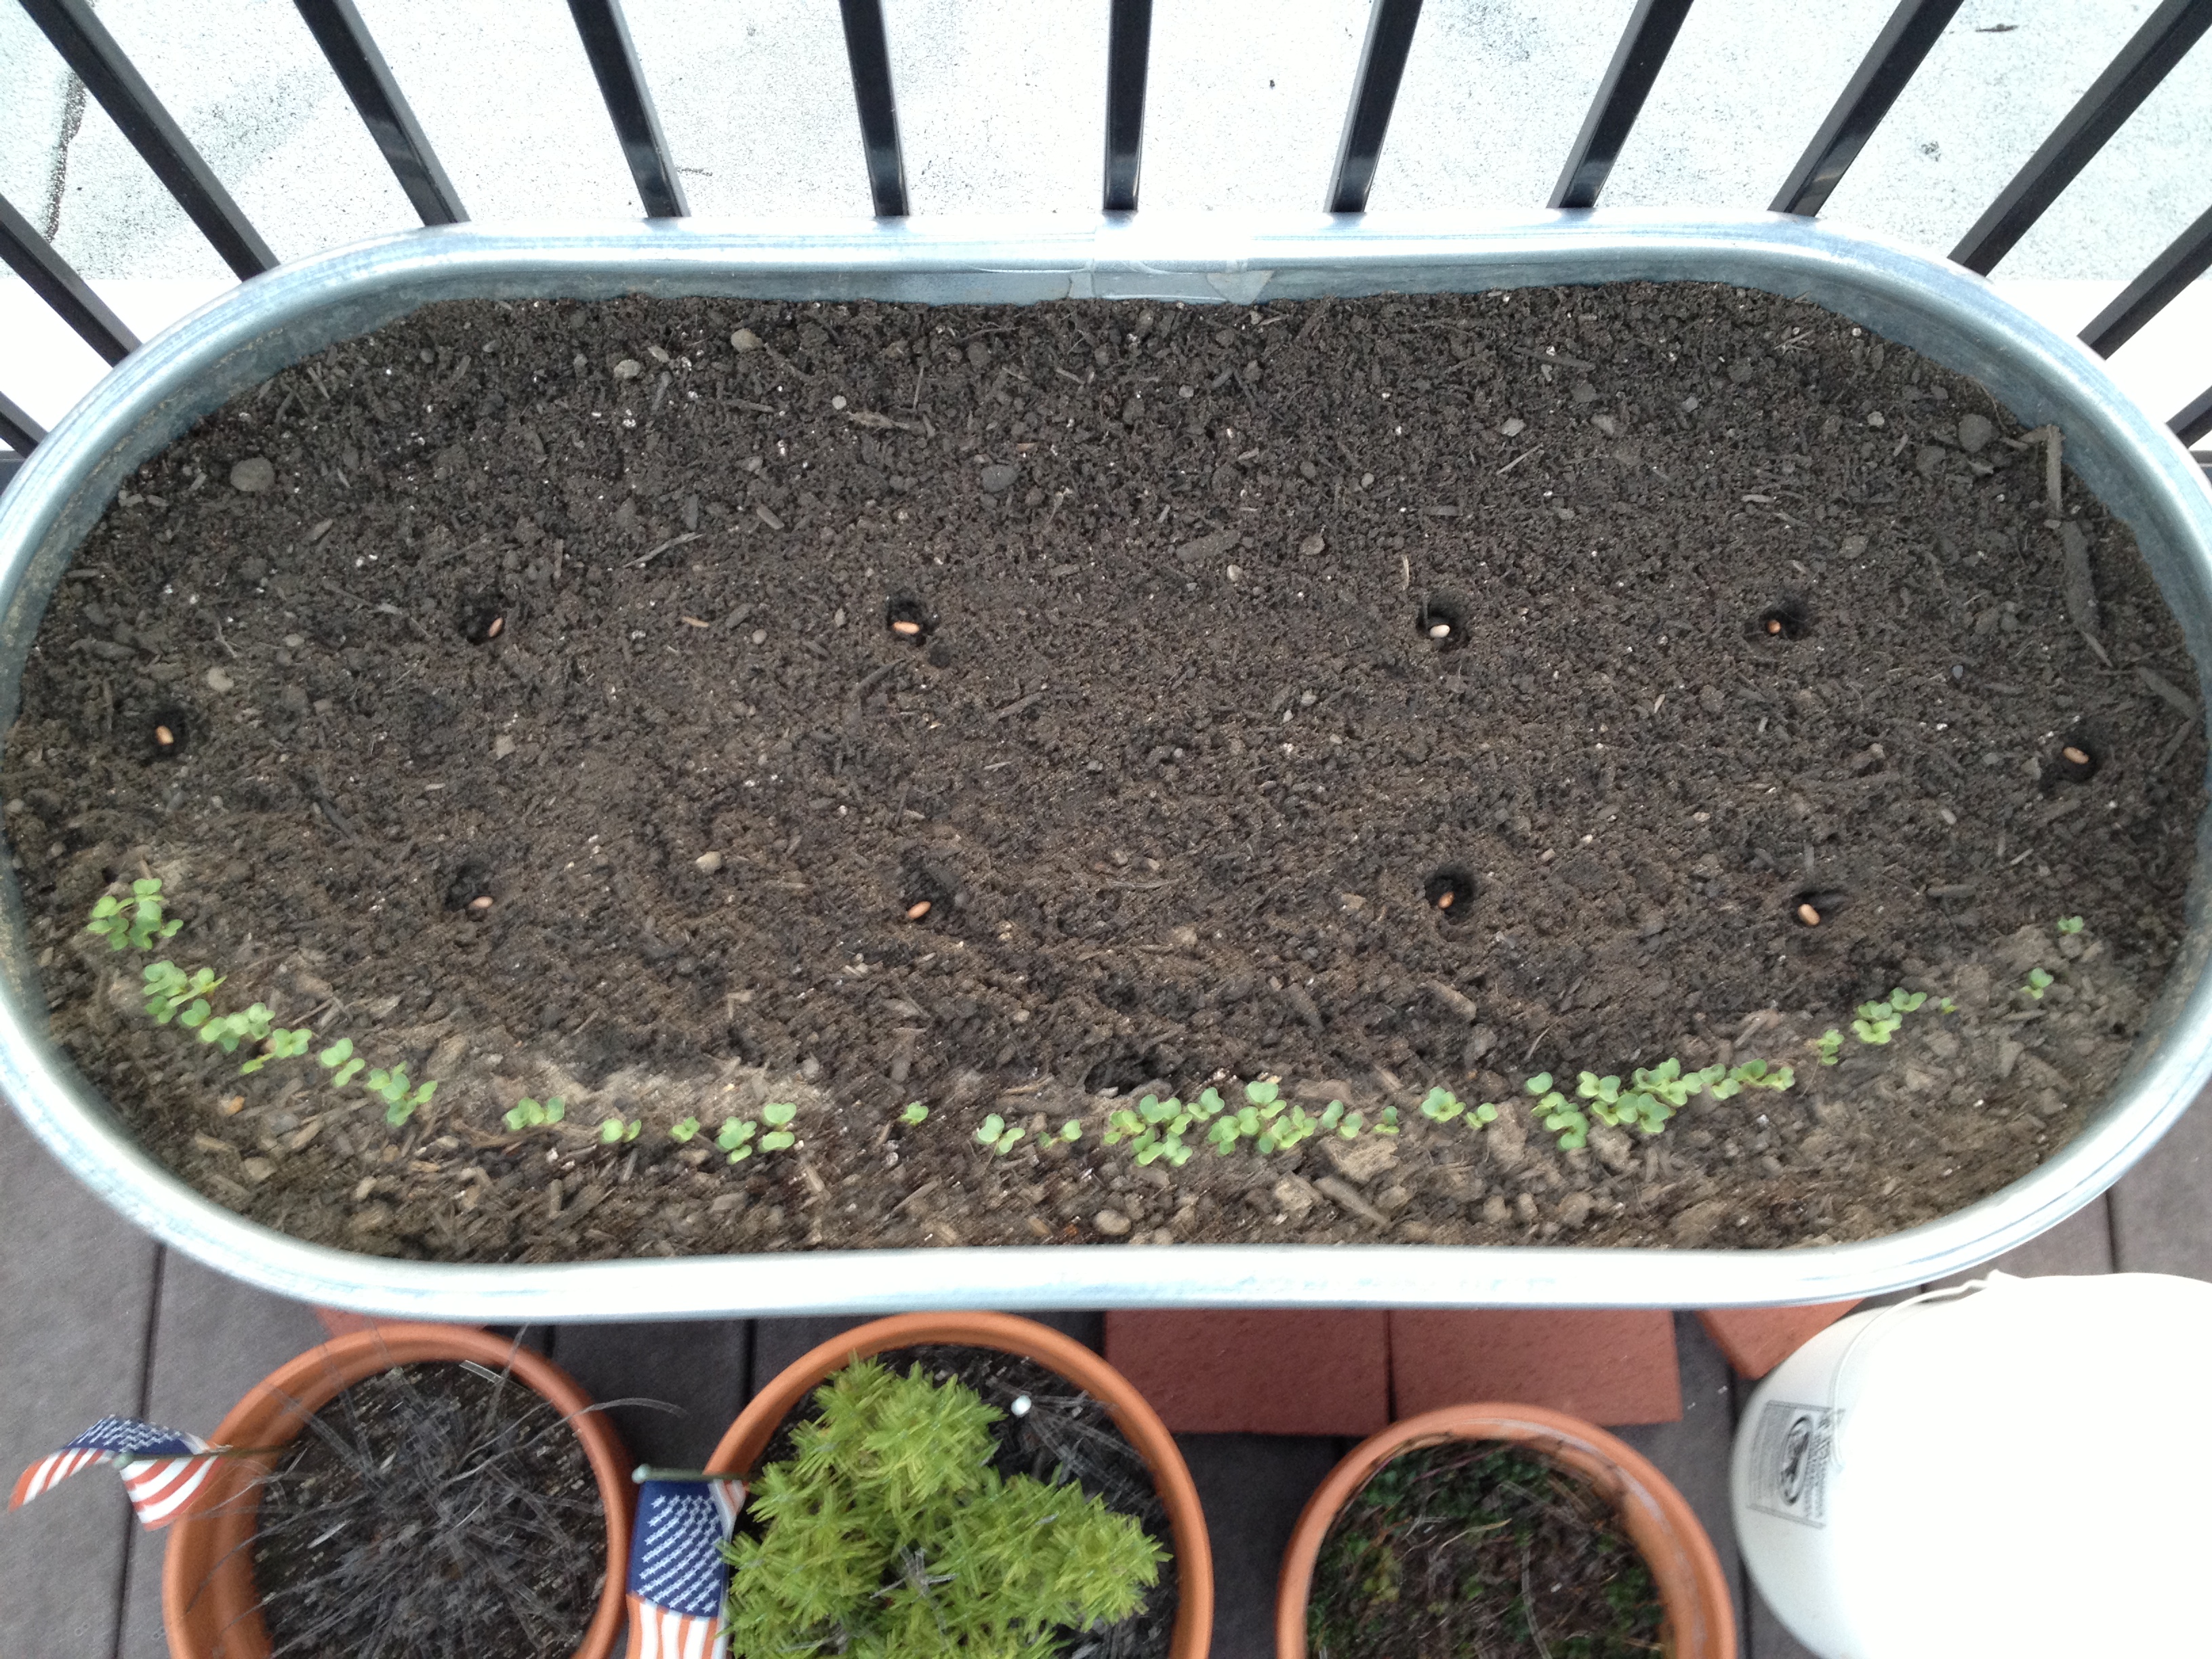
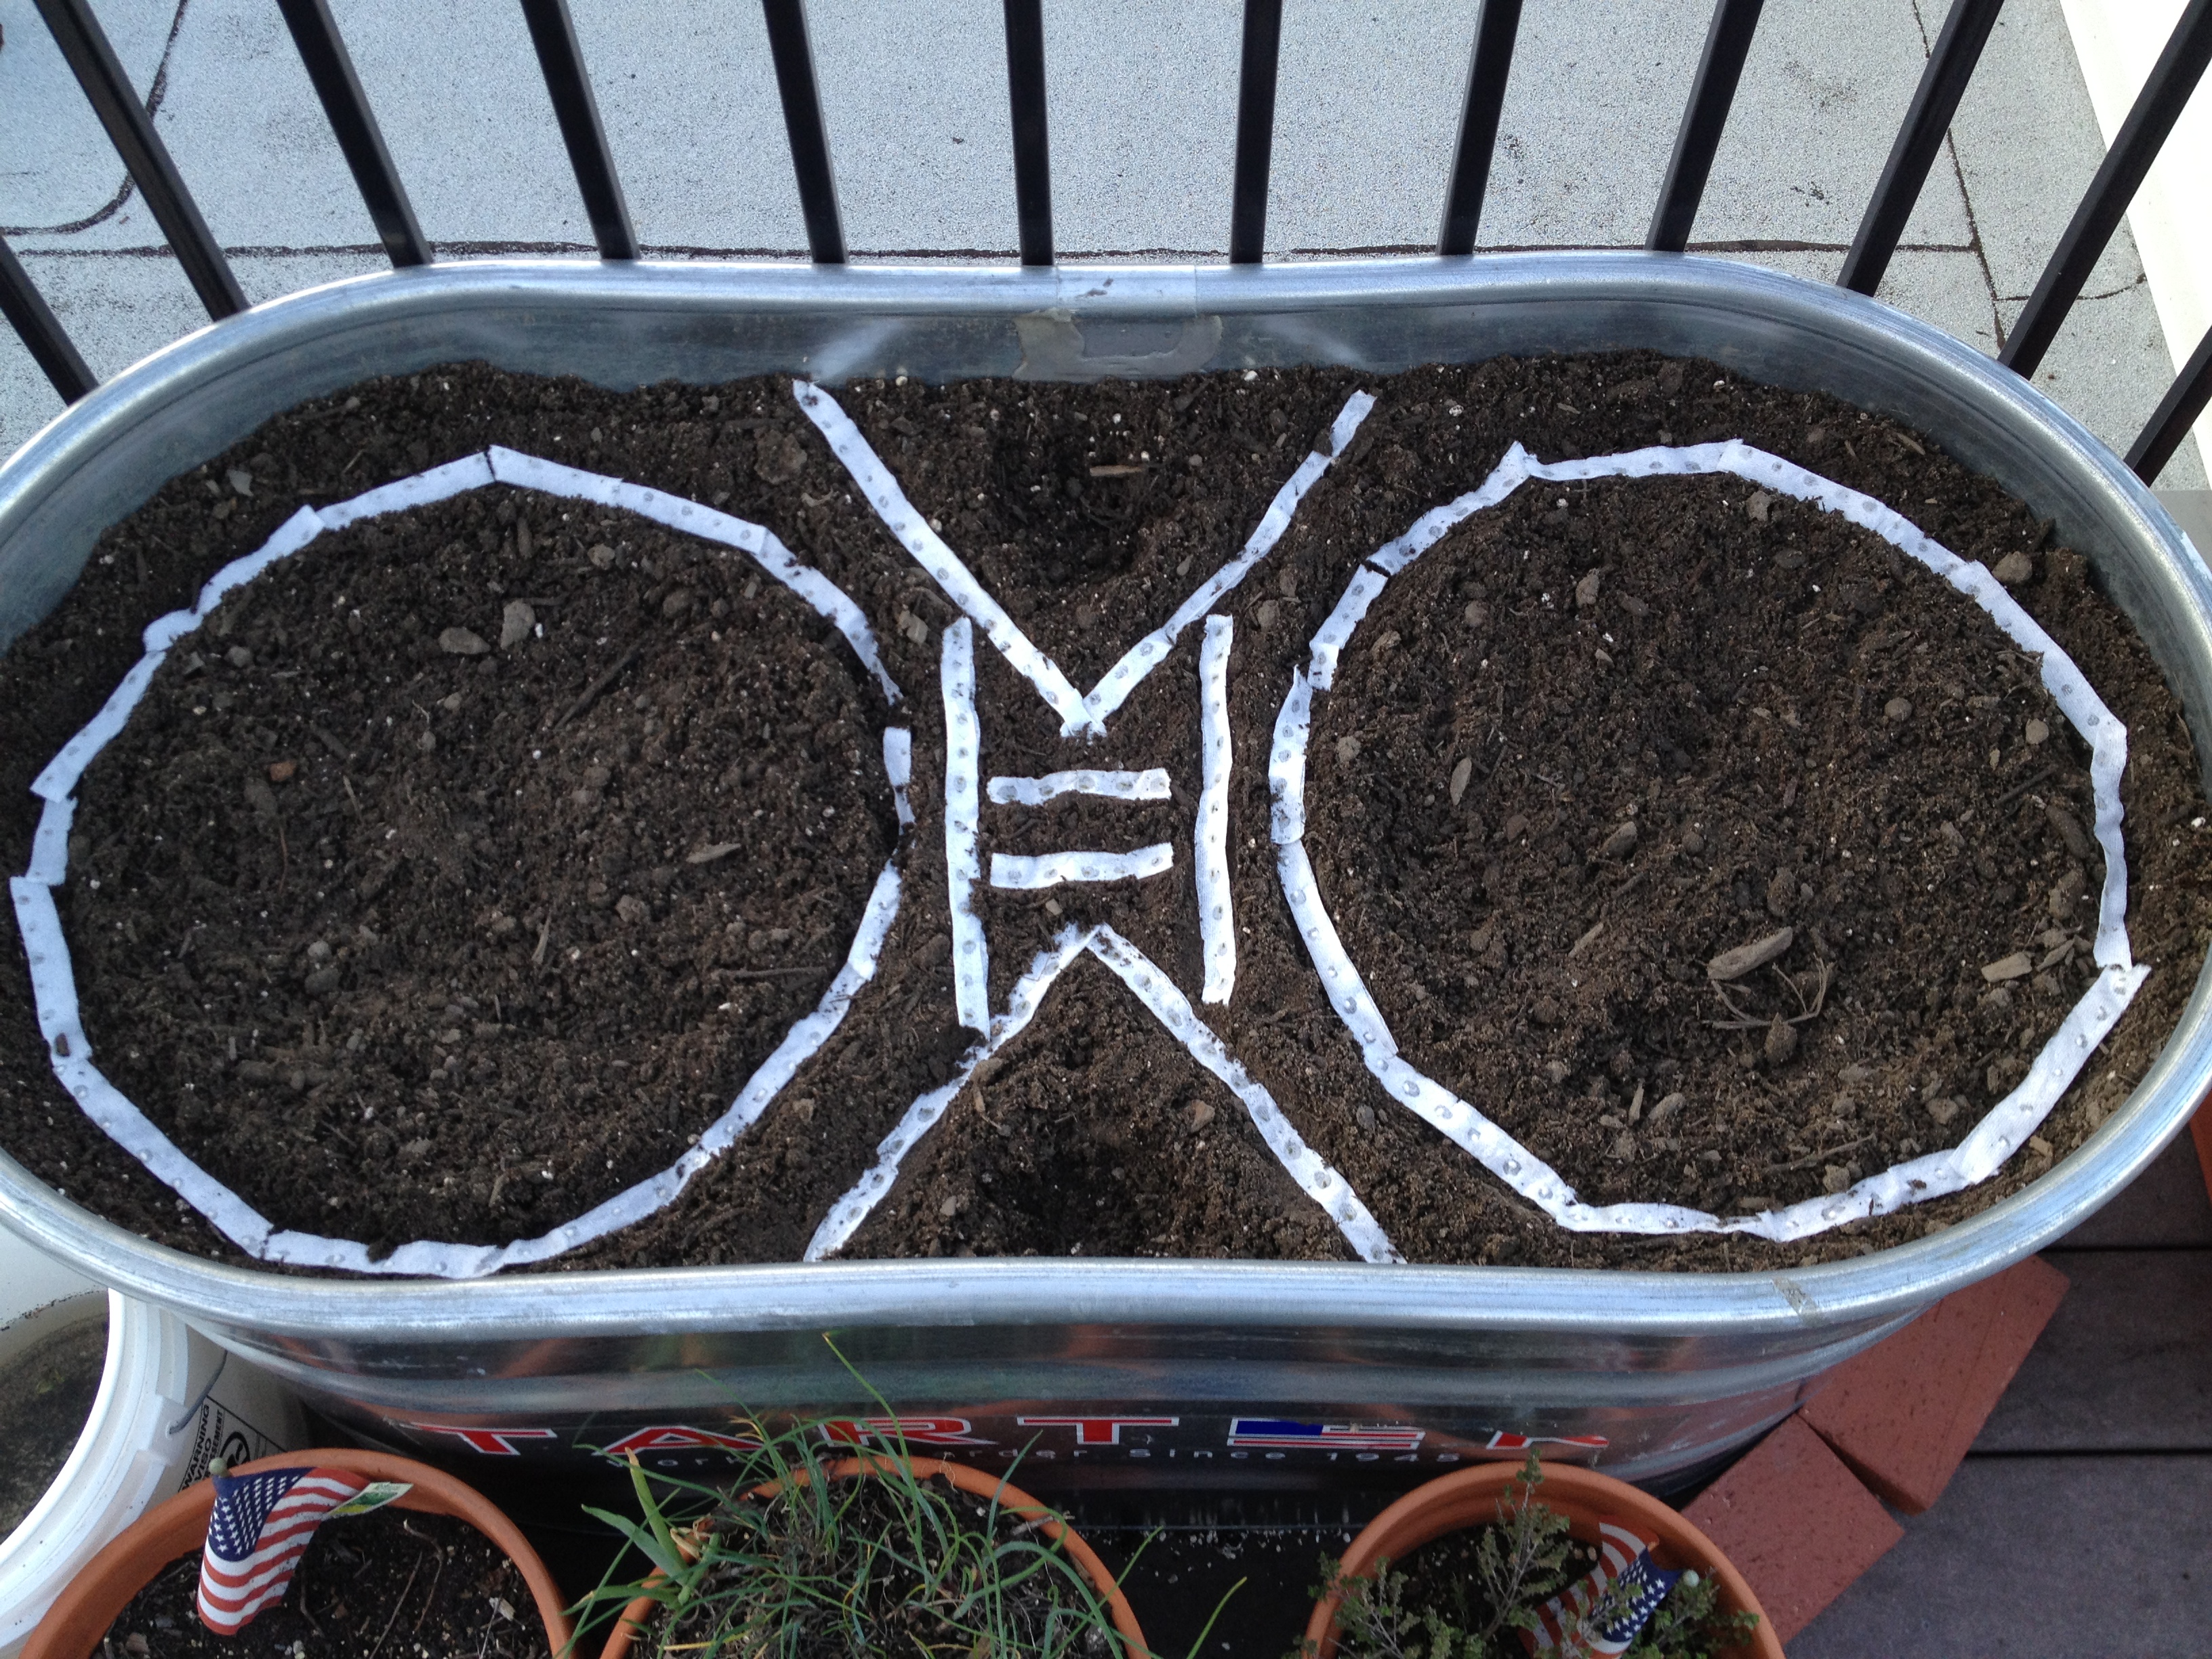
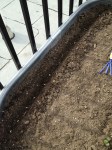
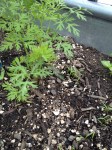
Finally, Farmer Russell sketched out where plants should go. Tomatoes, carrots and basil in one tank, possibly beans, radishes, cucumber, melon in another. He is creating a more detailed layout for me now. I will post that when it is ready. We did plant a row of radishes while we were up there. They’ll be ready in a few weeks.
Winston and his lazy cousin are keeping watch, as usual.
-

-
Sketching
-

-
Finished tank with diagram
-
-
Finished tank with diagram
Herbs will remain in separate pots, and the onions and chives will probably get broken up and replanted into one of the former tomato buckets with new planting mix. I’m going to do some research and see what companion plants will work well with them in the bucket.
Whew!
Tags: farmer russell, galvanized tank, layering, new garden, rooftop garden, sustainable gardening, urban garden


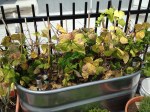


 Someone is eating my cucumber leaves. Any ideas? I don’t see anything on the underside of any of the leaves, and I’ve checked at different times of the day, just in case I have a night nosher or something. Also, I’m wearing the latex glove because I had smashed up part of my hand a few days earlier and had it all covered up in super awesome advanced healing bandages. Didn’t want to damage them any more than I needed to.